IronJoe
Well-known member
- Joined
- Sep 13, 2024
- Threads
- 6
- Messages
- 77
- Reaction score
- 187
- Location
- Pacific Northwest
- Vehicles
- Tesla Roadster Sport 2.0, Pink Cybertruck
- Thread starter
- #1
Didn't see a compilation thread for pink CTs ?

After watching a few videos I decided to try my hand at DIY vinyl wrap. I have had some experience with vinyl wrap on smaller things but this was the first time doing a whole vehicle. I bought a full roll (75ft) of KPMF vinyl from Metro Restyling and got to work right away. I bought a roll instead of a precut kit for two reasons: 1) the roll is about half the price of the precut kits I've seen and 2) the alignment seemed like a pain in the butt from all the videos I watched. I just measured each panel and cut it to size, adding 6" to each dimension to give 3" leeway on each side. It never failed me and I didn't cut a single piece short or come even remotely close to running out.
I pulled the wheel arches and removed the mirrors, that's it. Tsportline's videos were helpful here so I didn't break anything. It took me about 12 hours, full coverage (around the edges) wrap but the second side went so much faster, I bet with the experience I now have it would take 8 hours or less a second time around. I did buy some 3M adhesion promoter sticks that I had to use twice in areas where I wasn't getting good adhesion.
I started with the driver door. In retrospect I think I should have started with the tailgate as it's the easiest to wrap IMHO.
Driver side fender, doors, and rear quarter done. That fender was a bit tricky, my advice would be to make sure your alignment is right after you cut out the hole for the tire/wheel arch. I relied heavily on magnets for this part.
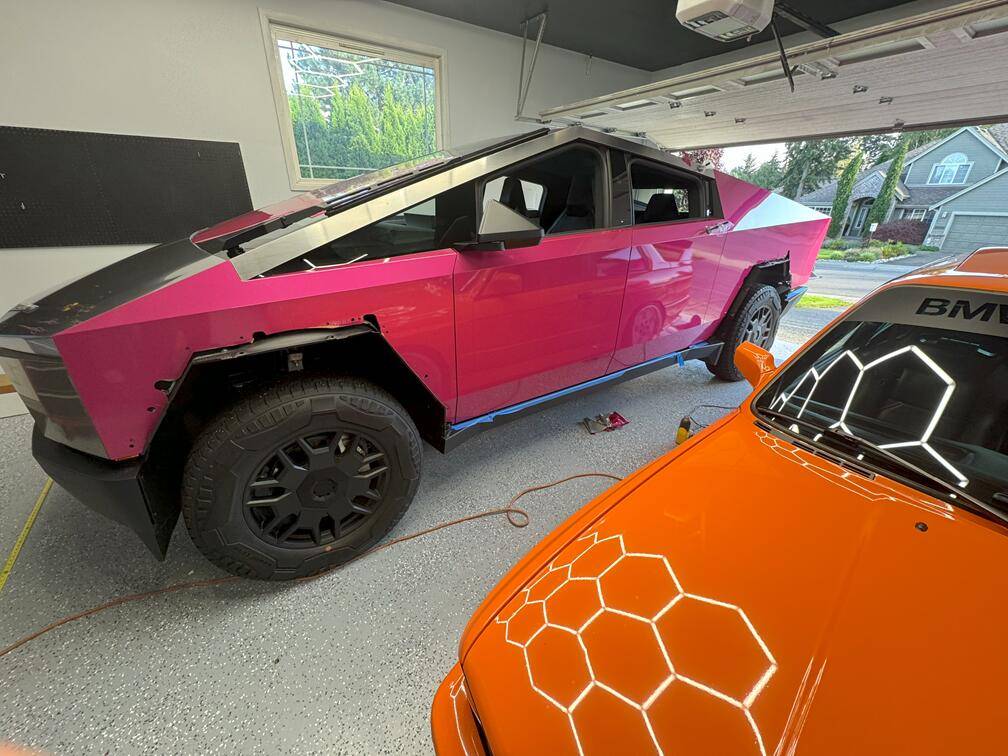
The rear quarter is daunting because it's so big, but pretty easy to wrap. Just takes a little time to work out the bubbles to the edge because it's such a giant piece.

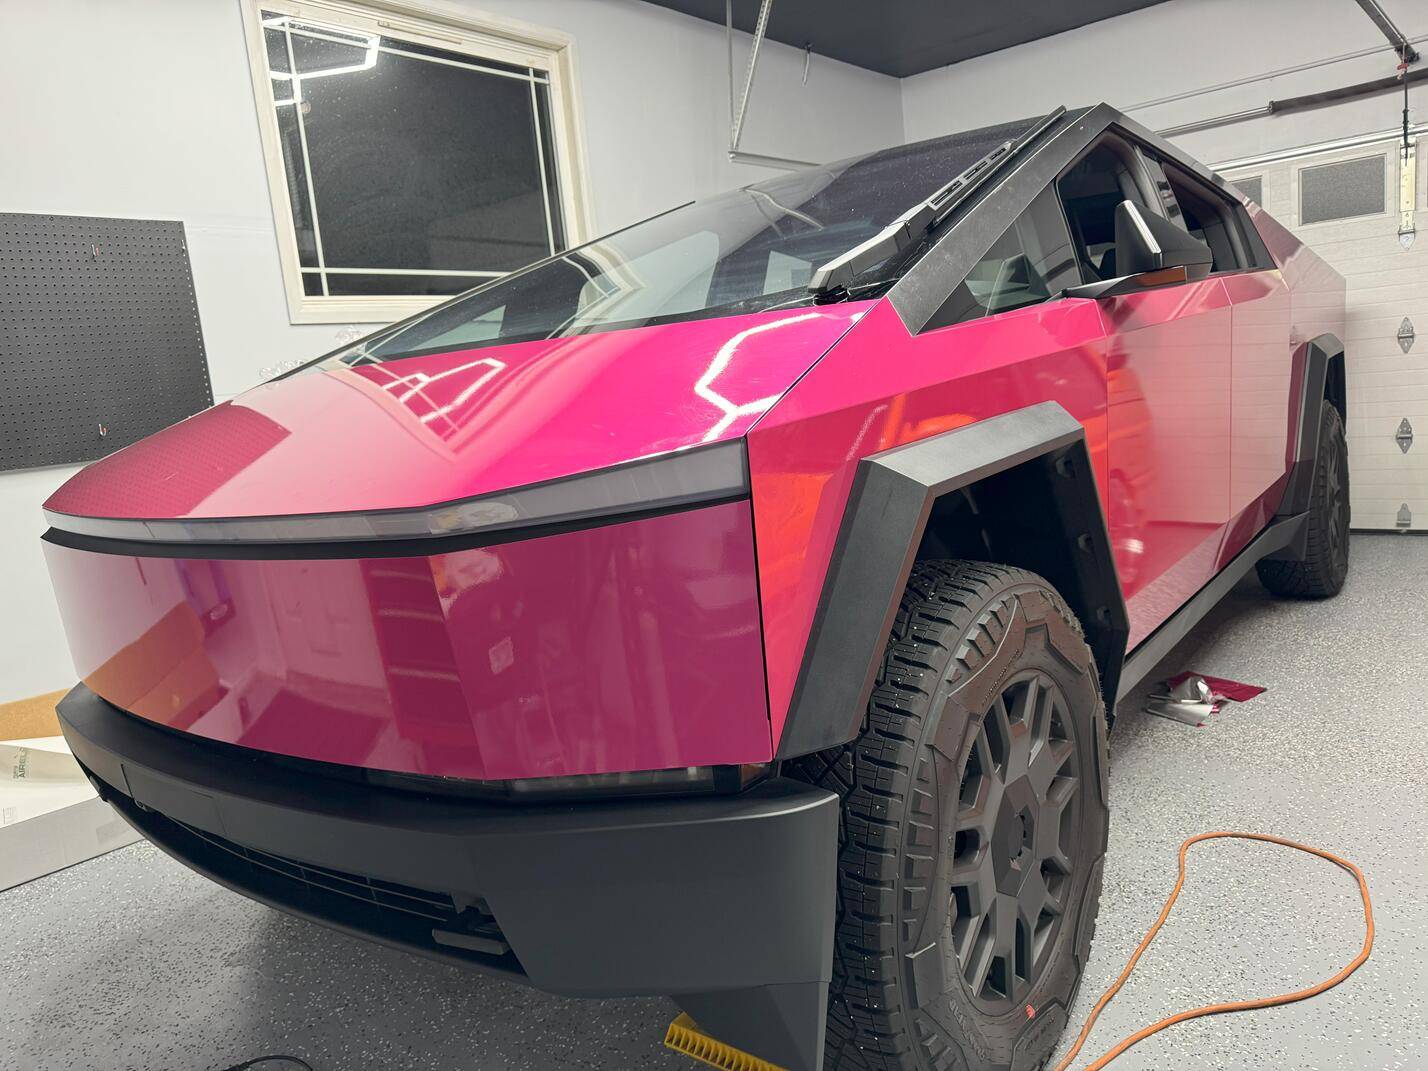
At this point I had one side done, and decided to see if my good luck would hold and I kept going. Next up was the hood and frunk panel. These are both super easy to do but I still wouldn't recommend doing them first because it's the face of the truck. Cut your teeth on other panels before you get here.

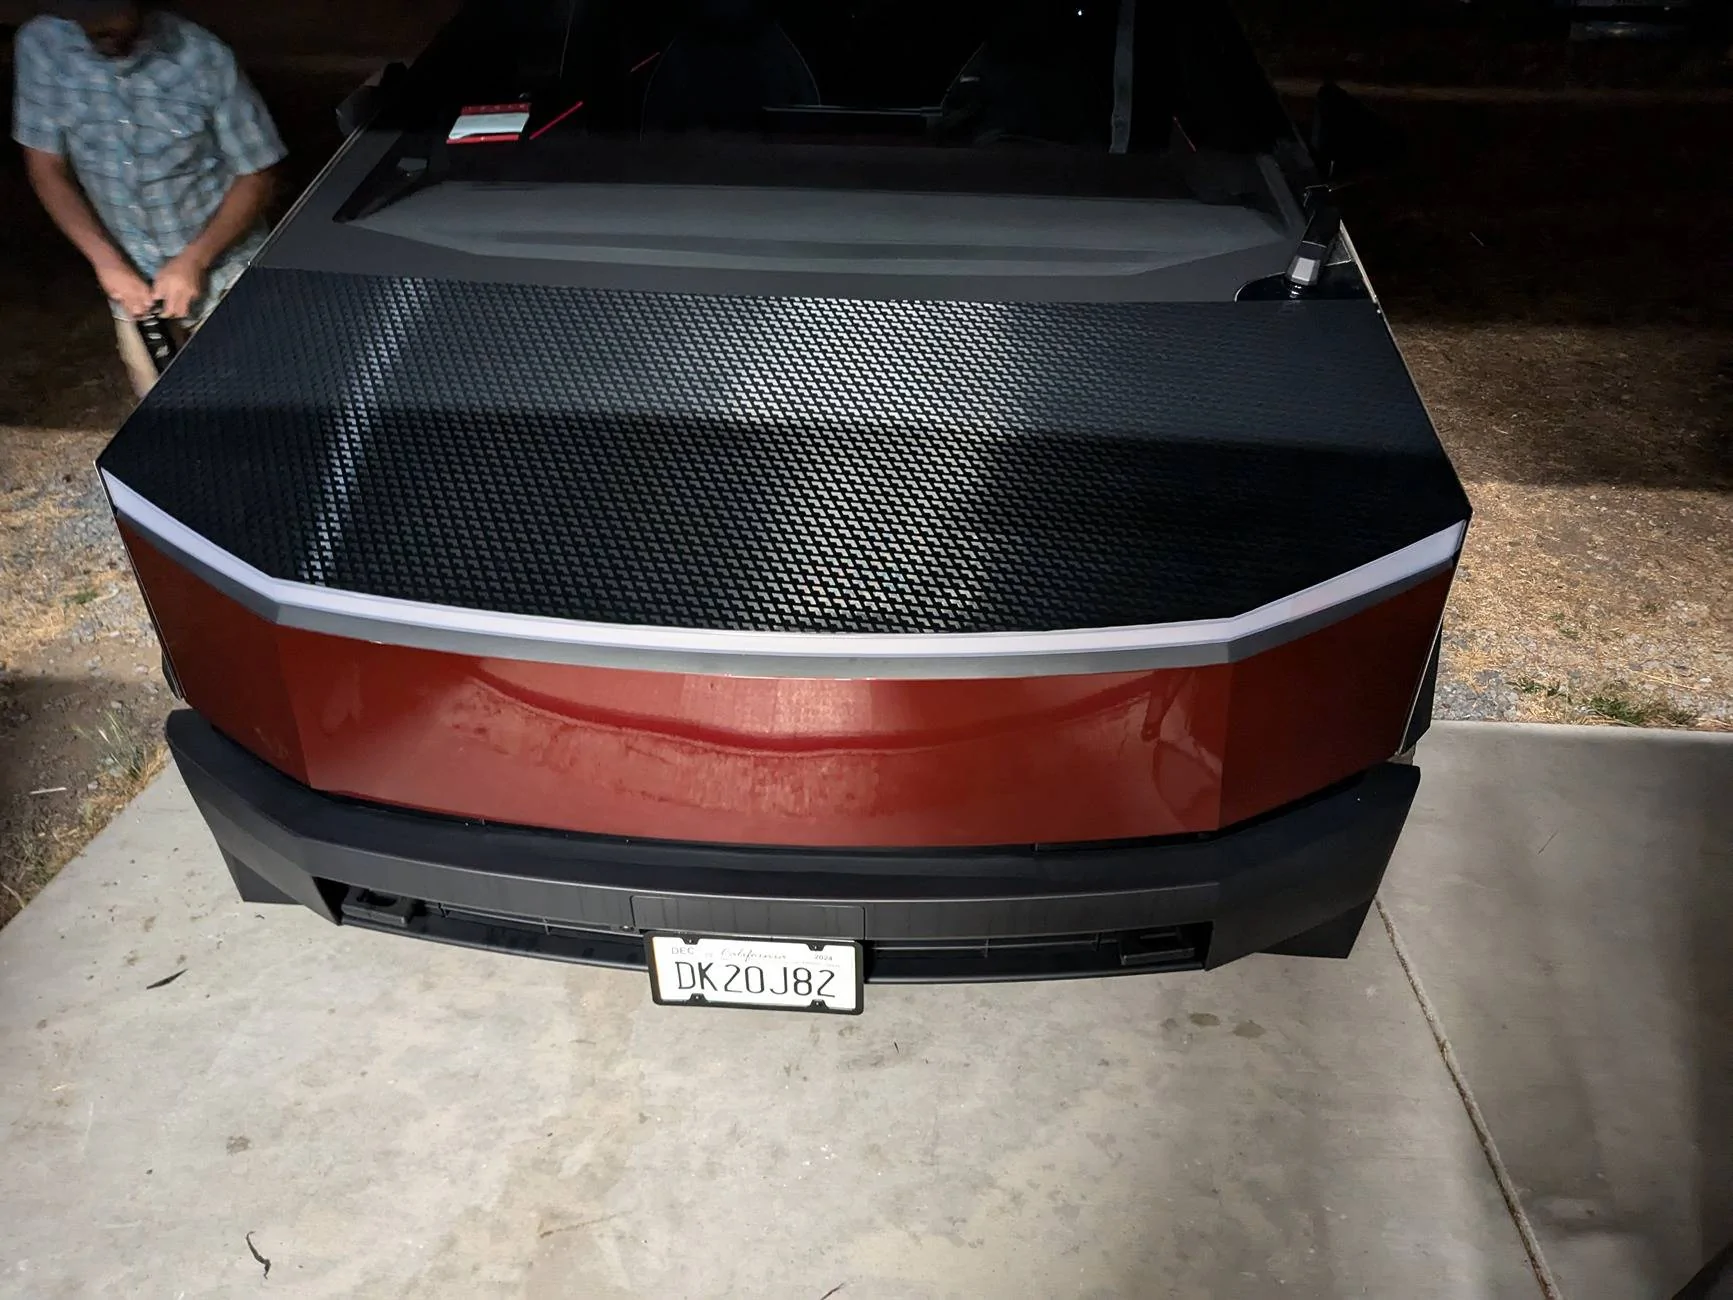
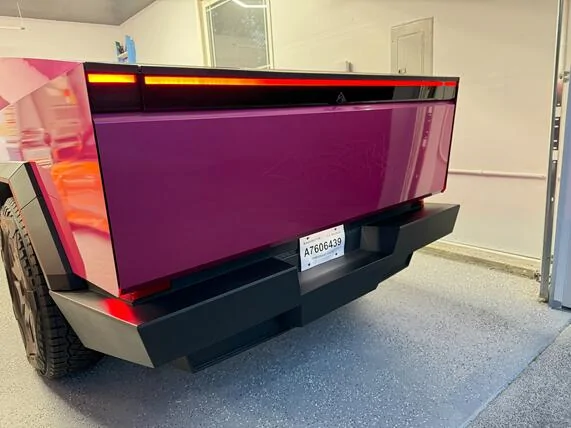
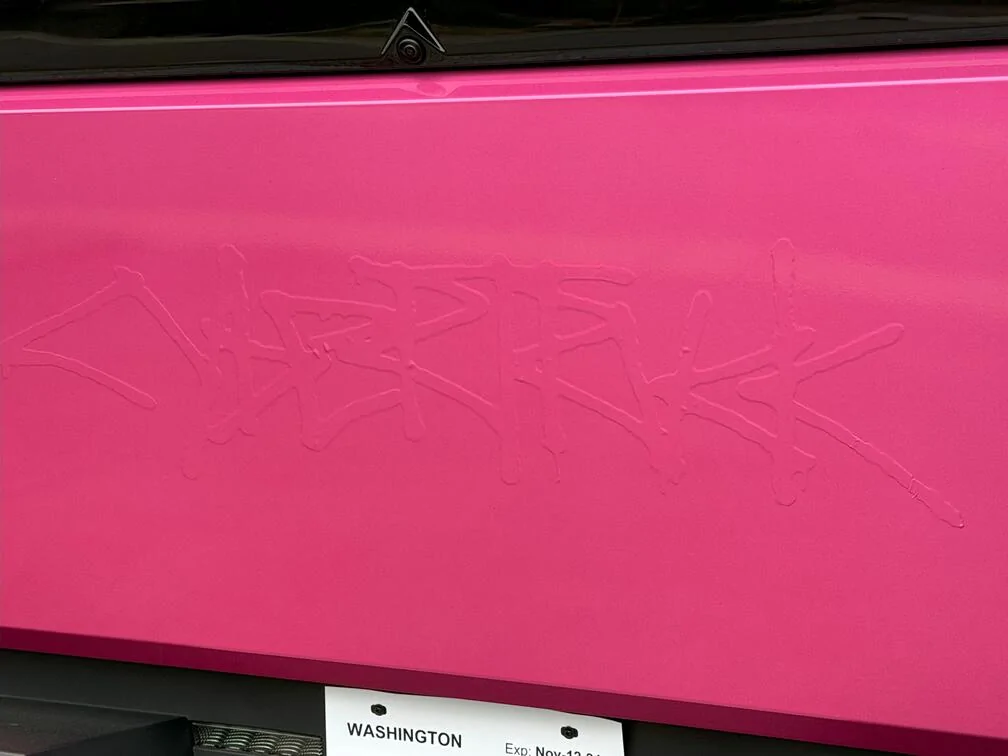
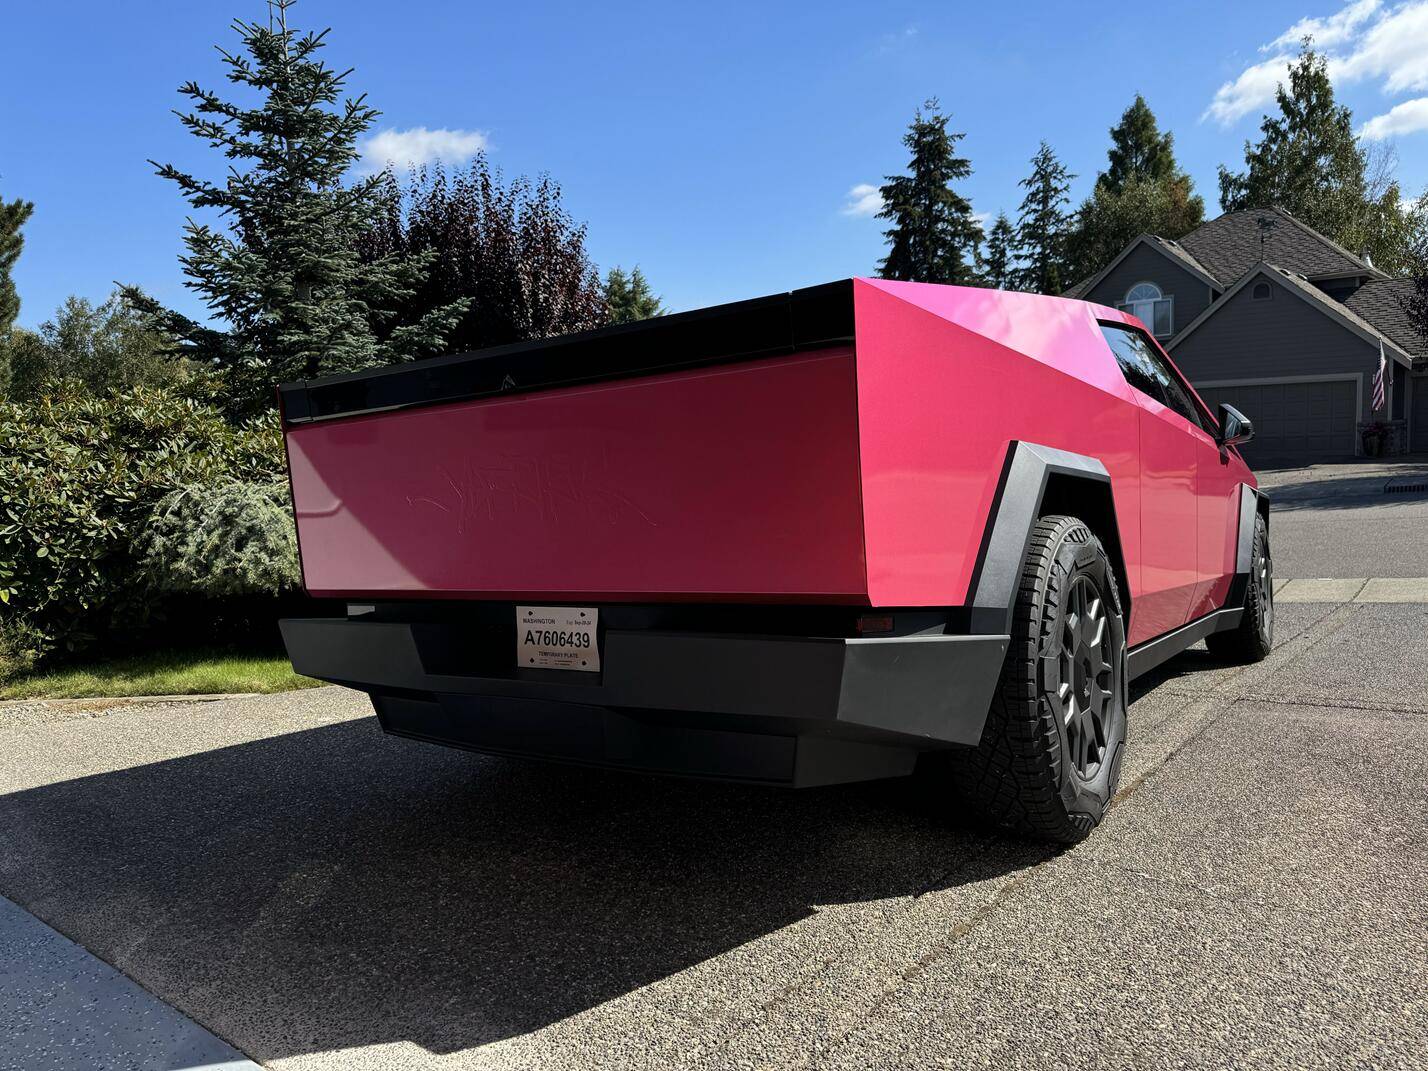
I then knocked out the tailgate panel, this one I used a thick Cybertruck font decal underneath for the embossed look. In most lighting you cannot even tell it's there.

The second half was pretty straightforward, I didn't get any pictures of that part of the install as it was getting late. I left the "hockey stick" roofline panel for last, it was a big pain just because it was one very long and skinny piece. It was of course easy to squeegee down but it was unwieldy. I felt like I needed more than 4 magnets for this part.
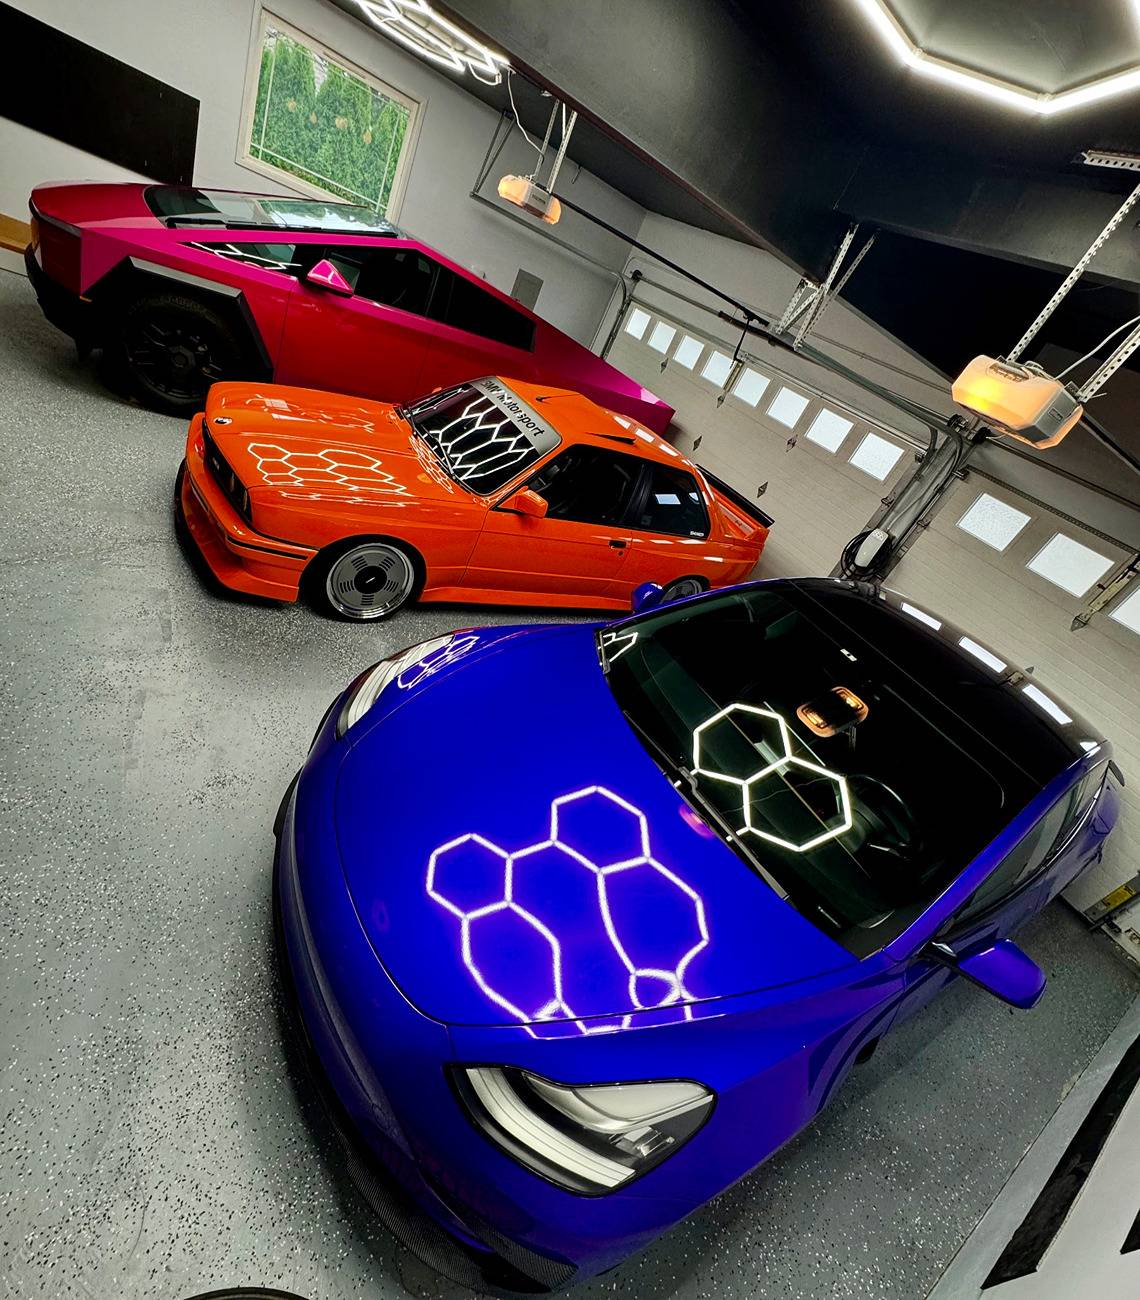
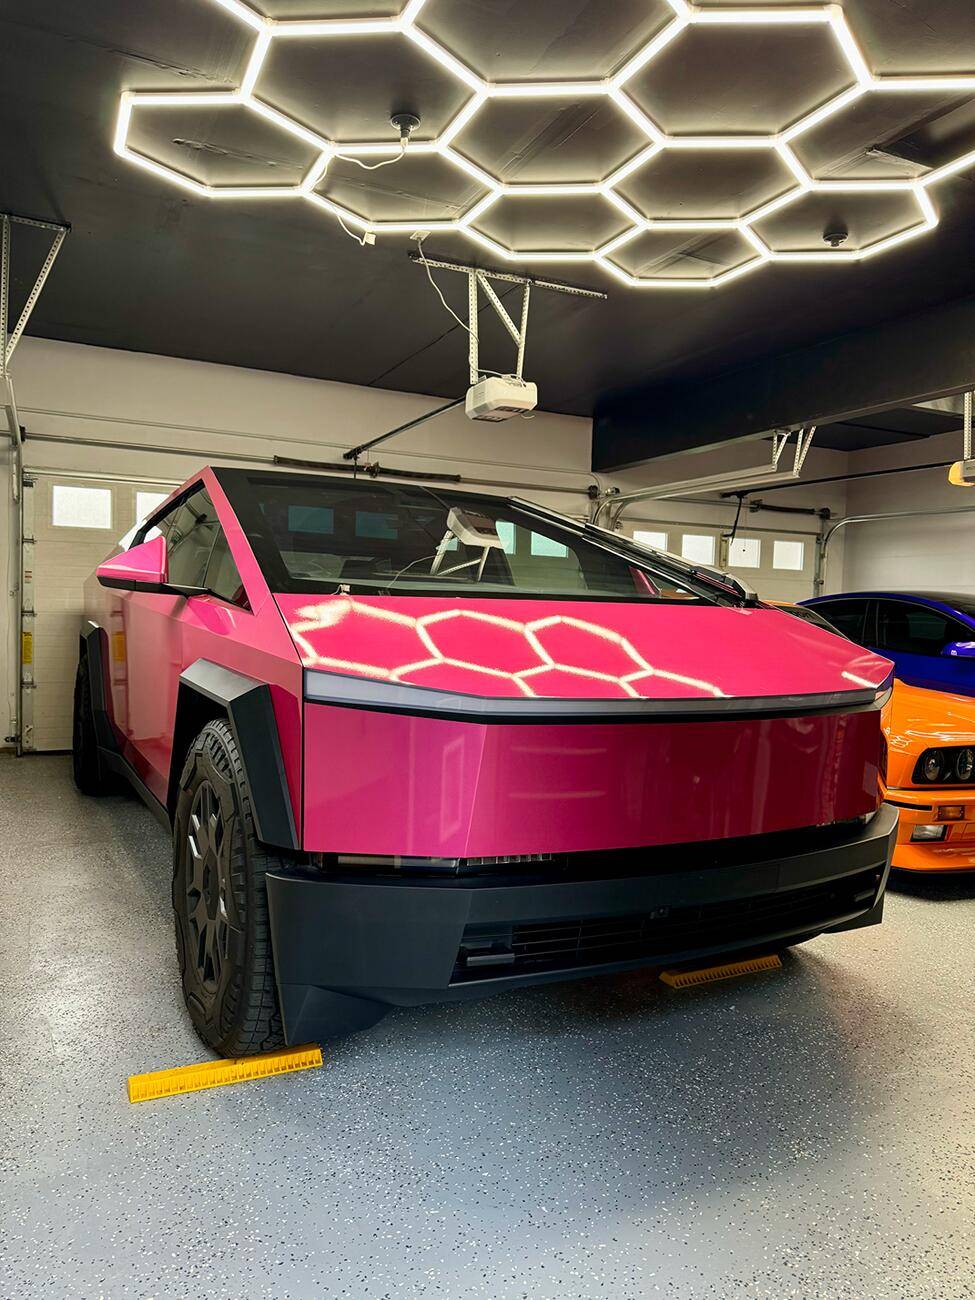
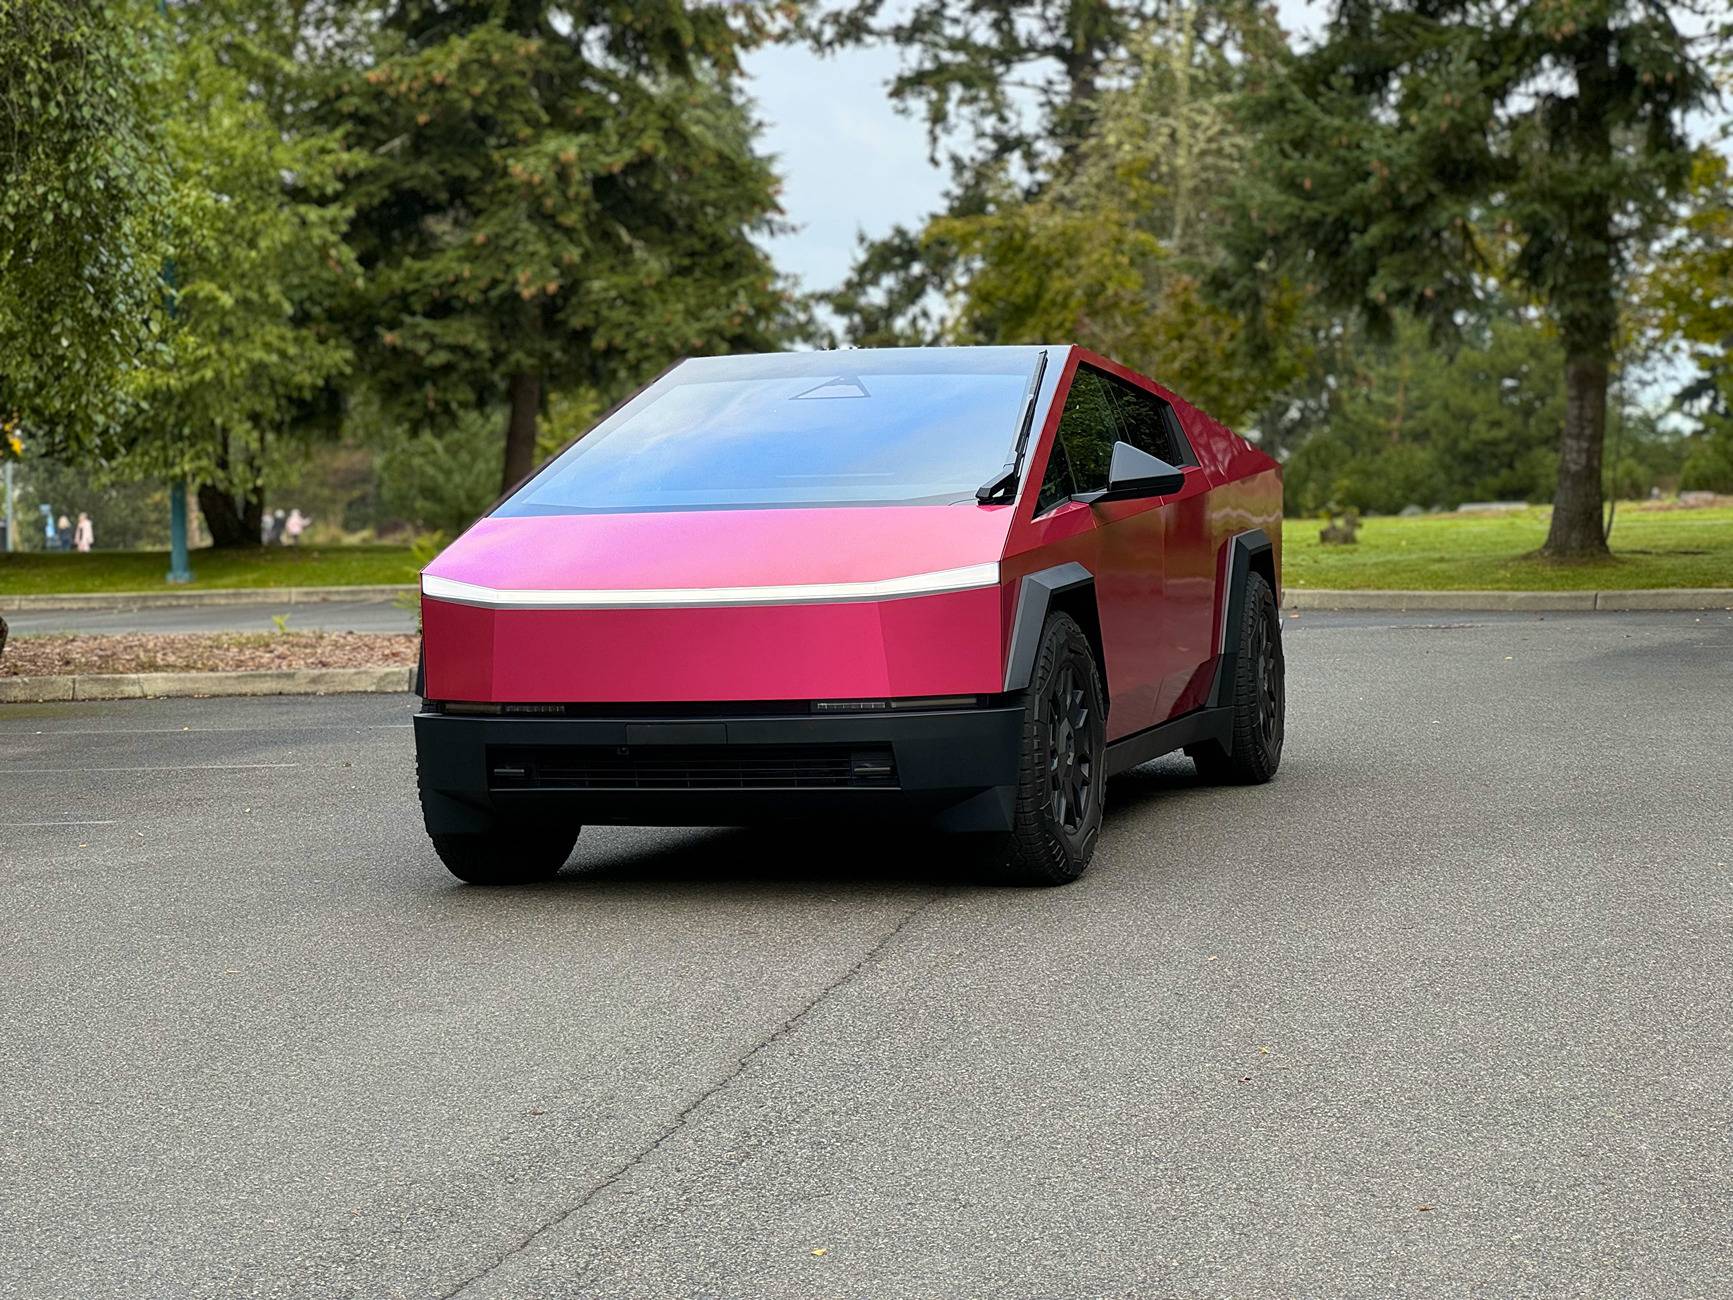
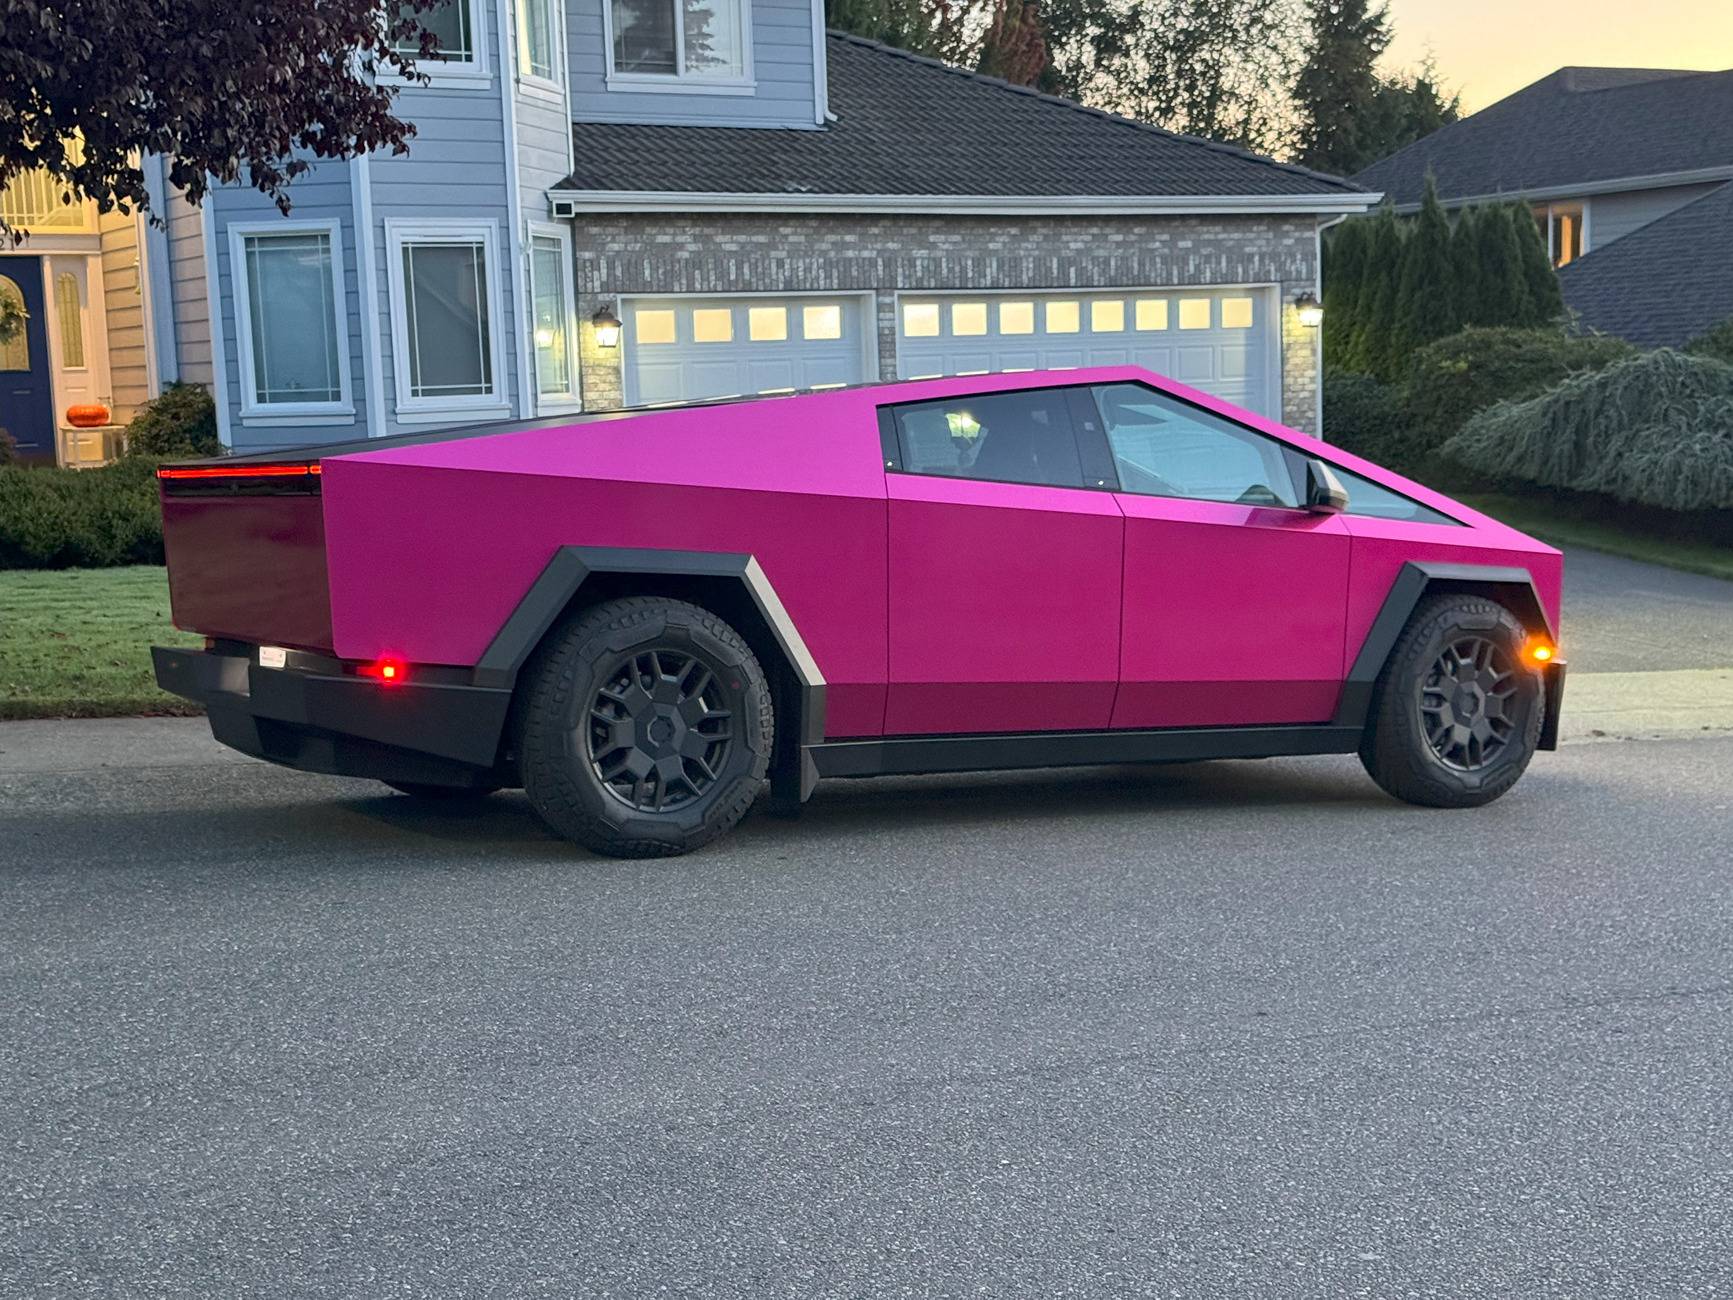
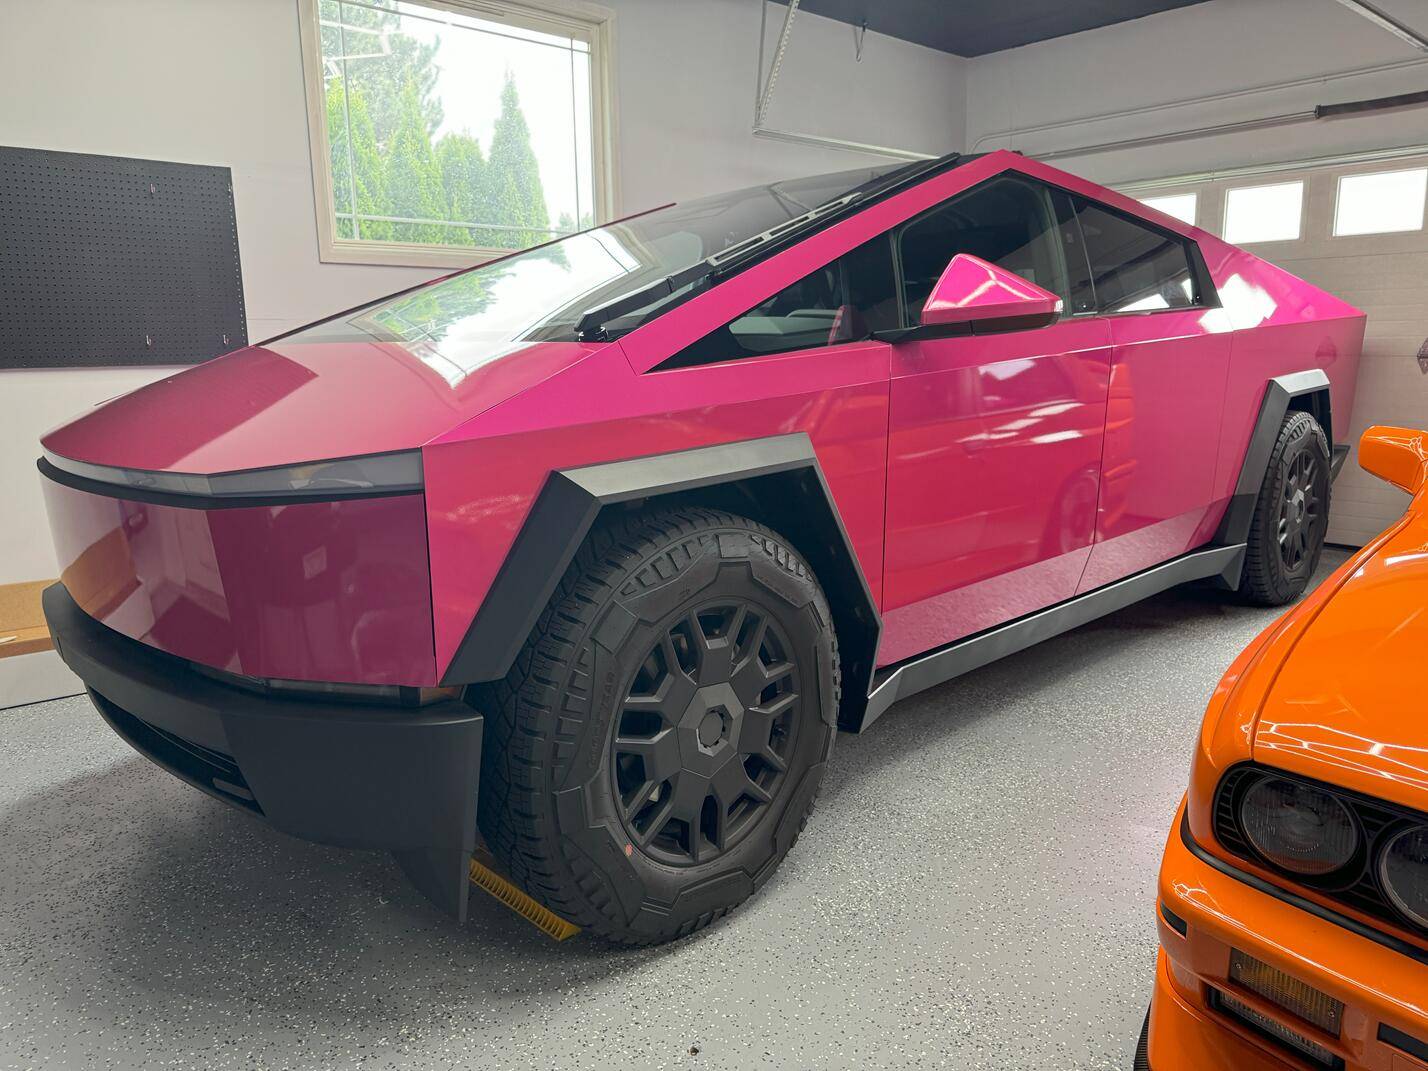
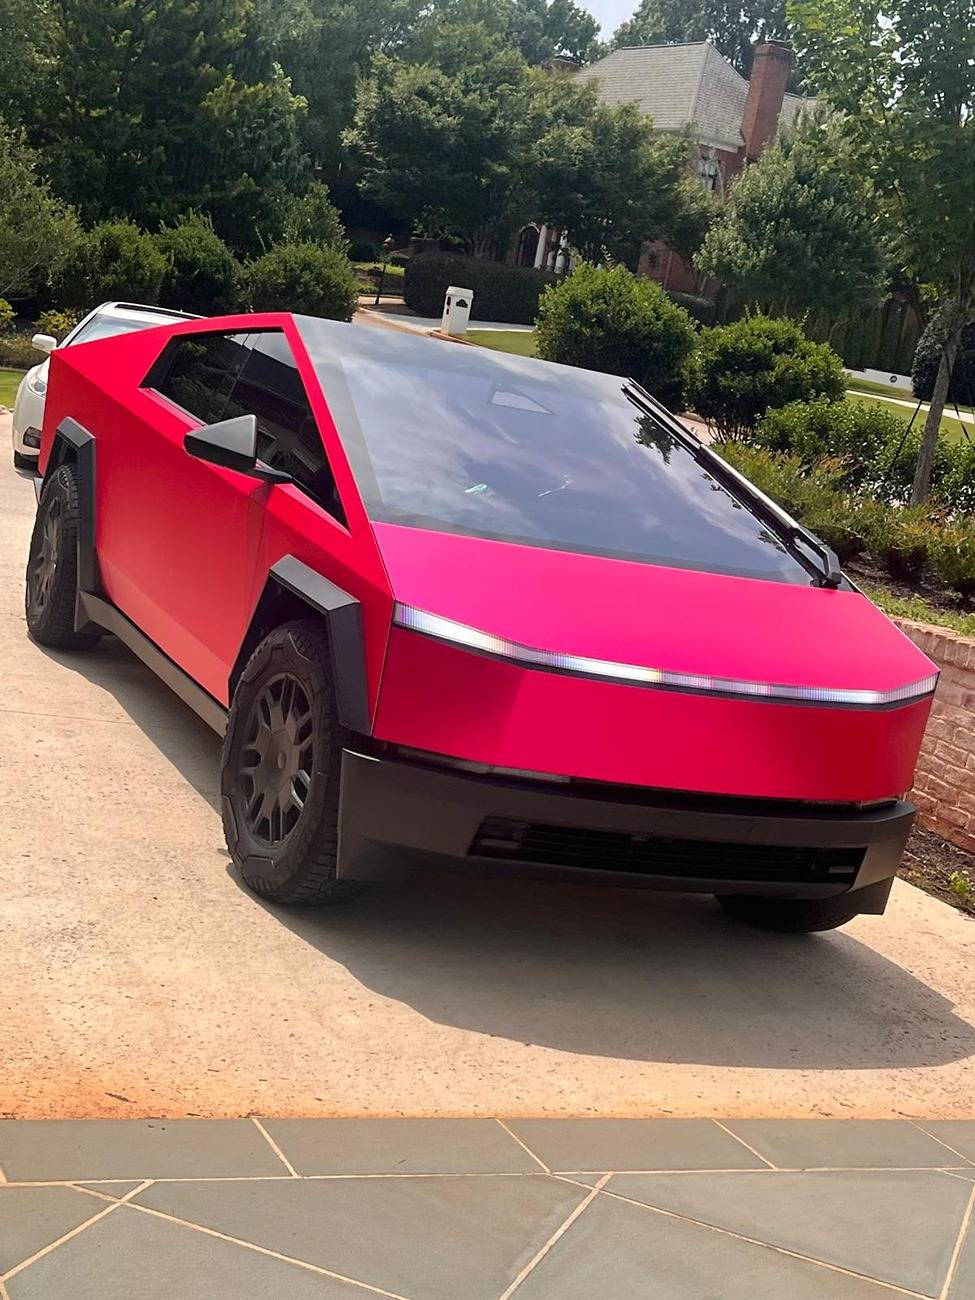
And with that, I was able to get it done. About 12 hours of labor. I love the color, it looks almost a berry pink in darker environment to a bright Barbie pink in direct sunlight. I did end up going back the next day and wrapping the mirrors - I haven't seen too many CTs with wrapped mirrors so I decided to give it a shot and I like it.

All in all, if you're a decently handy person who's comfortable with DIY, watch some videos and think about giving it a shot! The CT pretty much all flat panels which makes it really straightforward and forgiving. I only needed to use the heat gun for post heating the edges, no heating/stretching the material was necessary for wrapping the panels. Wrapping around each edge is the important part, I left about an inch of extra to wrap around each door edge so I could have lots of good adhesion around edges. Hope this helps someone!
After watching a few videos I decided to try my hand at DIY vinyl wrap. I have had some experience with vinyl wrap on smaller things but this was the first time doing a whole vehicle. I bought a full roll (75ft) of KPMF vinyl from Metro Restyling and got to work right away. I bought a roll instead of a precut kit for two reasons: 1) the roll is about half the price of the precut kits I've seen and 2) the alignment seemed like a pain in the butt from all the videos I watched. I just measured each panel and cut it to size, adding 6" to each dimension to give 3" leeway on each side. It never failed me and I didn't cut a single piece short or come even remotely close to running out.
I pulled the wheel arches and removed the mirrors, that's it. Tsportline's videos were helpful here so I didn't break anything. It took me about 12 hours, full coverage (around the edges) wrap but the second side went so much faster, I bet with the experience I now have it would take 8 hours or less a second time around. I did buy some 3M adhesion promoter sticks that I had to use twice in areas where I wasn't getting good adhesion.
I started with the driver door. In retrospect I think I should have started with the tailgate as it's the easiest to wrap IMHO.
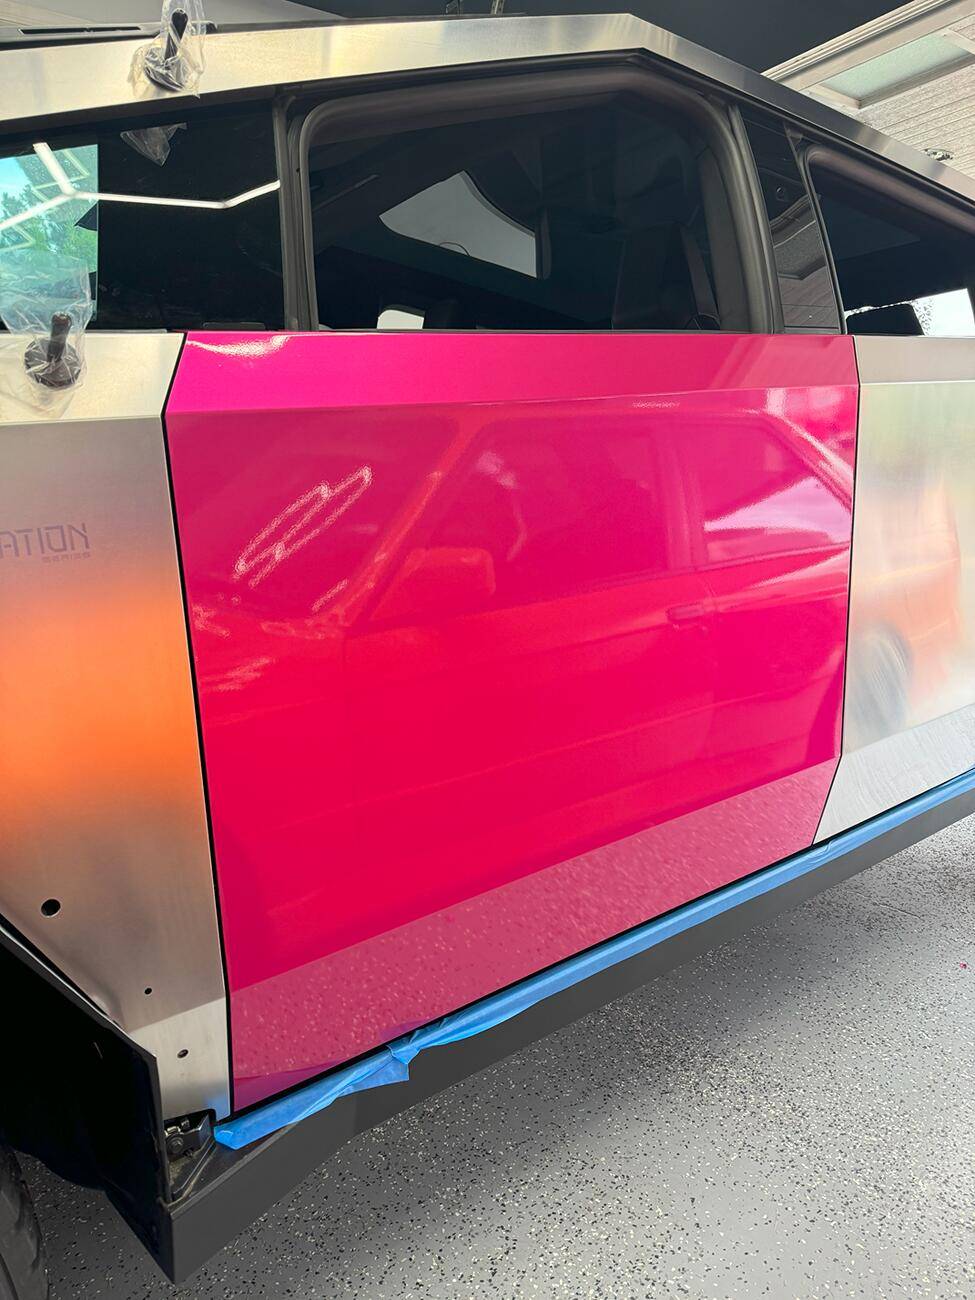
Driver side fender, doors, and rear quarter done. That fender was a bit tricky, my advice would be to make sure your alignment is right after you cut out the hole for the tire/wheel arch. I relied heavily on magnets for this part.
The rear quarter is daunting because it's so big, but pretty easy to wrap. Just takes a little time to work out the bubbles to the edge because it's such a giant piece.
At this point I had one side done, and decided to see if my good luck would hold and I kept going. Next up was the hood and frunk panel. These are both super easy to do but I still wouldn't recommend doing them first because it's the face of the truck. Cut your teeth on other panels before you get here.
I then knocked out the tailgate panel, this one I used a thick Cybertruck font decal underneath for the embossed look. In most lighting you cannot even tell it's there.
The second half was pretty straightforward, I didn't get any pictures of that part of the install as it was getting late. I left the "hockey stick" roofline panel for last, it was a big pain just because it was one very long and skinny piece. It was of course easy to squeegee down but it was unwieldy. I felt like I needed more than 4 magnets for this part.
And with that, I was able to get it done. About 12 hours of labor. I love the color, it looks almost a berry pink in darker environment to a bright Barbie pink in direct sunlight. I did end up going back the next day and wrapping the mirrors - I haven't seen too many CTs with wrapped mirrors so I decided to give it a shot and I like it.
All in all, if you're a decently handy person who's comfortable with DIY, watch some videos and think about giving it a shot! The CT pretty much all flat panels which makes it really straightforward and forgiving. I only needed to use the heat gun for post heating the edges, no heating/stretching the material was necessary for wrapping the panels. Wrapping around each edge is the important part, I left about an inch of extra to wrap around each door edge so I could have lots of good adhesion around edges. Hope this helps someone!
Sponsored
")