carsly
Well-known member
- First Name
- Vin
- Joined
- Dec 13, 2023
- Threads
- 95
- Messages
- 1,545
- Reaction score
- 2,930
- Location
- Princeton, NJ
- Vehicles
- LR Defender, CT AWD
- Thread starter
- #1
I already threw away the box, sorry for you unboxing fans!
Installation took about 5 mins per corner for me, however my 13 year old son finished his side in 3 mins/corner. Super-easy! BTW, my pro tip is put the cybertruck in highest ride height (extract mode not necessary unless you want to) in order to get easier access to the one screw underneath the truck. I watched a 5 min Youtube video first, don't recall which one, but it was quite helpful to figure out which goes where since it comes with a few plastic pop-rivets, screws and hex-head bolts. Otherwise guessing what goes where isn't great and there are no instructions with the set.
You will need a screwdriver/ratchet with a 90-degree head for a bit adapter and socket which are pretty standard tools, even if you're not even a shadetree mechanic.
On to the finished product....

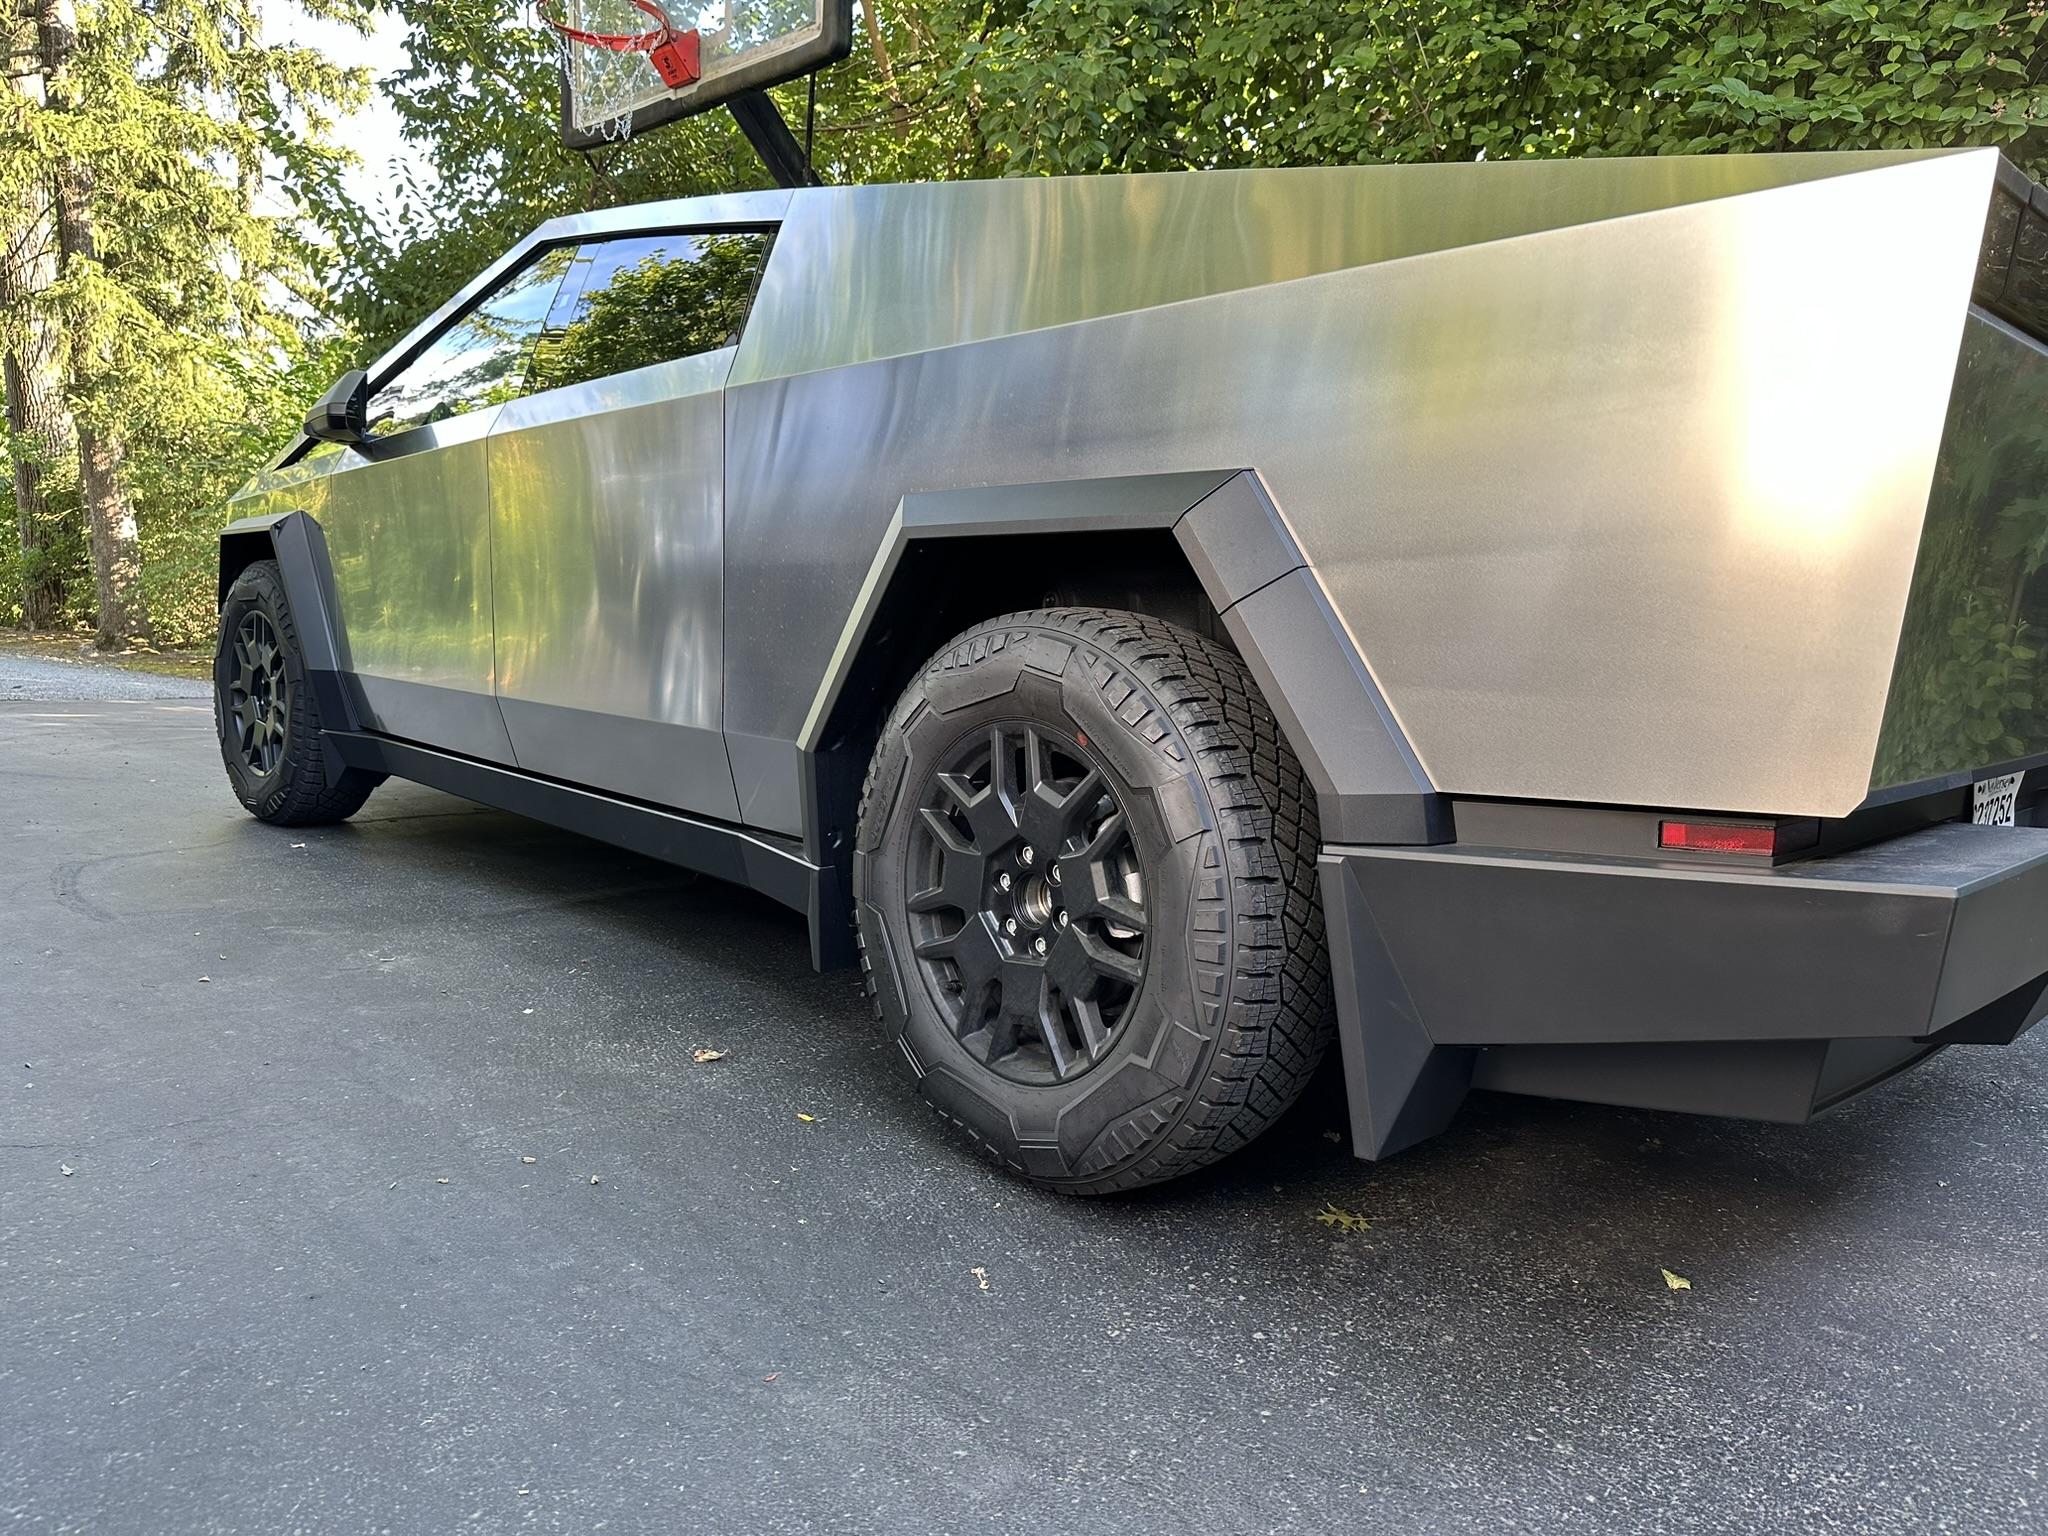
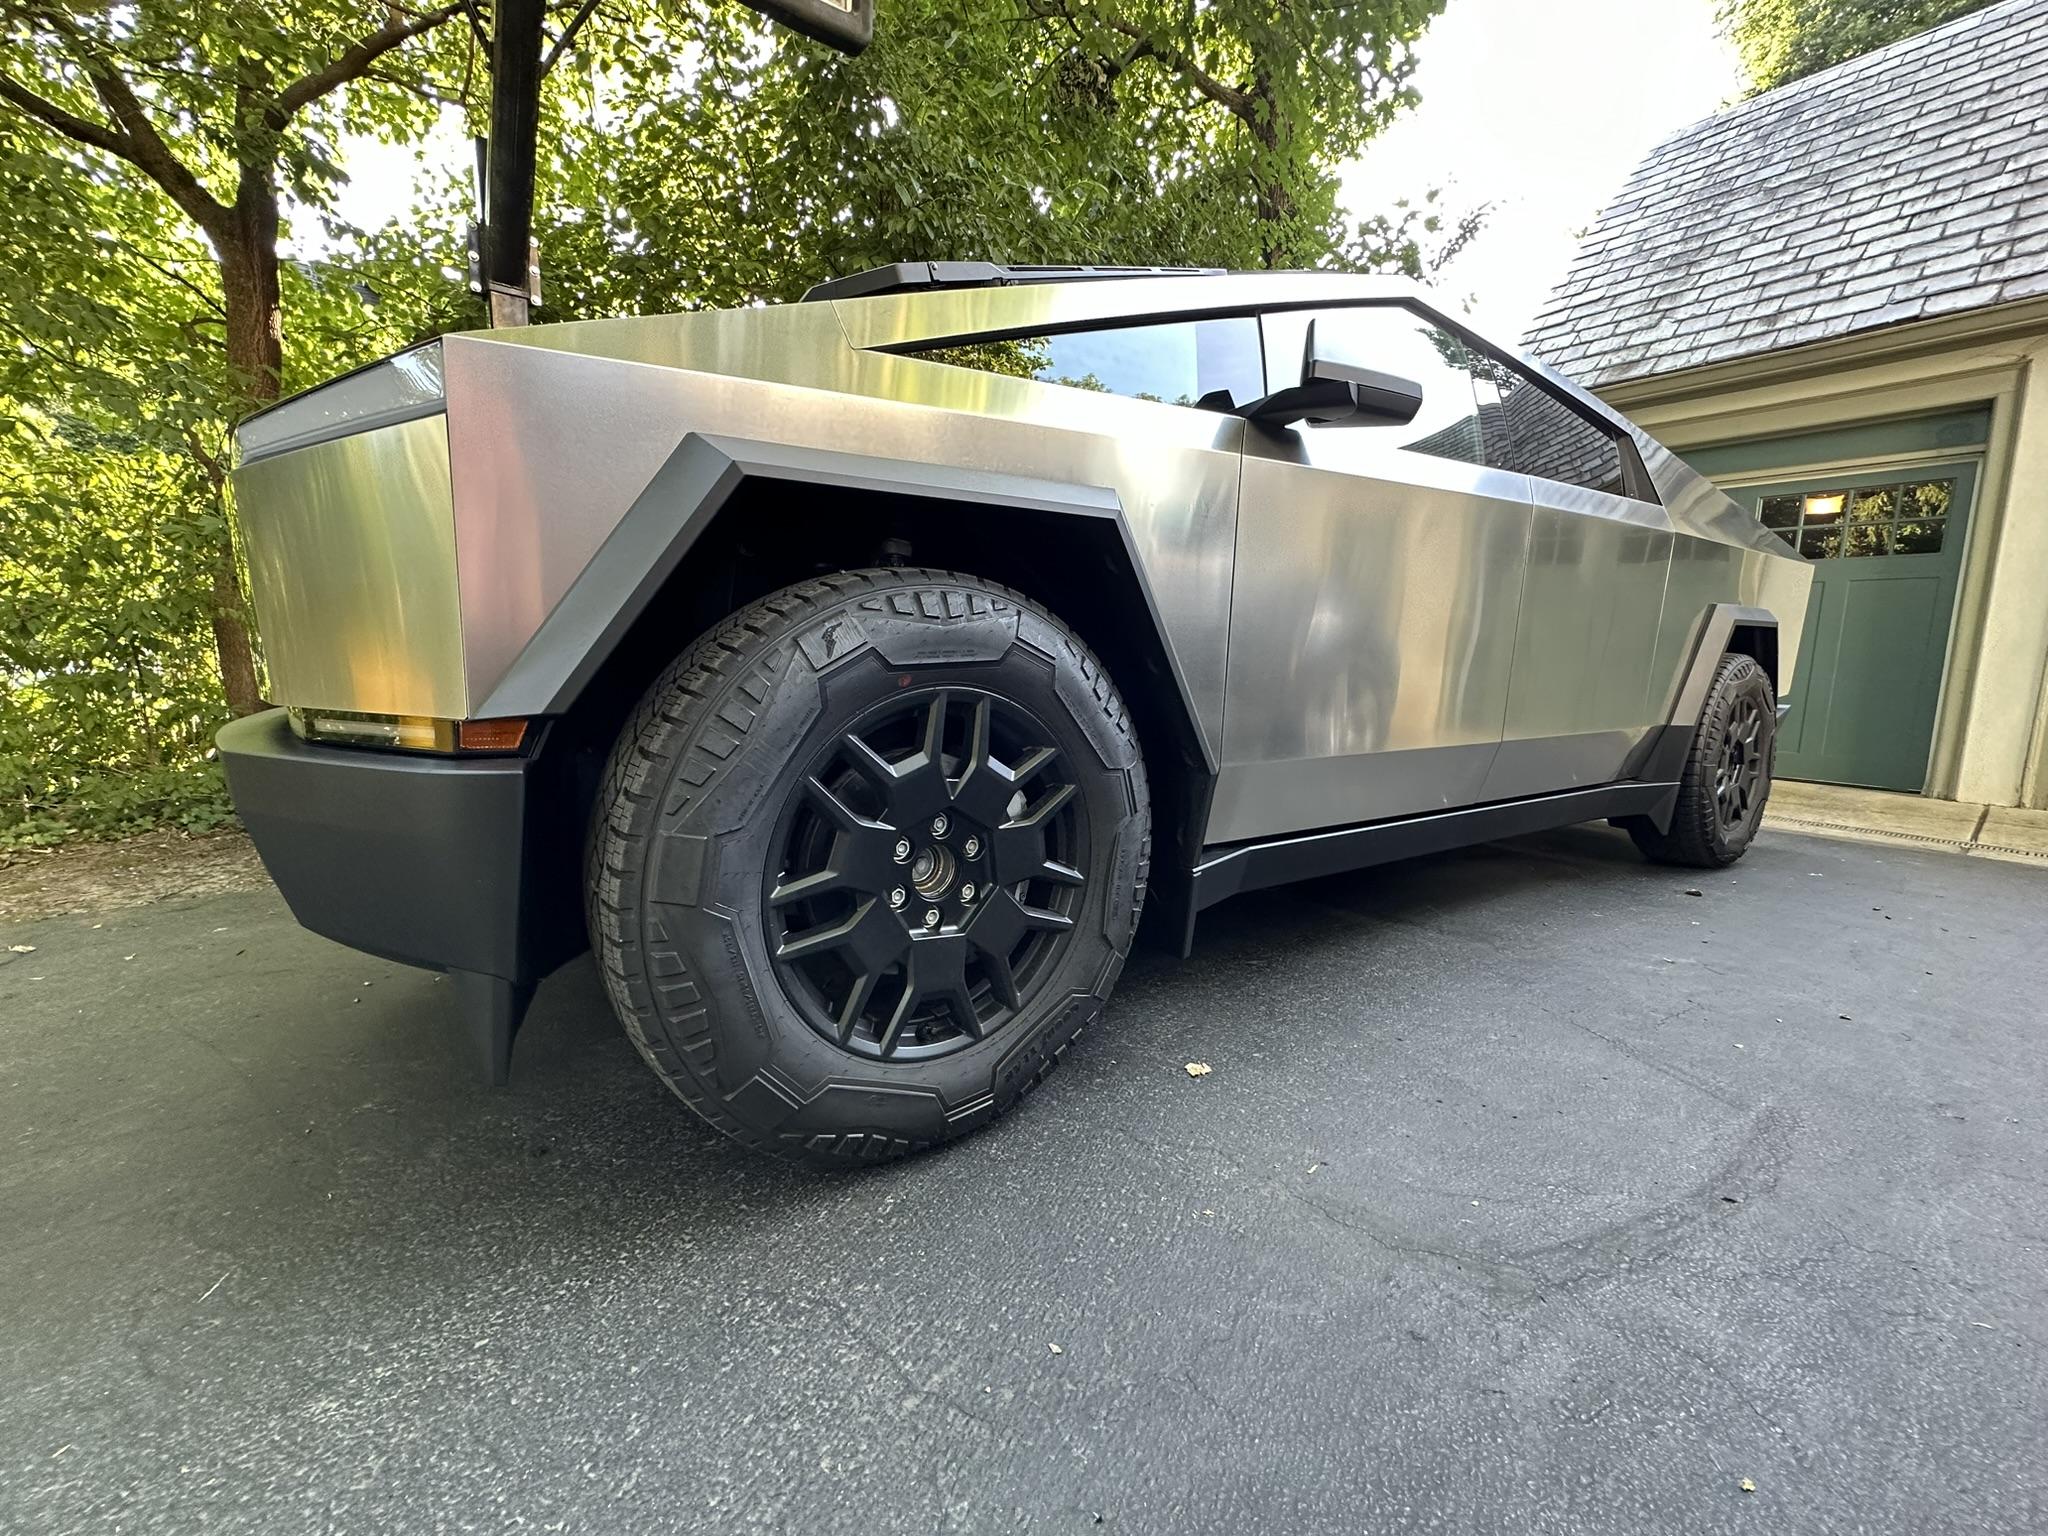
Fit is perfect - the newly installed mud flaps (four in the box, two front and two rear) are behind each wheel. Materials look to be identical to the adjacent trim/bumper and I'm surprised that they were not included with the Foundation Series. Guessing they didn't have enough inventory of these to include them but very reasonable at $100 shipped from the Tesla Shop -- once you find them in stock.
Overall, I'm very happy with the product quality and installation but wish they included even a one-pager with pictures which would have saved me the few minutes finding YouTube videos. I was in a rush to get them installed so I neglected to take pics along the way for a proper installation write-up - sorry about that but you'll find no surprises since you're just taking out a few plastic pop-rivets with a flathead screw driver from inside the wheel well and then securing the mud flaps with the newly provided hardware. If you don't like your hands getting dirty, slap on some gloves.
I've already found them reducing spray on the sides and, in particular, the longish rear quarter panel behind the rear wheels that was getting regularly sprayed with junk/debris. Well worth the money IMHO.
Installation took about 5 mins per corner for me, however my 13 year old son finished his side in 3 mins/corner. Super-easy! BTW, my pro tip is put the cybertruck in highest ride height (extract mode not necessary unless you want to) in order to get easier access to the one screw underneath the truck. I watched a 5 min Youtube video first, don't recall which one, but it was quite helpful to figure out which goes where since it comes with a few plastic pop-rivets, screws and hex-head bolts. Otherwise guessing what goes where isn't great and there are no instructions with the set.
You will need a screwdriver/ratchet with a 90-degree head for a bit adapter and socket which are pretty standard tools, even if you're not even a shadetree mechanic.
On to the finished product....
Fit is perfect - the newly installed mud flaps (four in the box, two front and two rear) are behind each wheel. Materials look to be identical to the adjacent trim/bumper and I'm surprised that they were not included with the Foundation Series. Guessing they didn't have enough inventory of these to include them but very reasonable at $100 shipped from the Tesla Shop -- once you find them in stock.
Overall, I'm very happy with the product quality and installation but wish they included even a one-pager with pictures which would have saved me the few minutes finding YouTube videos. I was in a rush to get them installed so I neglected to take pics along the way for a proper installation write-up - sorry about that but you'll find no surprises since you're just taking out a few plastic pop-rivets with a flathead screw driver from inside the wheel well and then securing the mud flaps with the newly provided hardware. If you don't like your hands getting dirty, slap on some gloves.
I've already found them reducing spray on the sides and, in particular, the longish rear quarter panel behind the rear wheels that was getting regularly sprayed with junk/debris. Well worth the money IMHO.
Sponsored