OP
OP
Urander

Urander

Well-known member
Site Sponsor
Joined
Dec 26, 2023
Threads
46
Messages
380
Reaction score
825
Location
CA
Website
urander.com
Vehicles
Cyberbeast
Country flag
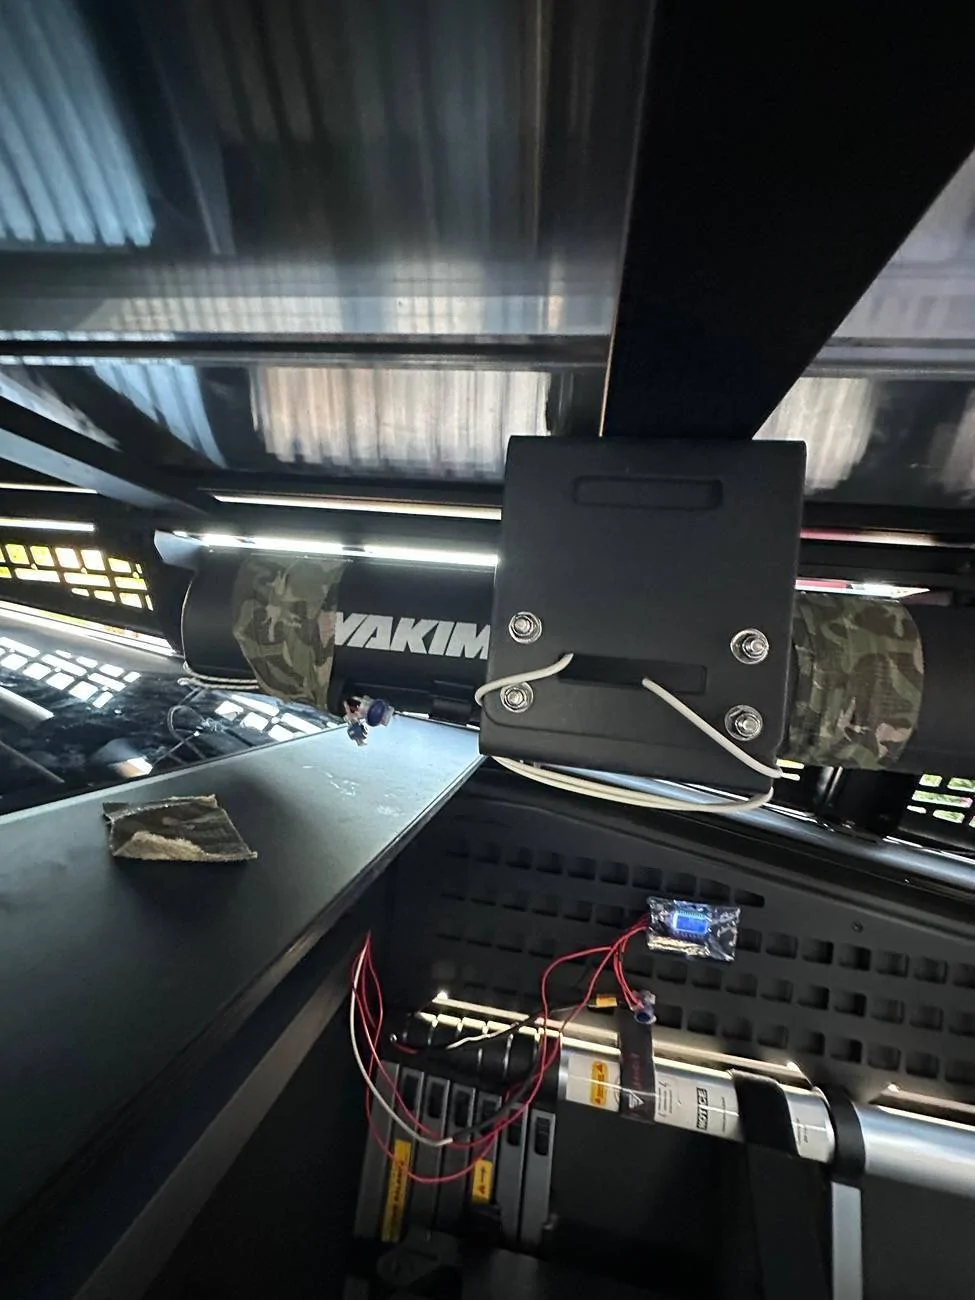
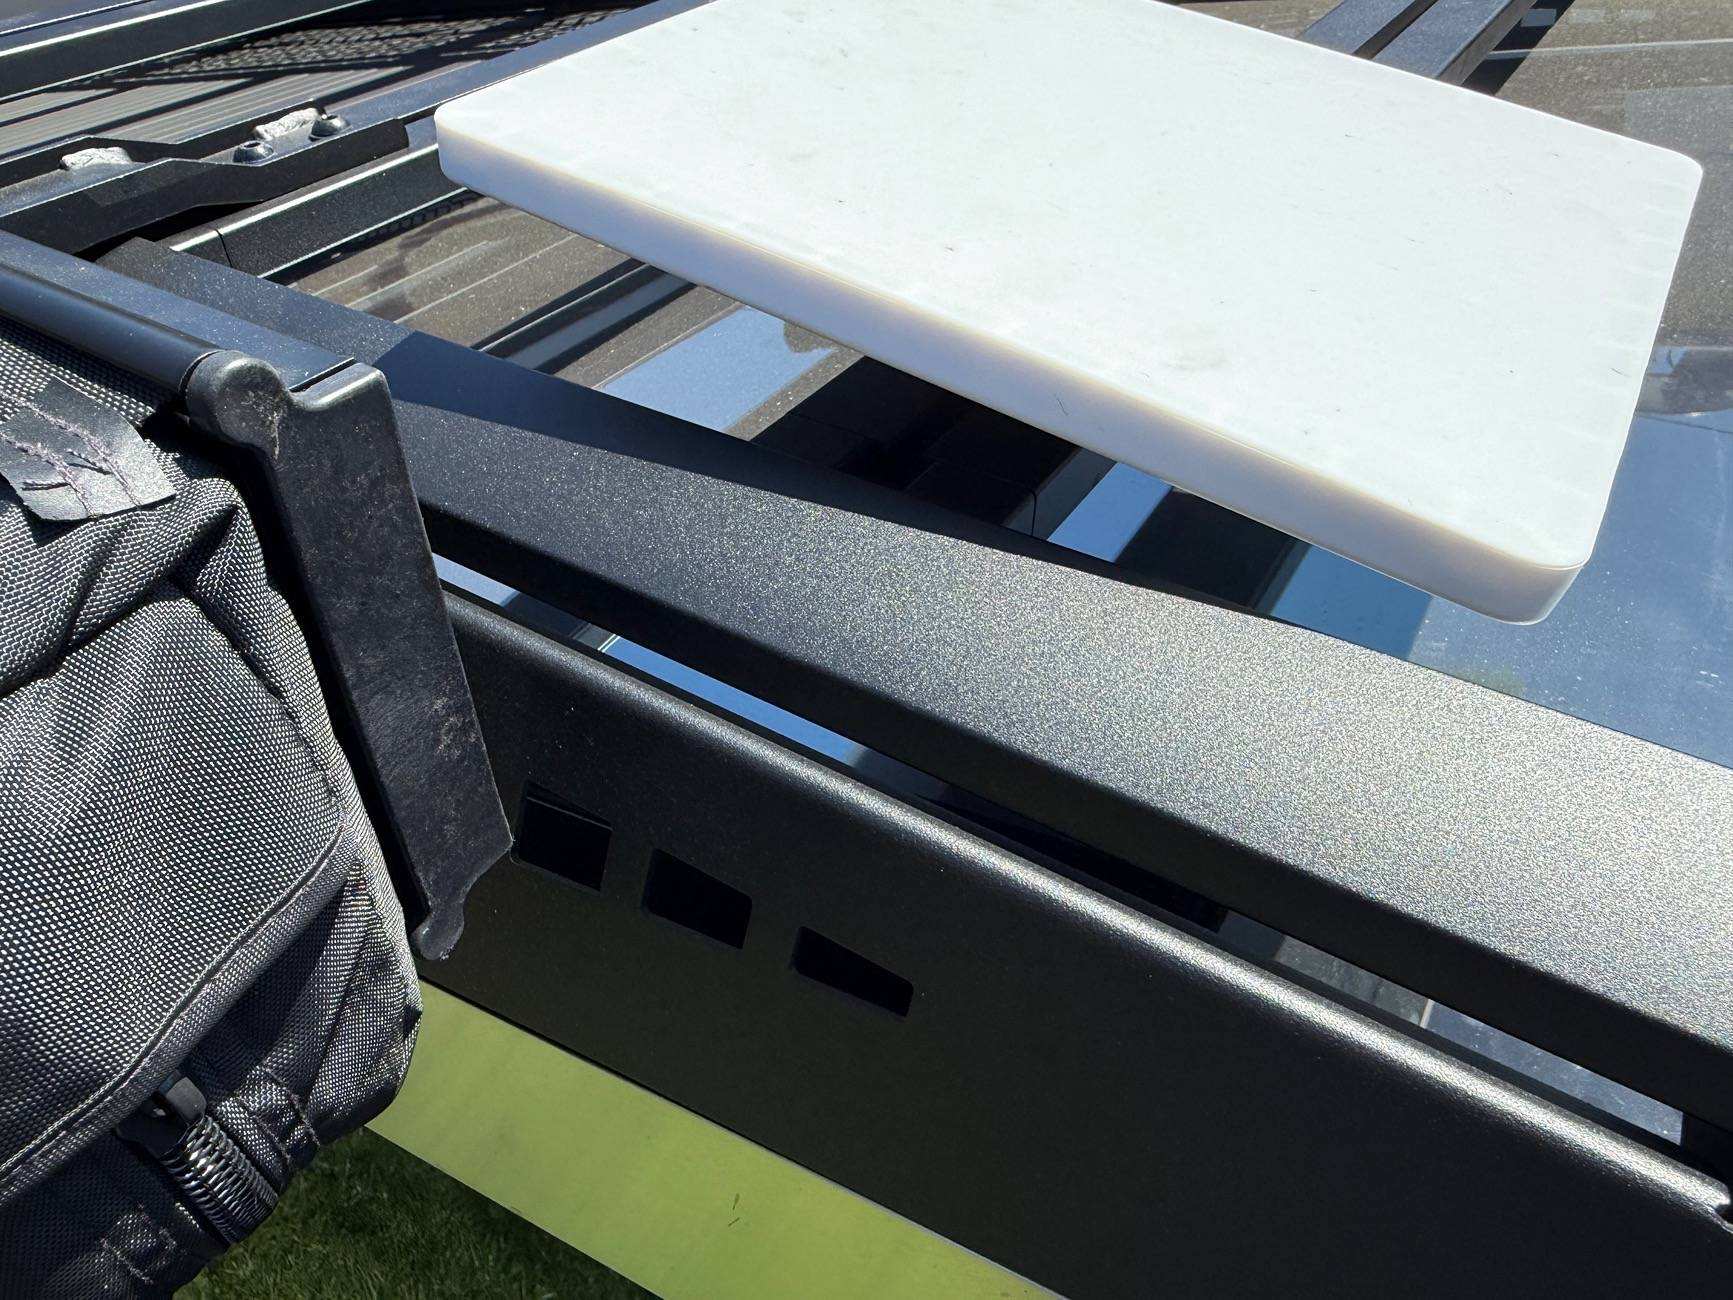
Spotted another one of our racks being used with this Starlink 48V mounting setup😍
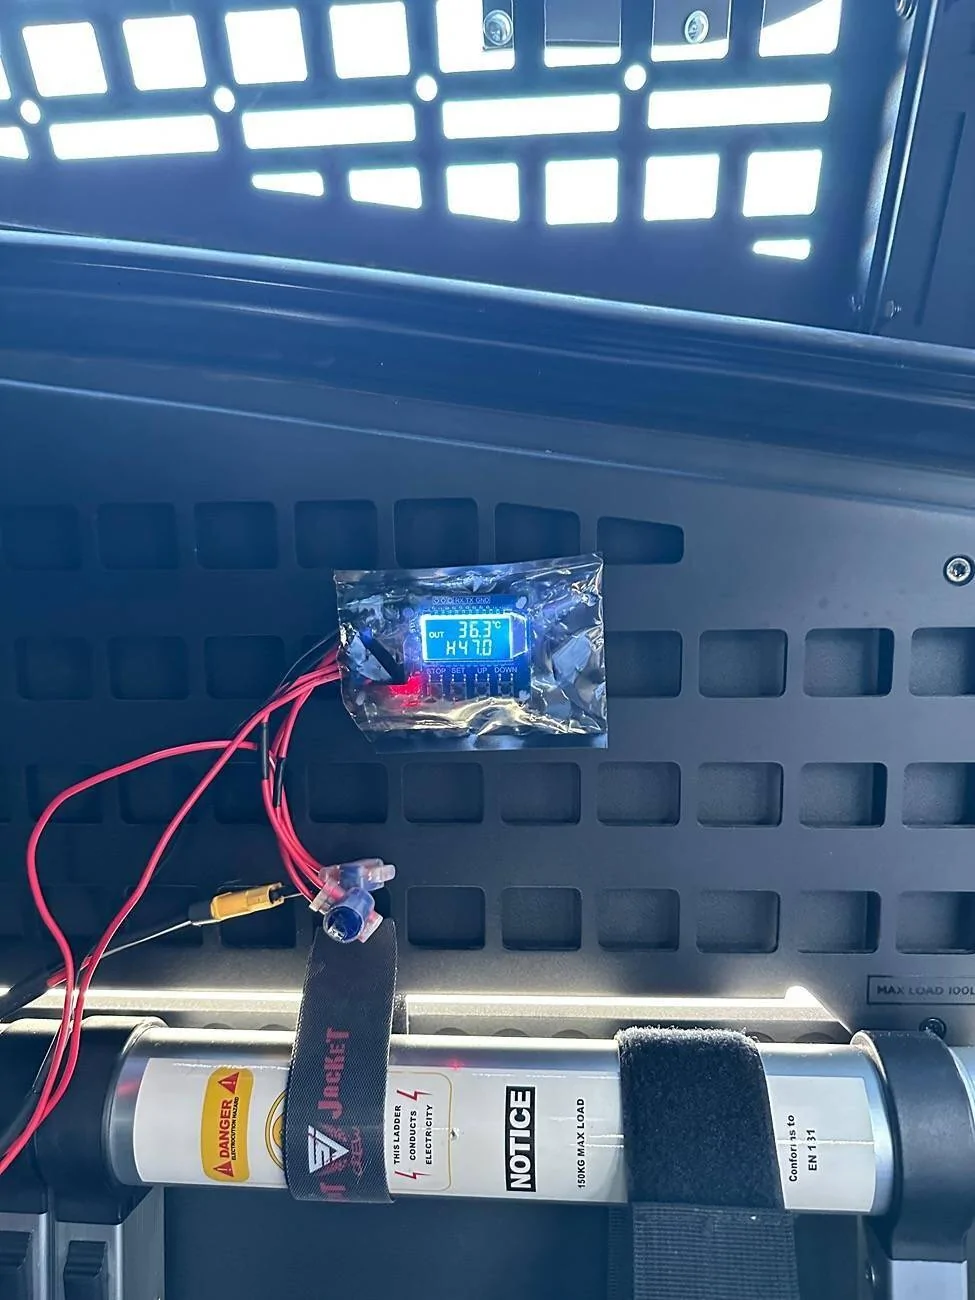
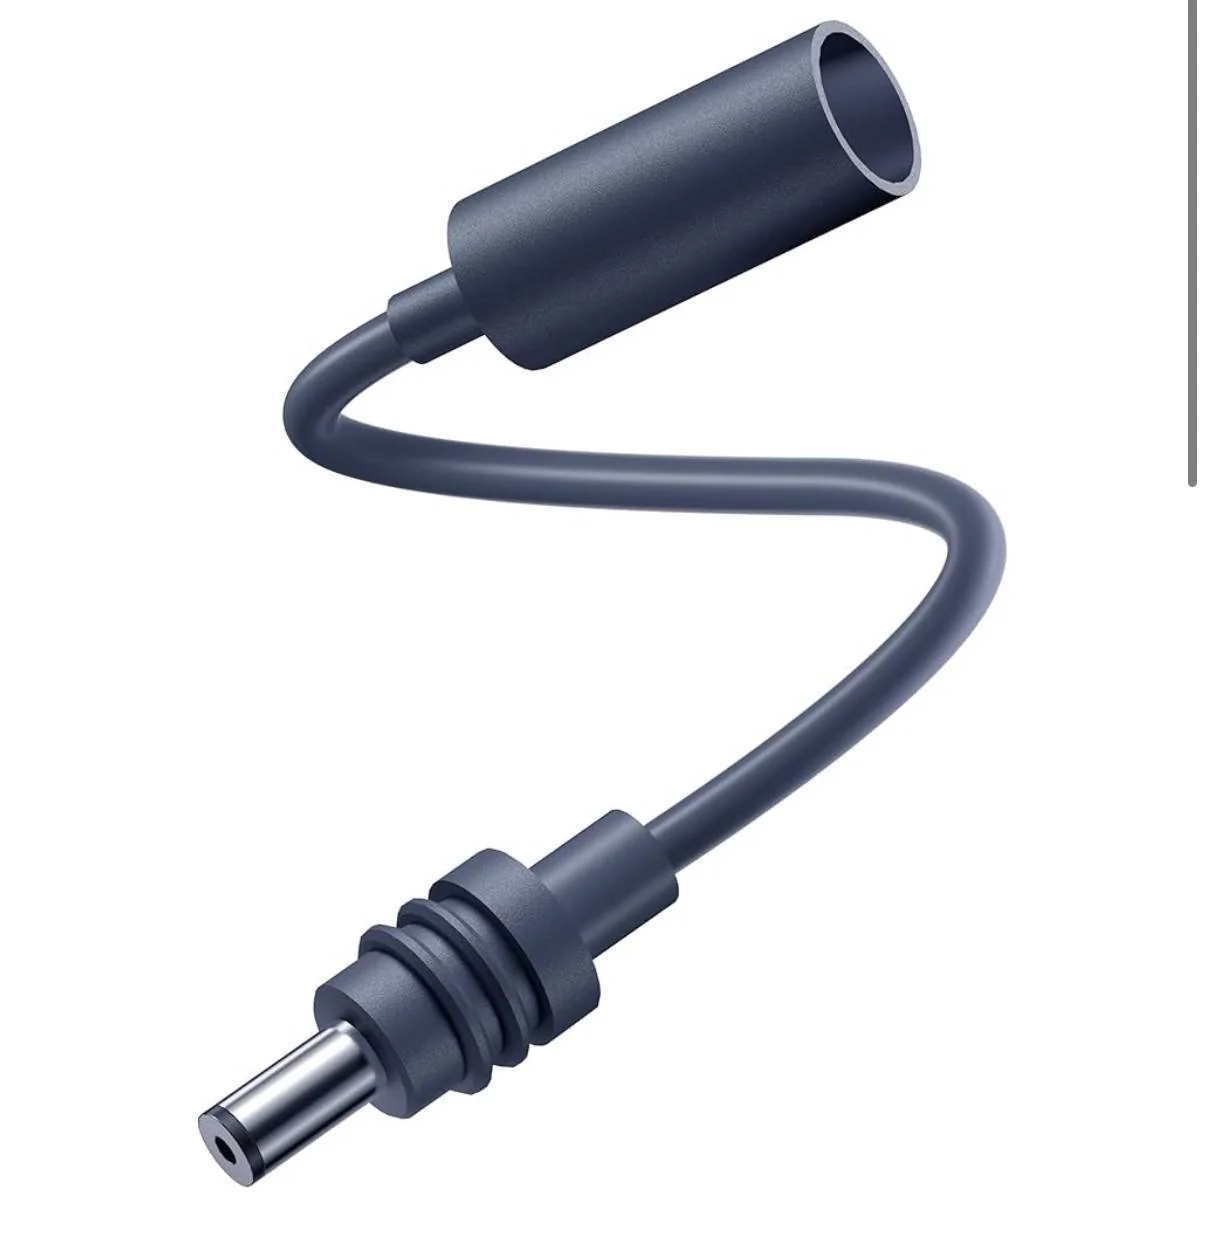
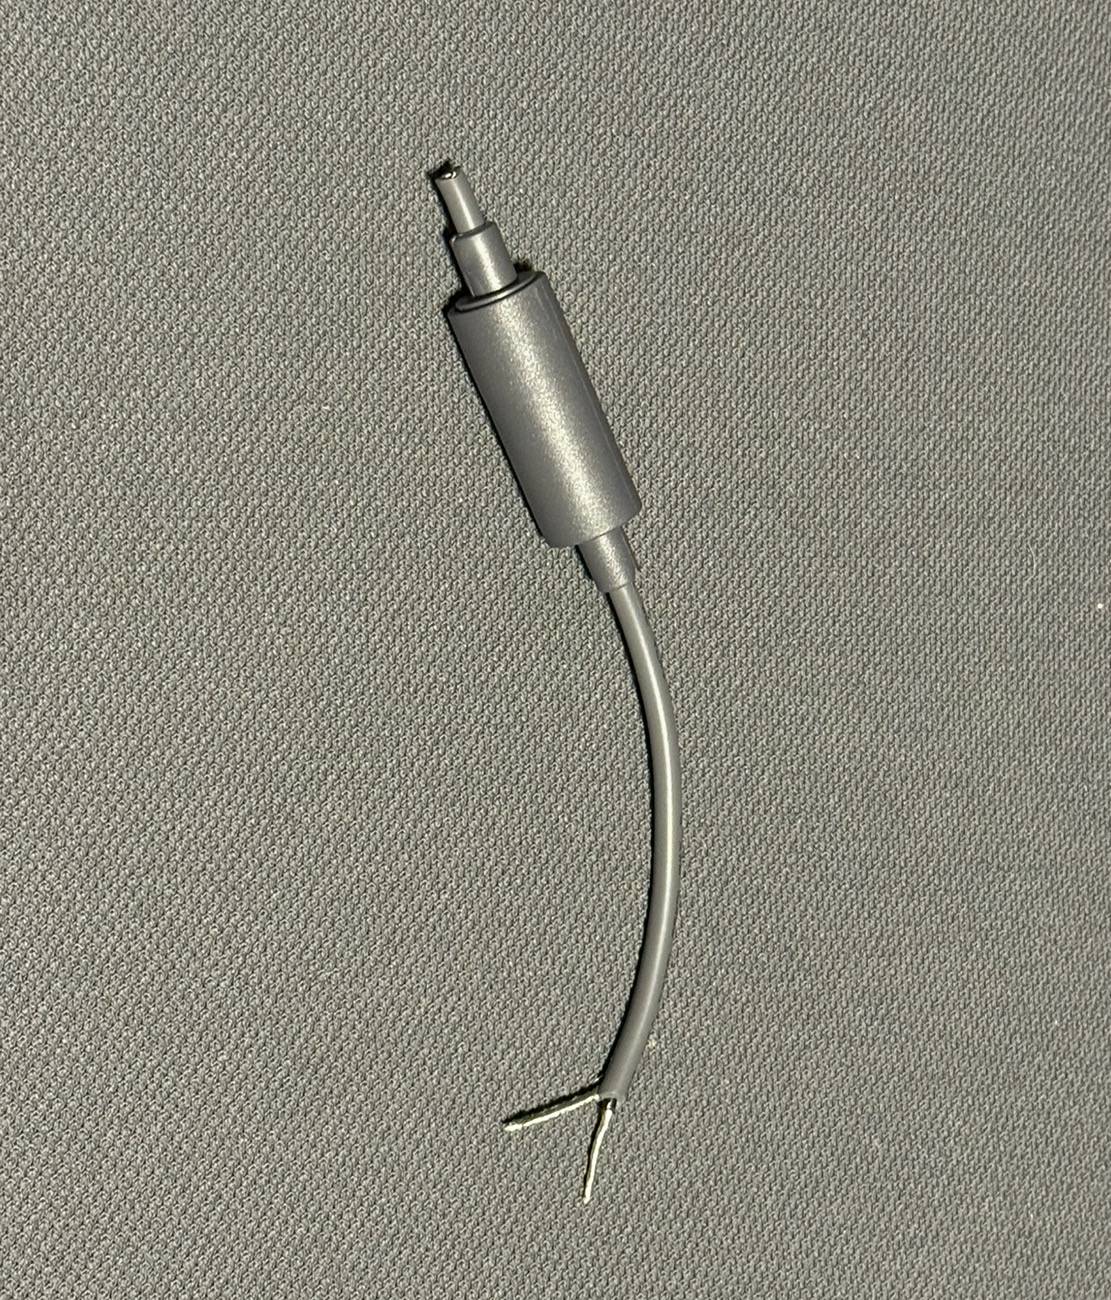
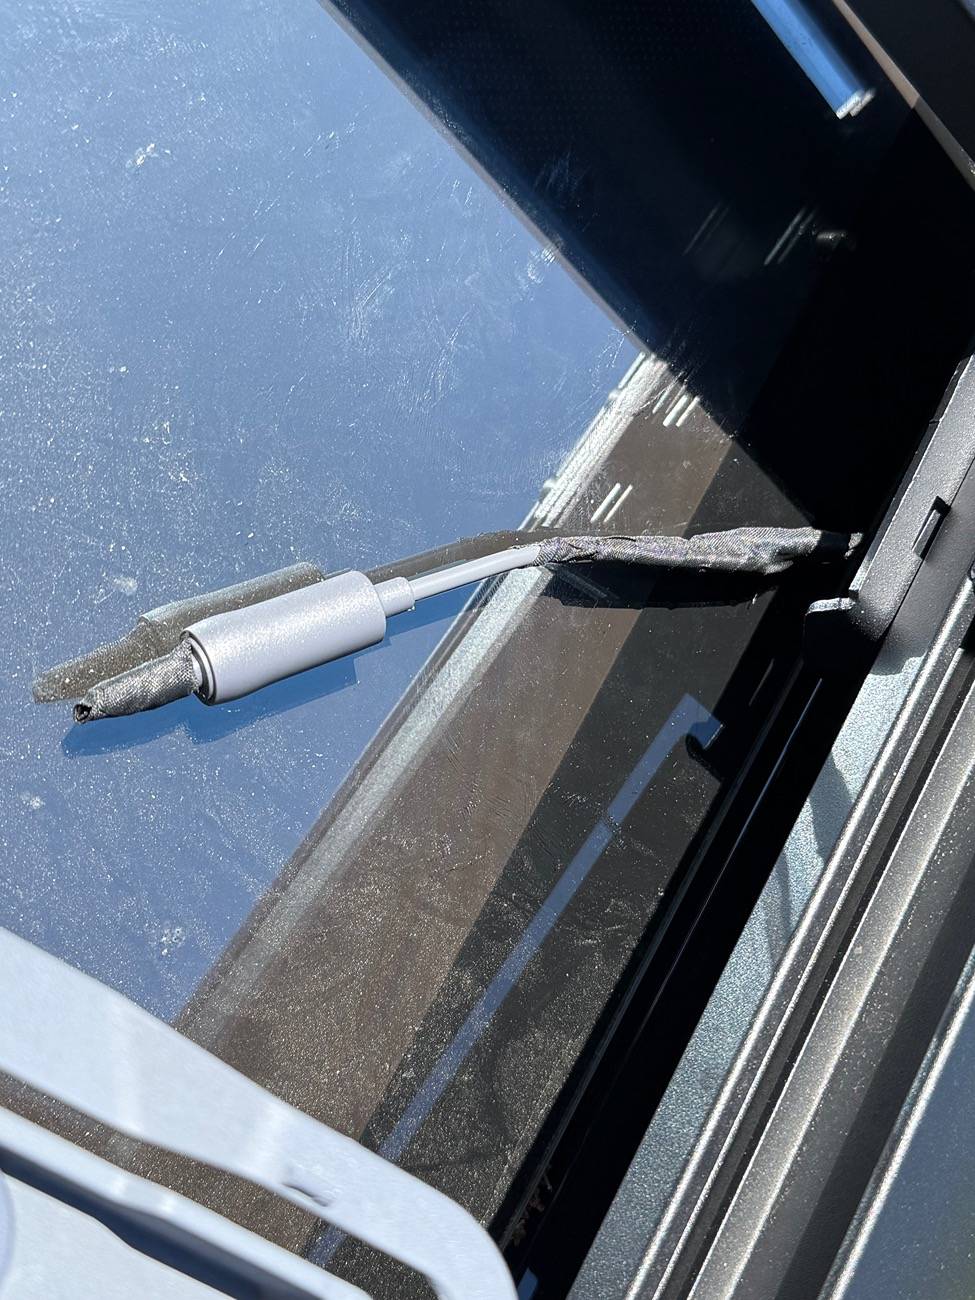
I wanted a clean way to mount my starlink mini on the roof rack without having to run a cable into the bed. I found this adapter on Amazon and cut it to expose the wires and kept the male end as a water proof plug when the cable is not utilized.

IMG_5791.jpeg

IMG_5790.jpeg


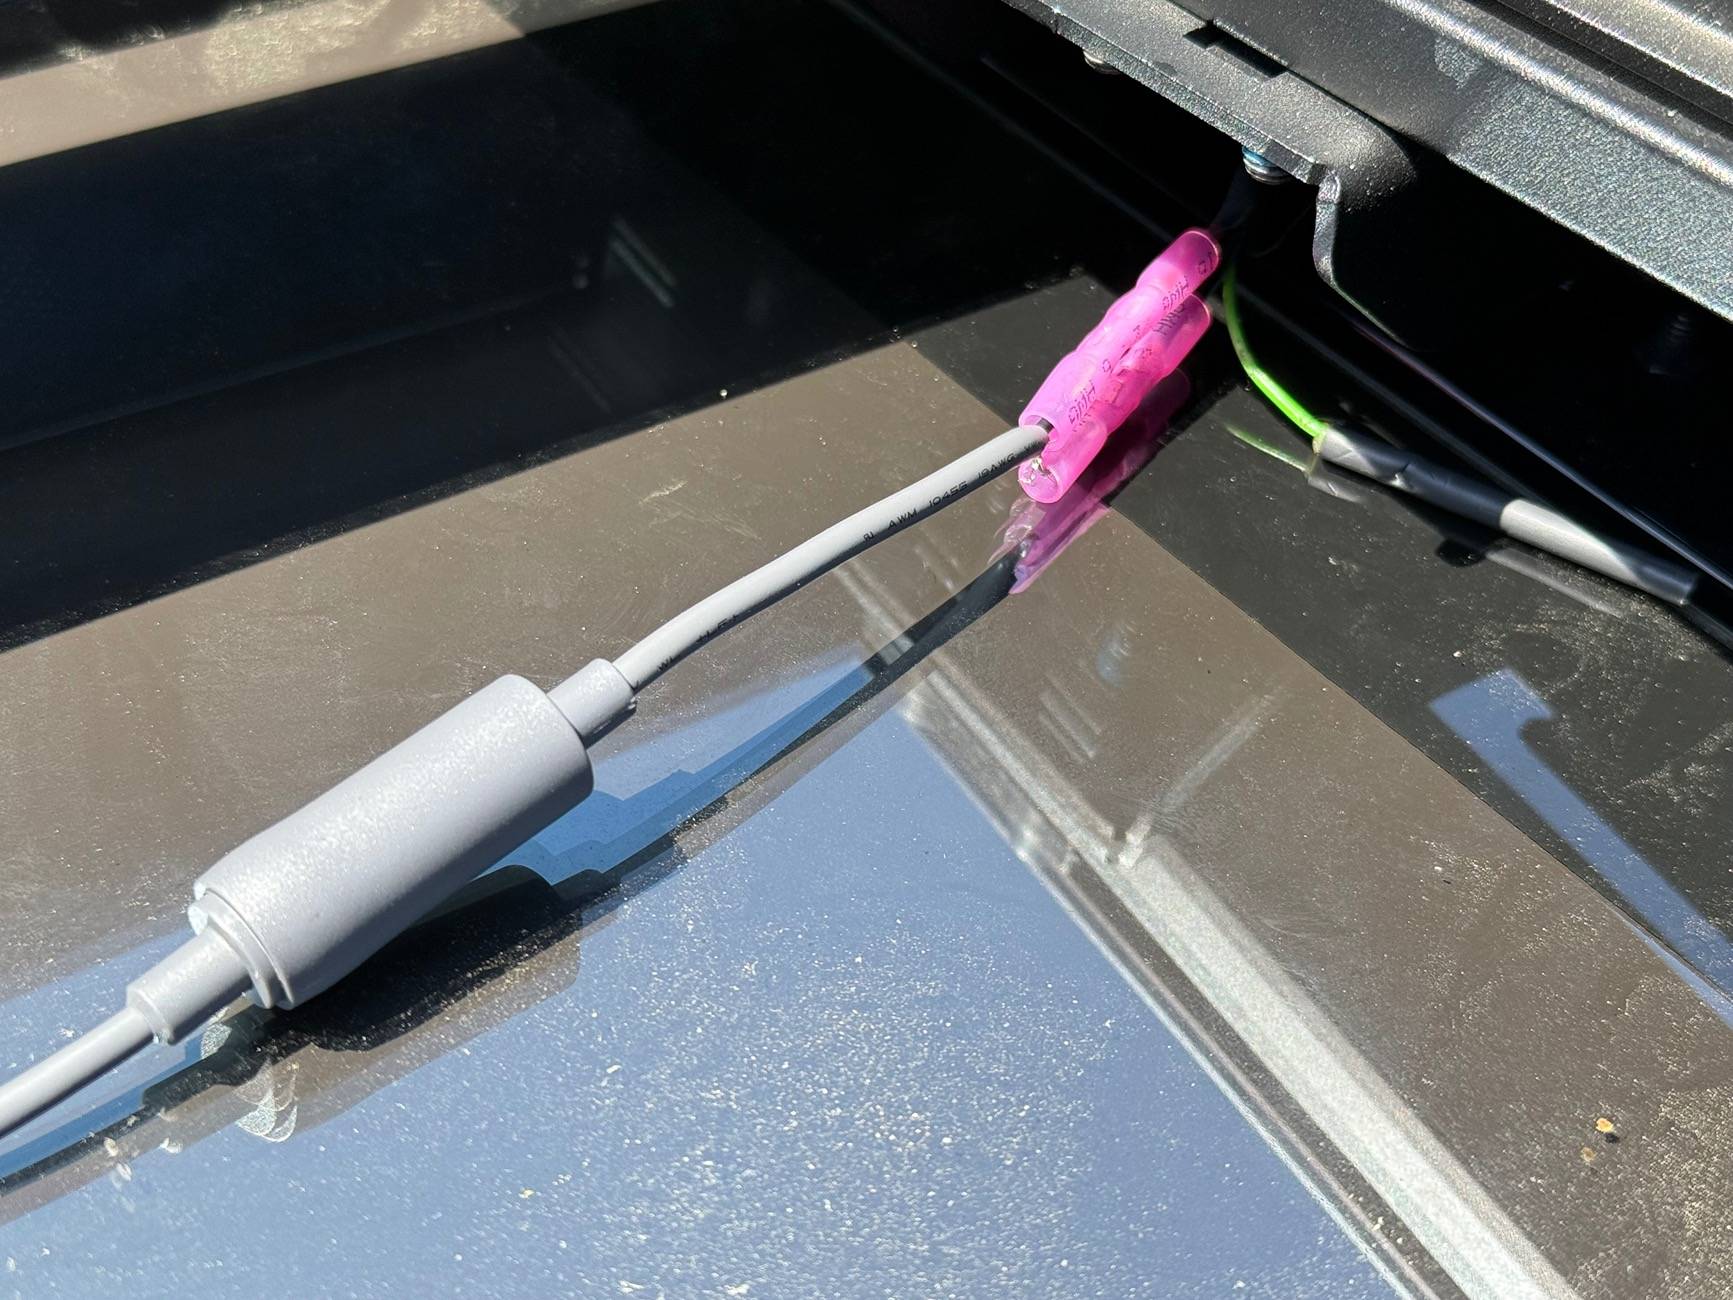
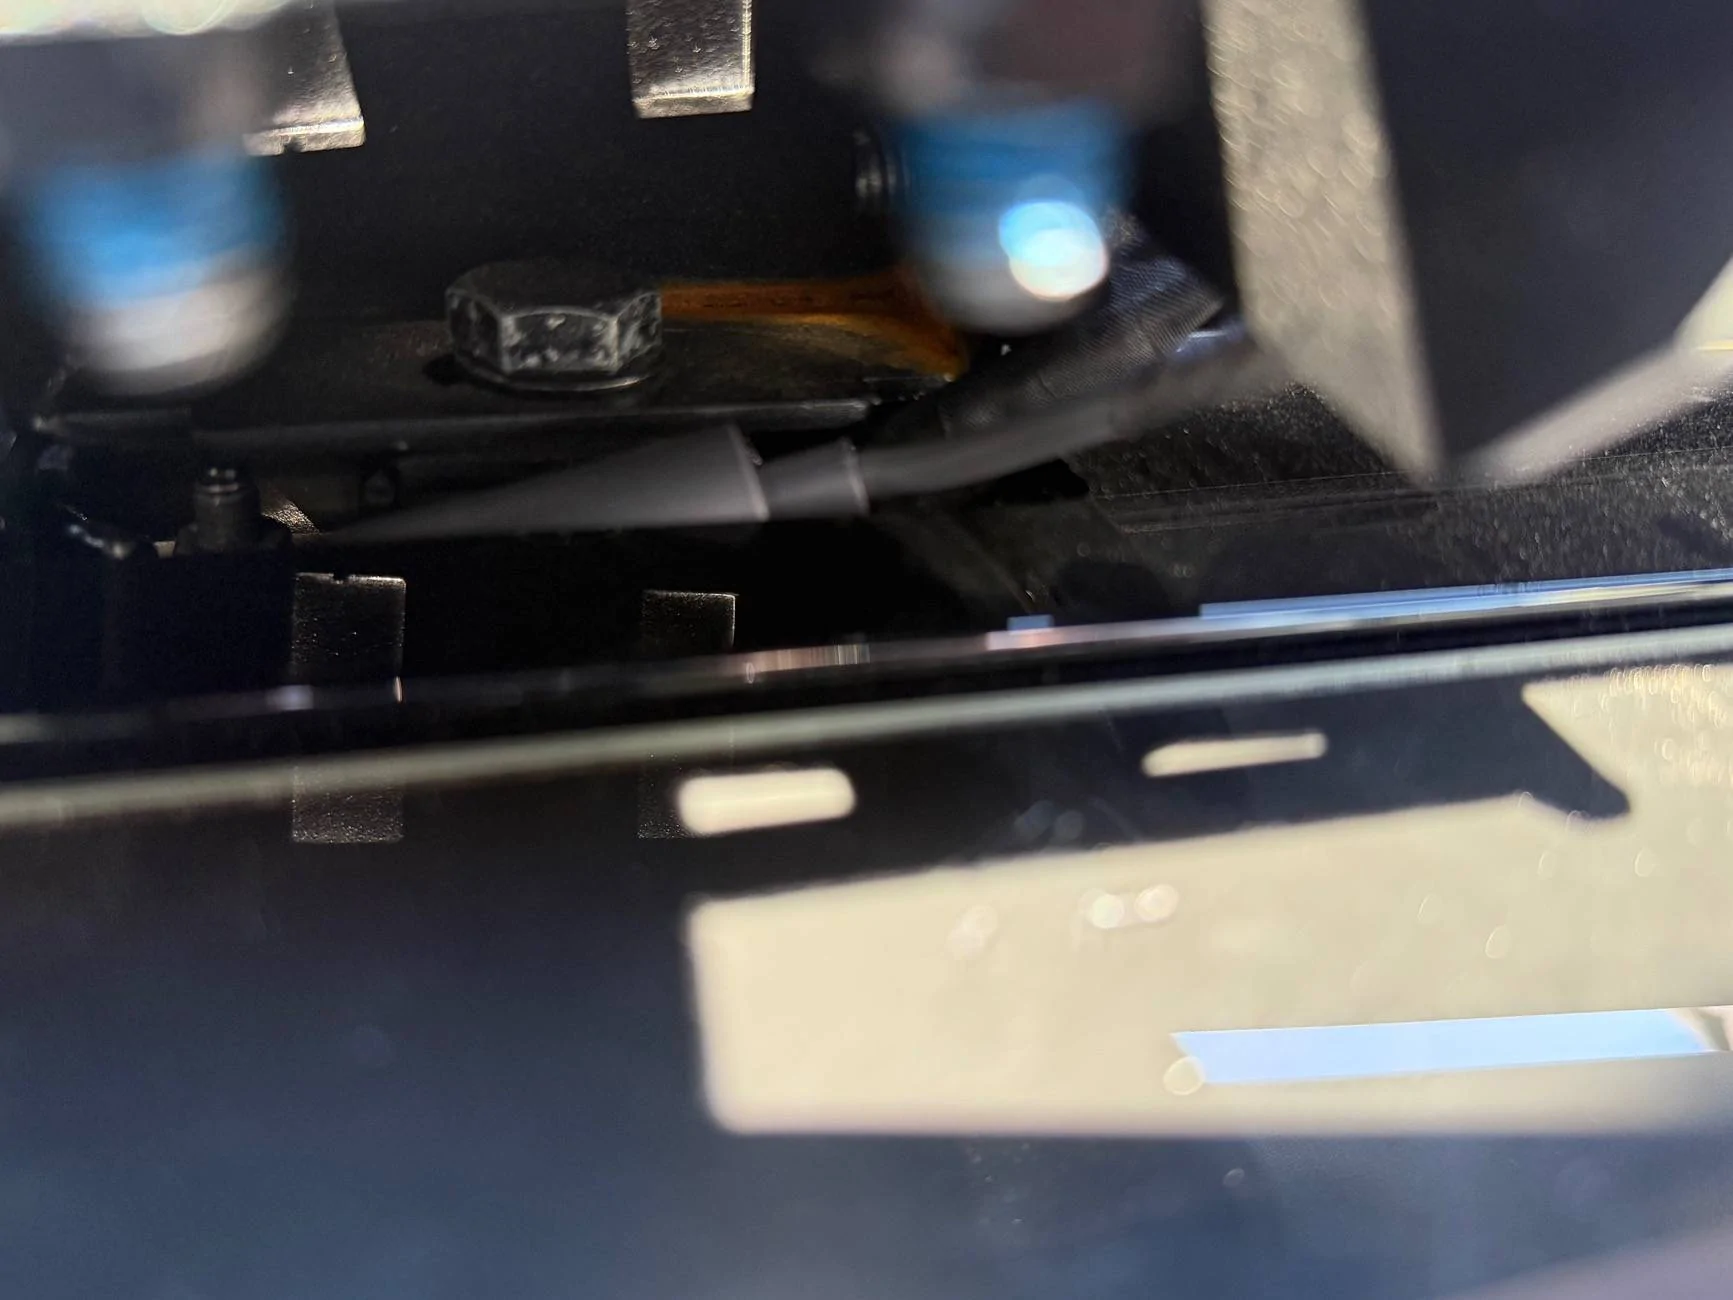
I then stripped down the roof power feeds and connected. Black to outside wire negative and red to inside wire positive.

IMG_5785.jpeg


Got it powered on with the roof power button from inside and all working as expected!

IMG_5789.jpeg


Just gotta heat shrink and tape to button it all up!
Got it all cleaned up and tucked away under the @Urander rack

IMG_5792.jpeg

IMG_5793.jpeg
Sponsored


charliemagpie

Well-known member
First Name
Charlie
Joined
Jul 6, 2021
Threads
47
Messages
2,977
Reaction score
5,359
Location
Australia
Vehicles
CybrBEAST
Occupation
retired
Country flag
I am concerned if the aluminium structure twists when using the awning in strong winds.

i am not talking about common sense in packing the awning away, I will be adding a freestanding strong 270 awning rated for it's ability to withstand strong wind. Can the rack match it ?

Has there been any stress testing done on these racks?
 
OP
OP
Urander

Urander

Well-known member
Site Sponsor
Joined
Dec 26, 2023
Threads
46
Messages
380
Reaction score
825
Location
CA
Website
urander.com
Vehicles
Cyberbeast
Country flag
I am concerned if the aluminium structure twists when using the awning in strong winds.

i am not talking about common sense in packing the awning away, I will be adding a freestanding strong 270 awning rated for it's ability to withstand strong wind. Can the rack match it ?

Has there been any stress testing done on these racks?
We’ve taken it on a bunch of off-road trips with 400 lbs of gear up top - haven’t done formal stress testing, but this video should give you a good idea!

For our own awning, we used three mounting brackets on three crossbars to mount our 270 awning.

Hope this helps!
 
OP
OP
Urander

Urander

Well-known member
Site Sponsor
Joined
Dec 26, 2023
Threads
46
Messages
380
Reaction score
825
Location
CA
Website
urander.com
Vehicles
Cyberbeast
Country flag


OP
OP
Urander

Urander

Well-known member
Site Sponsor
Joined
Dec 26, 2023
Threads
46
Messages
380
Reaction score
825
Location
CA
Website
urander.com
Vehicles
Cyberbeast
Country flag
Might be the most practical and budget-friendly water setup for the Cybertruck I’ve seen yet!

Tesla Cybertruck Urander Rack Mega Thread – Post Your Setup! 1746479972943-ln

Tesla Cybertruck Urander Rack Mega Thread – Post Your Setup! 1746479985710-af

Tesla Cybertruck Urander Rack Mega Thread – Post Your Setup! 1746480012165-na

Tesla Cybertruck Urander Rack Mega Thread – Post Your Setup! 1746480033433-33

I added a thermostat so that my Cybertruck’s water heater shuts off when the water reaches 118 degrees F (47 degrees C).

IMG_2854.jpeg


IMG_2856.jpeg
CT_AZ_4x4's RoadShower Components for Cybertruck Hot Water Delivery System

Wash dishes, clothes, shoes, boots, dirty dogs, dirty children, take a shower, even possibly use the RoadShower as a heat source like some do with hot water bottles. Put it in your Roof Top Tent and have heat! Do all the amazing stuff that you have been doing with your awesome Cybertruck, just better! And you’ll only use about 200 watts an hour or so, depending on the heating element that you choose!

All of the parts needed are listed below including simple step-by-step instructions.

The RoadShower has a few quick-connects. One is a shower head and the other is a spray nozzle. I suggest buying both. The shower attachment is separate from the RoadShower unit itself but worth it IMHO. The RoadShower has a Shraeder valve that lets you pressurize the tank with a bike or tire pump. It also has a pressure relief valve that pops around 55 PSI. It has 2 connection points for 1/2 NPT. One of these will be where you add a heating element using an adaptor. The other is for your water delivery point / water hose / shower head. Enjoy, fellow Cybertruck nuts!

Yakama RoadShower Aluminum Canister / Delivery System

https://www.rei.com/product/191518/yakima-roadshower-portable-shower-4-gal

$479 at REI (or more for larger than 4 gallon-sized)

Threaded 36-48 volt DC 200 or 400 Watt Heating Element M14 Threaded Stainless Steel

https://www.amazon.com/dp/B0BJZ3PNFW?ref_=pe_386300_442618370_TE_sc_as_ri_0&th=1

$39 at Amazon

1/2 Inch NPT Male to Metric M14 M14.1.5 Female Brass Adaptor

https://www.ebay.com/itm/162362536500

$13 at Fittings Space at Ebay

(1) Tie into your roof accessory 48 volt and run that where you will be installing your water heater. (I like using XT connectors for their ubiquity and ease of connection/disconnect.)

(2) Thread the heating element into the M14 female adaptor. Hand tighten FIRMLY. There is a gasket and it should be firmly seated against the adaptor.

(3) Thread the 1/2 inch NPT to Metric adaptor with the heating element already installed into the RoadSHow water canister. Tighten 1/4 turn to 1/2 turn past initial bottom out using a 7/8ths inch wrench.

(4) Tie the pigtail ends of your hot water heating element into your roof accessory 48 volt feed. Use a detachable connector close to the RoadShower to allow for quick disconnect as there is no thermostat in this system.

(5) When you want hot water, turn on your roof accessory 48 volt feed from your awesome truck’s touchscreen! Make sure to monitor the water temperature as there is no thermostat as described. Use the sticker thermometer that comes with the Yakima RoadShower and make sure to test the water before using it so that it doesn’t burn anyone. If it is too hot, add some cold water to the RoadShower until the desired temperature is achieved.

(6) I added a temperature sensor to the exterior of the RoadShower (the canister is aluminum and magnets don’t work) that I purchased through Home Depot and then added a longer strapping wire to fit the circumference of the RoadShower.


https://www.homedepot.com/pep/31950...65877eb60f2ef3ff5c4d9e07d7c380bfede62fd0c21e9


$13 at Home Depot

Yakama RoadShower with Heating Element Installed.jpg


Water Temp Prior to Roof Accessory 48volt Applied to Heating Element.jpg


Water Temperature 30-40 minutes AFTER Applying 48 volt Roof Accessory Voltage.jpg


Water Temperature after about 75 minutes of roof accessory power applied.jpg


OP
OP
Urander

Urander

Well-known member
Site Sponsor
Joined
Dec 26, 2023
Threads
46
Messages
380
Reaction score
825
Location
CA
Website
urander.com
Vehicles
Cyberbeast
Country flag


If we had 4,000 $TSLA shares before the split, you’d catch us camping on every continent. 🤣
Sponsored


Top