Sponsored

Stripped steering wheel bolt - Advice needed 😞

HaulingAss

Well-known member
Joined
Oct 3, 2020
Threads
28
Messages
10,334
Reaction score
20,756
Location
Western Washington, USA
Vehicles
Cybertruck DM, 2010 F-150, 2018 Performance Model 3, 2024 Performance Model 3
Country flag
Heat could be a mistake in this situation unless you can heat the surrounding metal more than the bolt, as a heated bolt will expand. Heat is often helpful where the device being removed can be heated more that the bolt or screw. For example, heat helps removed frozen nuts because they can be heated more than the bolt.
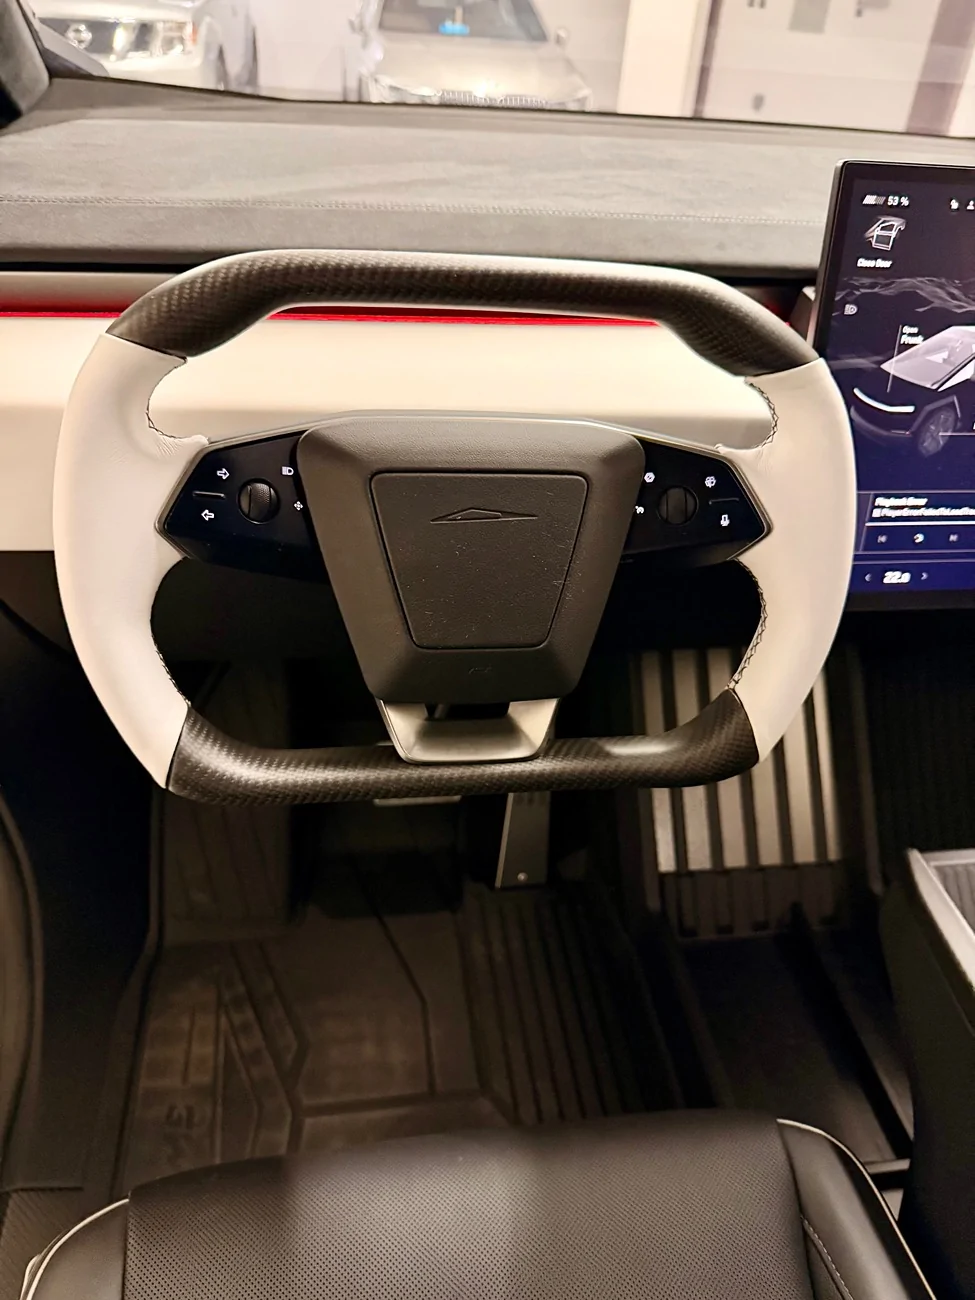
Heating just the bolt is a very effective way to loosen a tight bolt. The reason this is so effective is because when the bolt was tightened it put the bolt under great elastic tension. Tightening the bolt actually stretches the length of the bolt in an elastic manner, meaning it wants to return to it's original length but cannot because friction is preventing it from rotating counter clockwise. Heating it causes the bolt to elongate which reduces the tension on the bolt. Heating it does cause it to also expand slightly in diameter but that's insignificant because there is enough clearance between the male and female threads that the binding is in an axial direction to the bolt, not transverse.

The last thing you would want to do is heat the aluminum around the bolt, causing it to expand in thickness, thus increasing the tension on the bolt. That said, any heating can help break free a corroded fastener by causing movement that breaks the bonds formed by the oxidation between the threads, something likely not in play in the steering wheel bolt of a relatively new Cybertruck.

Also, there could be thread locking compound on the threads, if so, heating the bolt is the fastest, least risky method to soften/weaken it, making it much easier to loosen.
Sponsored

 
Last edited:

HaulingAss

Well-known member
Joined
Oct 3, 2020
Threads
28
Messages
10,334
Reaction score
20,756
Location
Western Washington, USA
Vehicles
Cybertruck DM, 2010 F-150, 2018 Performance Model 3, 2024 Performance Model 3
Country flag
Maybe heat will help loosen the sealant, but none of the Tesla service guides call for it, or suggest the bolt will be difficult. The interwebs, on the other hand, are replete with sad tales of busted knuckles, stripped bolts and loud cursing while attempting this procedure.

Next best bet: impact wrench. Just don't collapse the steering column lol
The flat head of that bolt is a large diameter, probably to prevent it from accidentally backing out (a larger diameter seating surface has more friction, further from the axis of rotation).

For those needing to remove this bolt I would suggest an impact driver and three drops of very light oil around the perimeter of the bolt head. This will wick around the seating area and reduce friction as the impact driver does it's thing.
 
OP
OP
HMGT3

HMGT3

Member
Joined
Nov 10, 2025
Threads
4
Messages
18
Reaction score
9
Location
Muscat, Oman.
Vehicles
Cyberbeast
Country flag
Thanks everyone for the feedback, really appreciate it!
I was honestly surprised by how ridiculously tight that bolt was. I’ve done steering wheel removals on other cars and usually, with a bit of effort, they come loose.
I’ve gone ahead and ordered some penetrating fluid and a proper triple-square spline socket set to get a better grip. I’ll give that a try before resorting to drilling or using extractor bits. Hopefully, this setup does the job without causing more damage.
 

TyPope

Well-known member
First Name
Ty
Joined
Mar 31, 2020
Threads
33
Messages
3,219
Reaction score
4,936
Location
Chesapeake Beach, MD
Vehicles
'23 MYLR, FS Cyberbeast 280xx
Occupation
Current Operations for... an organization
Country flag
Oh, and CHF means Cold Hammer Forged.

Just to save that little search for everyone.
Thanks everyone for the feedback, really appreciate it!
I was honestly surprised by how ridiculously tight that bolt was. I’ve done steering wheel removals on other cars and usually, with a bit of effort, they come loose.
I’ve gone ahead and ordered some penetrating fluid and a proper triple-square spline socket set to get a better grip. I’ll give that a try before resorting to drilling or using extractor bits. Hopefully, this setup does the job without causing more damage.

I'd recommend anyone doing this:
1. penetrating oil
2. Hardened Bit (usually blackish/grey and labeled "Impact"
3. If you don't have an impact driver, use a breaker bar for leverage. It lets you apply a lot of force evenly rather than trying to put a hurting on a shorter wrench. You'll get a more even torque along the right plane. I've used a 6' Torque wrench for 1,800# lb of torque on a B-52 back in the day.


What’s the difference between red and blue Loctite threadlocker?
The difference between red and blue threadlocker is a matter of strength and removability. Loctite threadlocker blue is designed to easily be replaceable with common tools, whereas red is a more permanent fix.

For a hold that can be easily removed, Loctite Threadlocker Blu3 242 is what you use. It’s perfect for motorized and nonmotorized parts that need occasional servicing, like car parts (oil pans, water pumps, etc), or even motorized yard equipment, bicycles, furniture and much more.

For parts that need a more permanent hold, like structural bolts in a home, auto suspensions and frames, or any other heavy machinery, Locktite Threadlocker Red 271 is the answer. This industrial grade threadlocker packs a stronger punch than the blue and can only be removed by heating the parts to 500F.

I can't see Tesla using this level of Threadlocker or similar product that requires heating up like that.
 
Last edited:


Tallgeese179

Well-known member
First Name
Nikola
Joined
Sep 11, 2025
Threads
3
Messages
167
Reaction score
344
Location
Pittsburgh, PA
Vehicles
2025 CT AWD, 21 BMW X7, 15 370Z Nismo
Country flag
Thanks everyone for the feedback, really appreciate it!
I was honestly surprised by how ridiculously tight that bolt was. I’ve done steering wheel removals on other cars and usually, with a bit of effort, they come loose.
I’ve gone ahead and ordered some penetrating fluid and a proper triple-square spline socket set to get a better grip. I’ll give that a try before resorting to drilling or using extractor bits. Hopefully, this setup does the job without causing more damage.
Looking at the instructions online it seems like that's a 10mm internal hex. As others have stated, I'd go with an impact for removal for two reasons:
  1. Impact wrench has high torque applied over a short duration (high impluse), helping to break the static friction/stiction and any thread locker in the threads
  2. Force application is purely rotational and coaxial with the bolt axis, instead of a breaker bar where you're applying a linear force at a distance. In my experience it's very difficult to perfectly apply a large force at a distance and keep movement along a plane orthogonal to the bolt axis. A long way of saying, you're likely to strip the internal hex.
I would also look to these guys for empirical data on what brand bits will work the best here. Personally I like Wera hex plus keys/bits since they have a geometry optimized for applying off corner loading (similar school of thought to all of the good open ended wrenches like WrightGrip 2.0, Snap-On FlankDrive, etc.). In their testing though, it does show that GripEdge is objectively the best at applying maximum torque before slipping. It's the same design that MAC licenses for their RBRT line. I have the Tekton set, since it's more affordable and came in second place for impacts.


If you do have to go with a screw extractor, the ICON or Neiko sets reviewed by Project Farm both did very well.


P.S. One final recommendation for applying heat to a fastener: consider using a soldering iron, since you can set the temperature accurately and control heat distribution very well since it's through conduction instead of convection. I use it all the time when installing heat set inserts into my printed parts at work. There are even brass tips on Amazon for a variety of soldering irons designed specifically for this. It just takes a bit for the heat to conduct through the length of the bolt, but boy it works. If you really want to get crazy and go for a thermal shock method, flip a can of compressed air upside down and blast the bolt after heating it up. It'll get it down to below freezing very quickly. I use this when I'm lazy and don't feel like waiting for my inserts to cool.
 

HaulingAss

Well-known member
Joined
Oct 3, 2020
Threads
28
Messages
10,334
Reaction score
20,756
Location
Western Washington, USA
Vehicles
Cybertruck DM, 2010 F-150, 2018 Performance Model 3, 2024 Performance Model 3
Country flag
Oh, and CHF means Cold Hammer Forged.

Just to save that little search for everyone.
Are you sure the bolt head doesn't say "CIF" for "Chicago Industrial Fasteners"?

Cold hammer forging is a process mostly used for the barrels of firearms, not common automotive bolts. Bolt heads usually indicate the grade and sometimes the maker, generally not the manufacturing process.
 

hemiarch

Well-known member
First Name
Ace
Joined
Jan 22, 2025
Threads
116
Messages
8,391
Reaction score
9,643
Location
Arizona
Vehicles
2024 foundation AWD, 2024 model x
Occupation
Trauma Surgeon
Country flag
Are you sure the bolt head doesn't say "CIF" for "Chicago Industrial Fasteners"?

Cold hammer forging is a process mostly used for the barrels of firearms, not common automotive bolts. Bolt heads usually indicate the grade and sometimes the maker, generally not the manufacturing process.
That makes more sense to me than congestive heart failure which is all I can think of when I read that acronym.
That and Dick Cheney.
sorry….too soon for that.
 
OP
OP
HMGT3

HMGT3

Member
Joined
Nov 10, 2025
Threads
4
Messages
18
Reaction score
9
Location
Muscat, Oman.
Vehicles
Cyberbeast
Country flag
Looking at the instructions online it seems like that's a 10mm internal hex. As others have stated, I'd go with an impact for removal for two reasons:
  1. Impact wrench has high torque applied over a short duration (high impluse), helping to break the static friction/stiction and any thread locker in the threads
  2. Force application is purely rotational and coaxial with the bolt axis, instead of a breaker bar where you're applying a linear force at a distance. In my experience it's very difficult to perfectly apply a large force at a distance and keep movement along a plane orthogonal to the bolt axis. A long way of saying, you're likely to strip the internal hex.
I would also look to these guys for empirical data on what brand bits will work the best here. Personally I like Wera hex plus keys/bits since they have a geometry optimized for applying off corner loading (similar school of thought to all of the good open ended wrenches like WrightGrip 2.0, Snap-On FlankDrive, etc.). In their testing though, it does show that GripEdge is objectively the best at applying maximum torque before slipping. It's the same design that MAC licenses for their RBRT line. I have the Tekton set, since it's more affordable and came in second place for impacts.


If you do have to go with a screw extractor, the ICON or Neiko sets reviewed by Project Farm both did very well.


P.S. One final recommendation for applying heat to a fastener: consider using a soldering iron, since you can set the temperature accurately and control heat distribution very well since it's through conduction instead of convection. I use it all the time when installing heat set inserts into my printed parts at work. There are even brass tips on Amazon for a variety of soldering irons designed specifically for this. It just takes a bit for the heat to conduct through the length of the bolt, but boy it works. If you really want to get crazy and go for a thermal shock method, flip a can of compressed air upside down and blast the bolt after heating it up. It'll get it down to below freezing very quickly. I use this when I'm lazy and don't feel like waiting for my inserts to cool.
Thanks a lot for the great advice, really appreciate you taking the time to explain it. I actually didn’t think of using a soldering iron for controlled heating, but it makes perfect sense.

Quick question for you since you’ve done this a lot:

What temperature do you usually set your soldering iron to for heating a fastener to break the threadlocker?
  • Where exactly do you place the tip directly on the bolt head or off to the side to avoid damaging nearby material?
  • How long do you normally keep the iron on the bolt before it becomes effective?
  • And if you have any extra tips for avoiding damage to surrounding plastic or connectors, I’m all ears.
 

Tallgeese179

Well-known member
First Name
Nikola
Joined
Sep 11, 2025
Threads
3
Messages
167
Reaction score
344
Location
Pittsburgh, PA
Vehicles
2025 CT AWD, 21 BMW X7, 15 370Z Nismo
Country flag
Thanks a lot for the great advice, really appreciate you taking the time to explain it. I actually didn’t think of using a soldering iron for controlled heating, but it makes perfect sense.

Quick question for you since you’ve done this a lot:

What temperature do you usually set your soldering iron to for heating a fastener to break the threadlocker?
  • Where exactly do you place the tip directly on the bolt head or off to the side to avoid damaging nearby material?
  • How long do you normally keep the iron on the bolt before it becomes effective?
  • And if you have any extra tips for avoiding damage to surrounding plastic or connectors, I’m all ears.
Honestly in this situation I don't expect there to be permanent threadlocker. If the used one, it's probably blue and doesn't require heat for removal. Heat or heat/rapid cooling will definitely help, but I'm not convinced the risk is worth it. The main advantage of a soldering iron is that the heat will travel through conduction and will minimally impact the surrounding plastic. However as the heat spreads through the bolt body and the whole bolt heats up, it will inevitably soften/melt the plastic it is touching or is nearby. My experience is actually in the opposite, where I'm using the iron to heat up brass threaded inserts to have them melt into printed plastic parts. I use 800°F for that. If I absolutely had to use a soldering iron, I would get a tip that fits inside the hex and just hold it there. This will make the path from contact to the threaded portion as short as possible.

I would recommend either trying one of the GripEdge hex bits or the Tekton/Wera bits with off-corner loading geometry. I would just make sure to hammer them in lightly to seat them fully into what is left of the hex and to use some sort of impact wrench to break it free. If that fails, one of the bolt extractors will have to be used, sadly.


4 SPACE

Well-known member
First Name
Chuck
Joined
May 31, 2025
Threads
6
Messages
98
Reaction score
133
Location
Bullhead City
Vehicles
Cyber Beast (Foundation Series) Model Y (Juniper)
Country flag
Use a Snap-on 6 point socket
Snap-on sockets grab the bolts on the side not the corners
 
OP
OP
HMGT3

HMGT3

Member
Joined
Nov 10, 2025
Threads
4
Messages
18
Reaction score
9
Location
Muscat, Oman.
Vehicles
Cyberbeast
Country flag
Tesla Cybertruck Stripped steering wheel bolt - Advice needed  😞 IMG_0723
Update – Stripped Bolt Removed!

Just wanted to give everyone a quick update. I finally managed to remove the stripped bolt!
Used a combination of penetrating oil, heat, a T55 Torx, and a breaker bar and it finally came loose.
Huge thanks to everyone here for the tips, support, and patience. Really appreciate the help! 🙌


Top