Cyber_Punk_SFL
Well-known member
- Joined
- Nov 23, 2024
- Threads
- 8
- Messages
- 186
- Reaction score
- 124
- Location
- Florida, USA
- Vehicles
- 2024 Tesla Cybertruck, 2024 Tesla Model 3
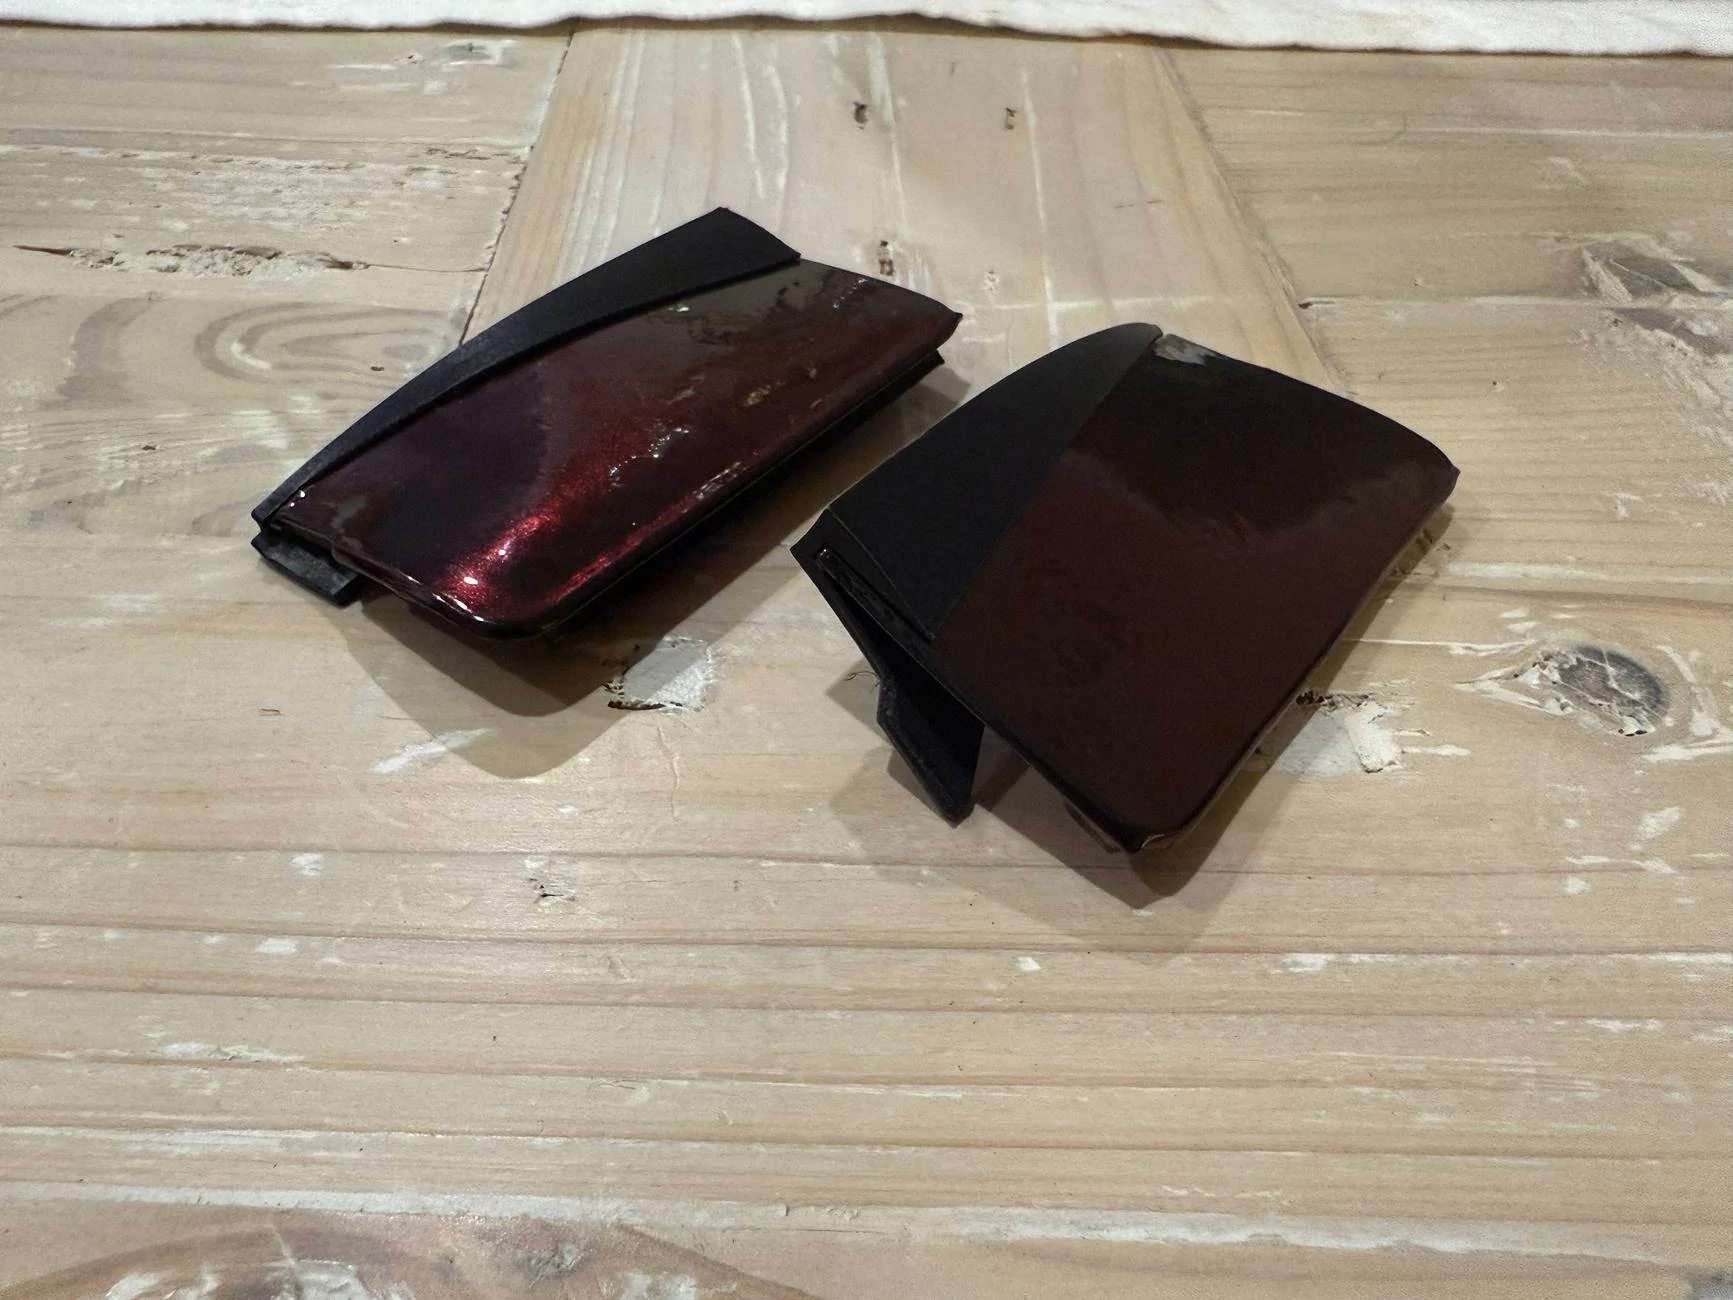
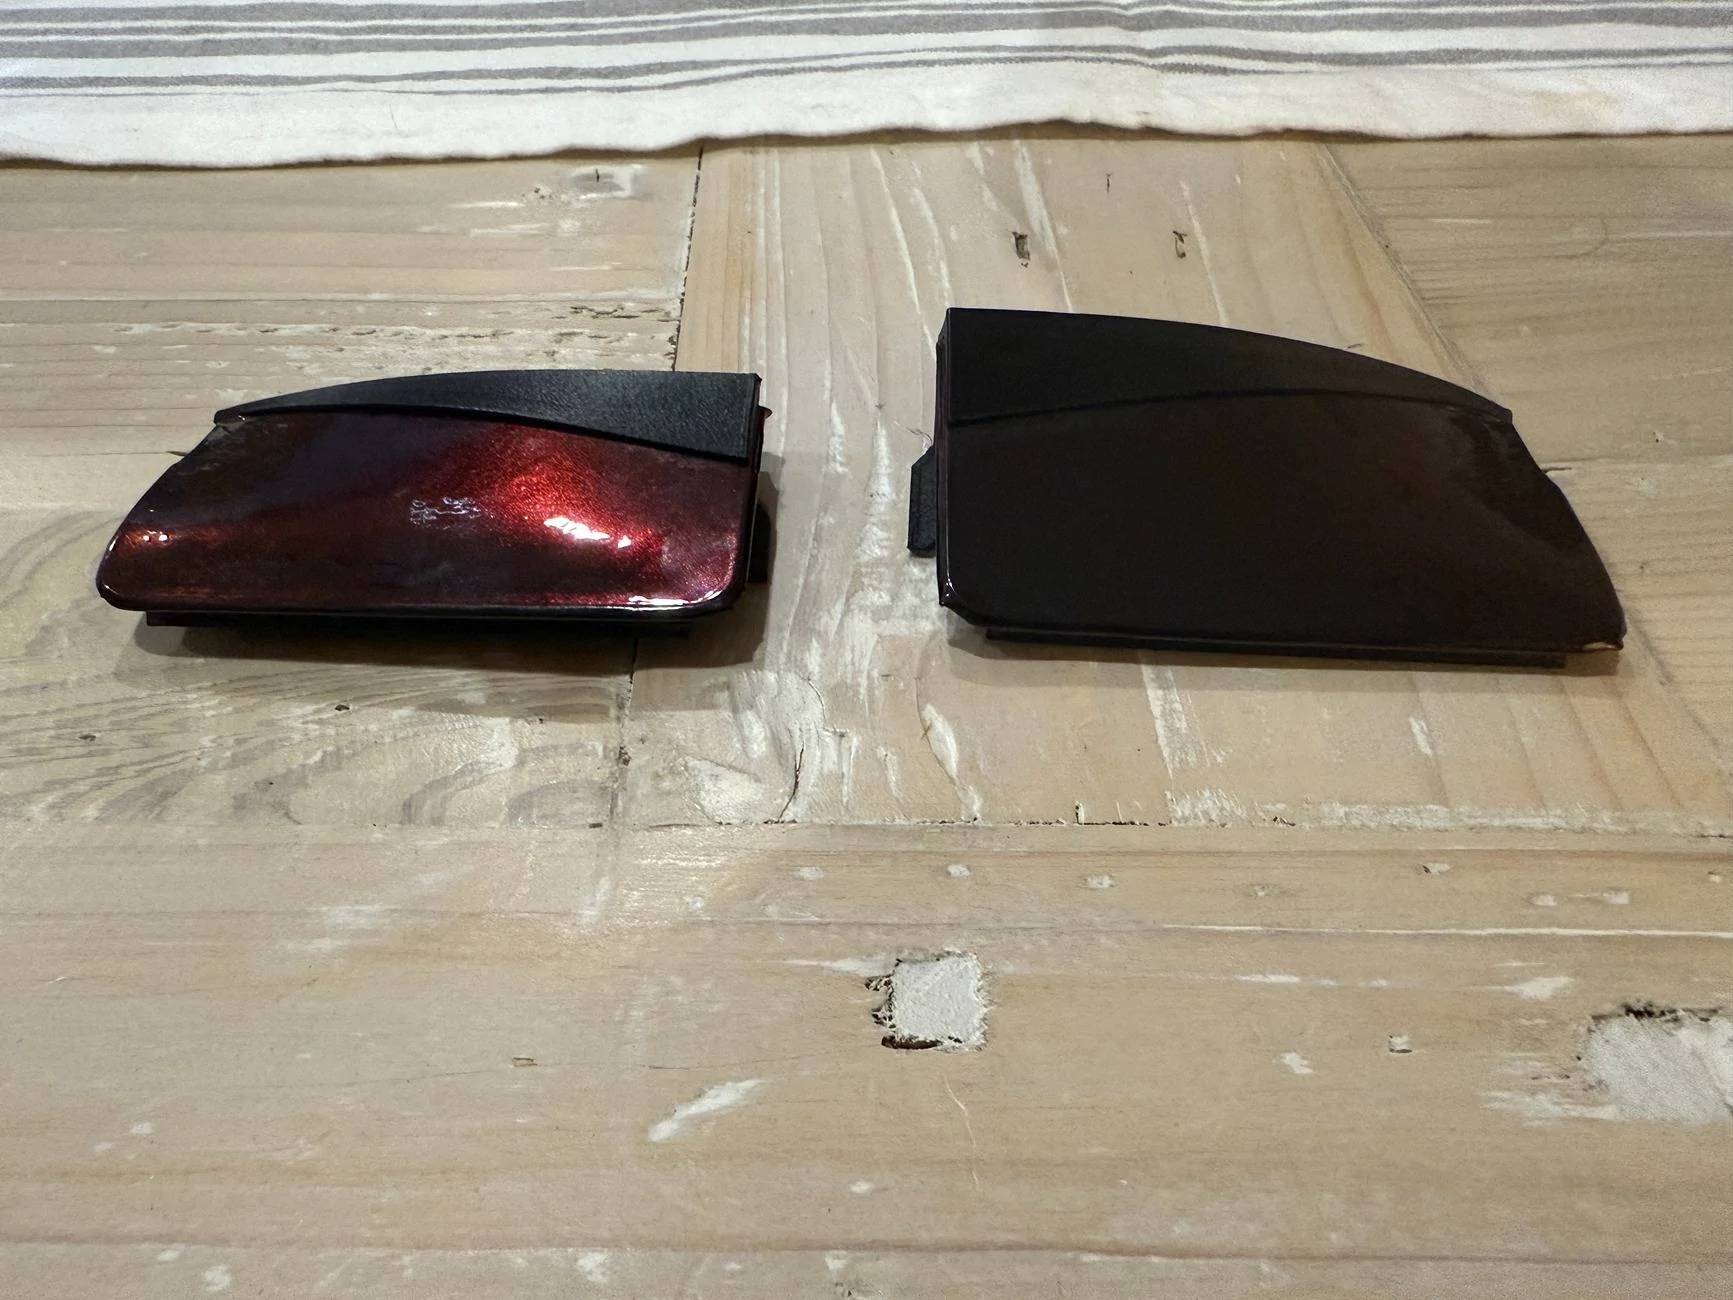
Did you ever give these a try and if so, how'd they turn out in the end?I’m still working on my side camera design. I haven’t received a quote from IN3DTEC for the stainless steel printed covers that TickTock has designed. I sent an inquiry to them this morning to make sure they got it.
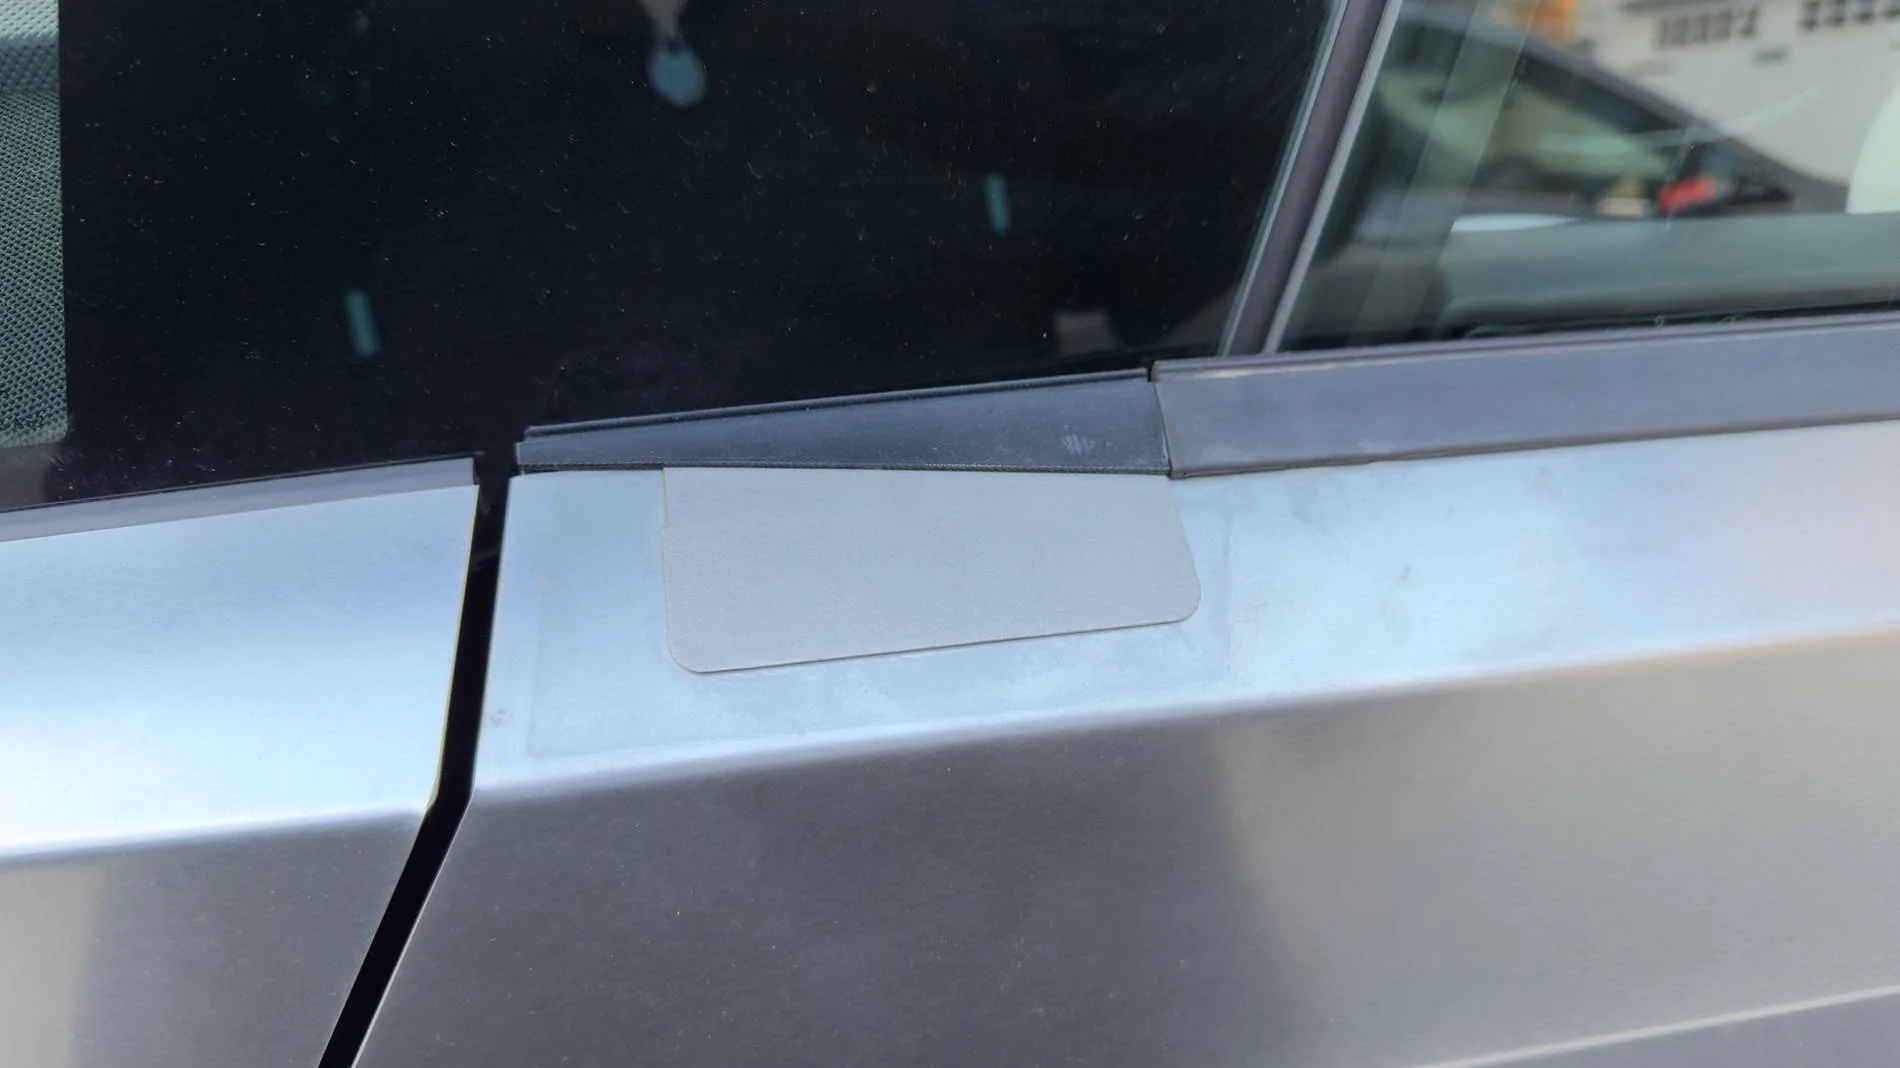
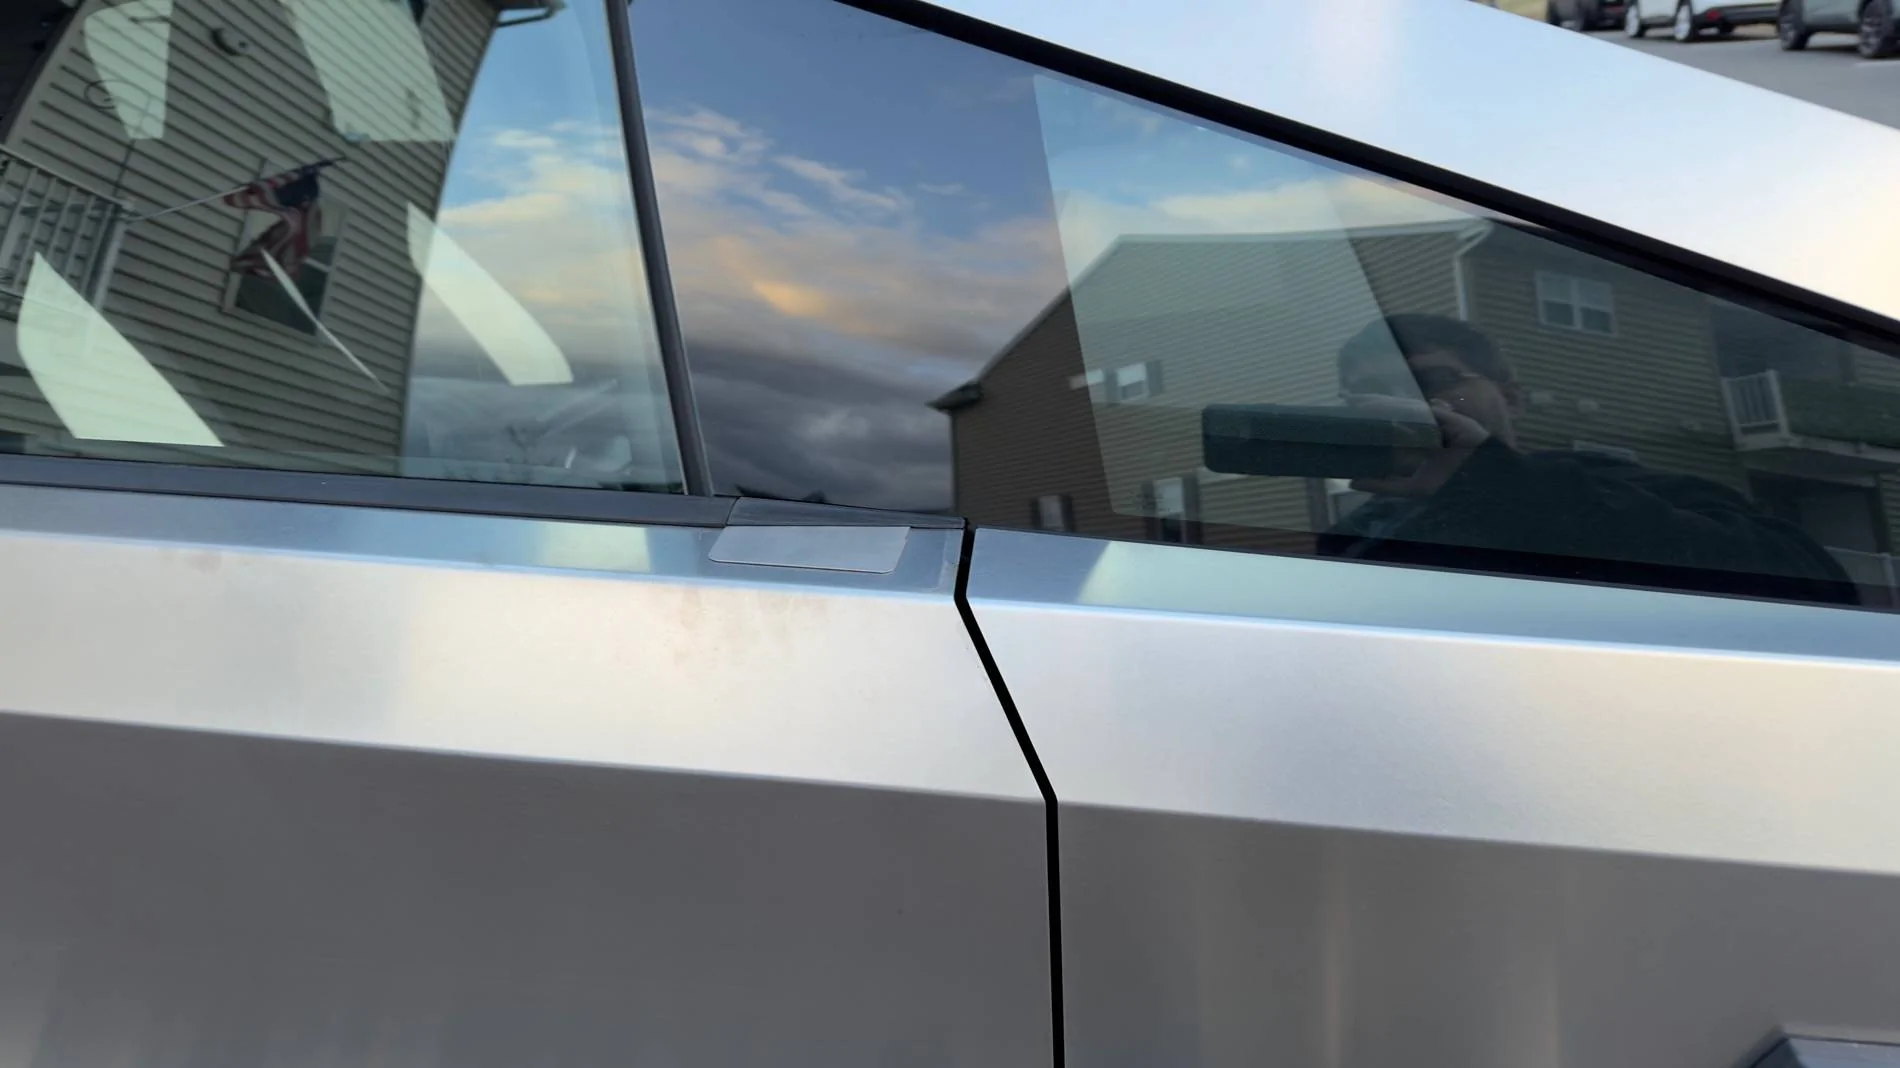
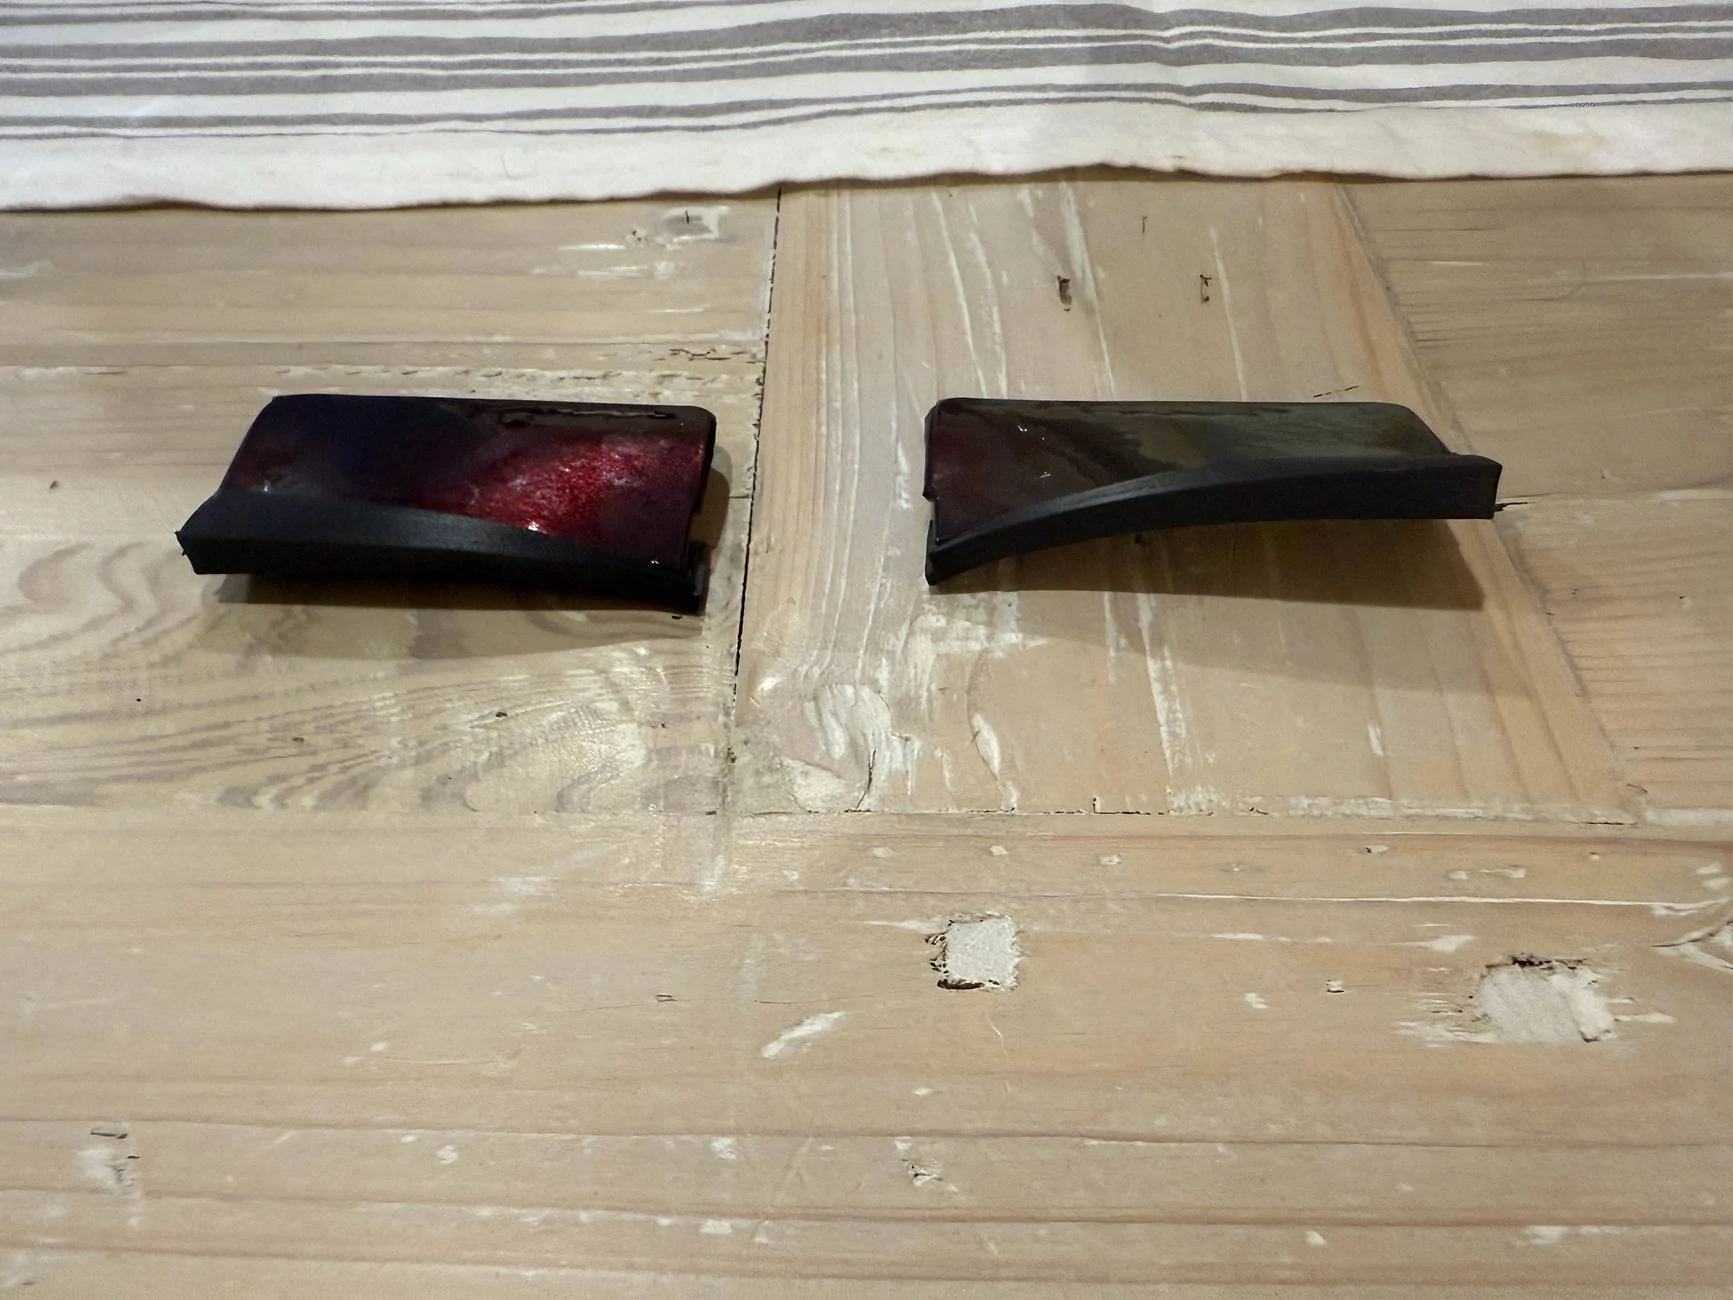
I had another idea that intrigues me. I found a set of 8 stainless steel card blanks on Amazon that just happen to match the length (85mm) of the opening in the door where the factory mirror is mounted. These cards are 0.85 mm thick. They look to have the same radius corners as the hole in the door (same as a standard credit card). It wouldn’t be too hard to use one of these blanks to cover the hole. I’d only have to cut or bend the card to match the width of the hole.
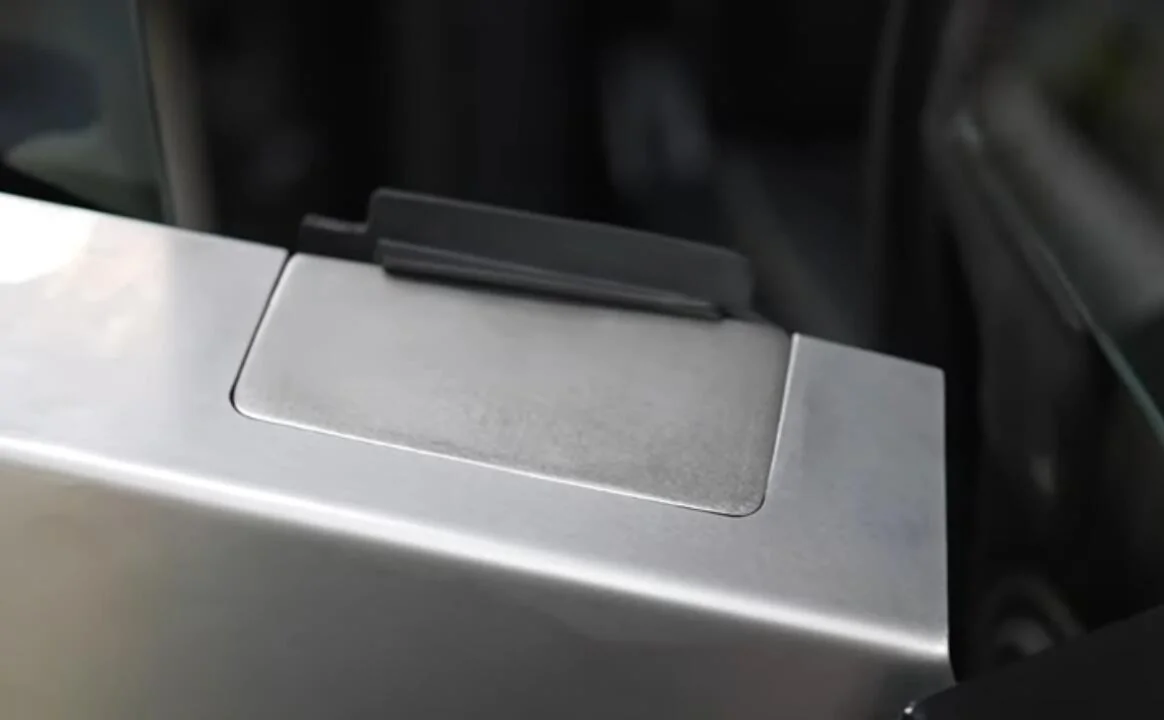
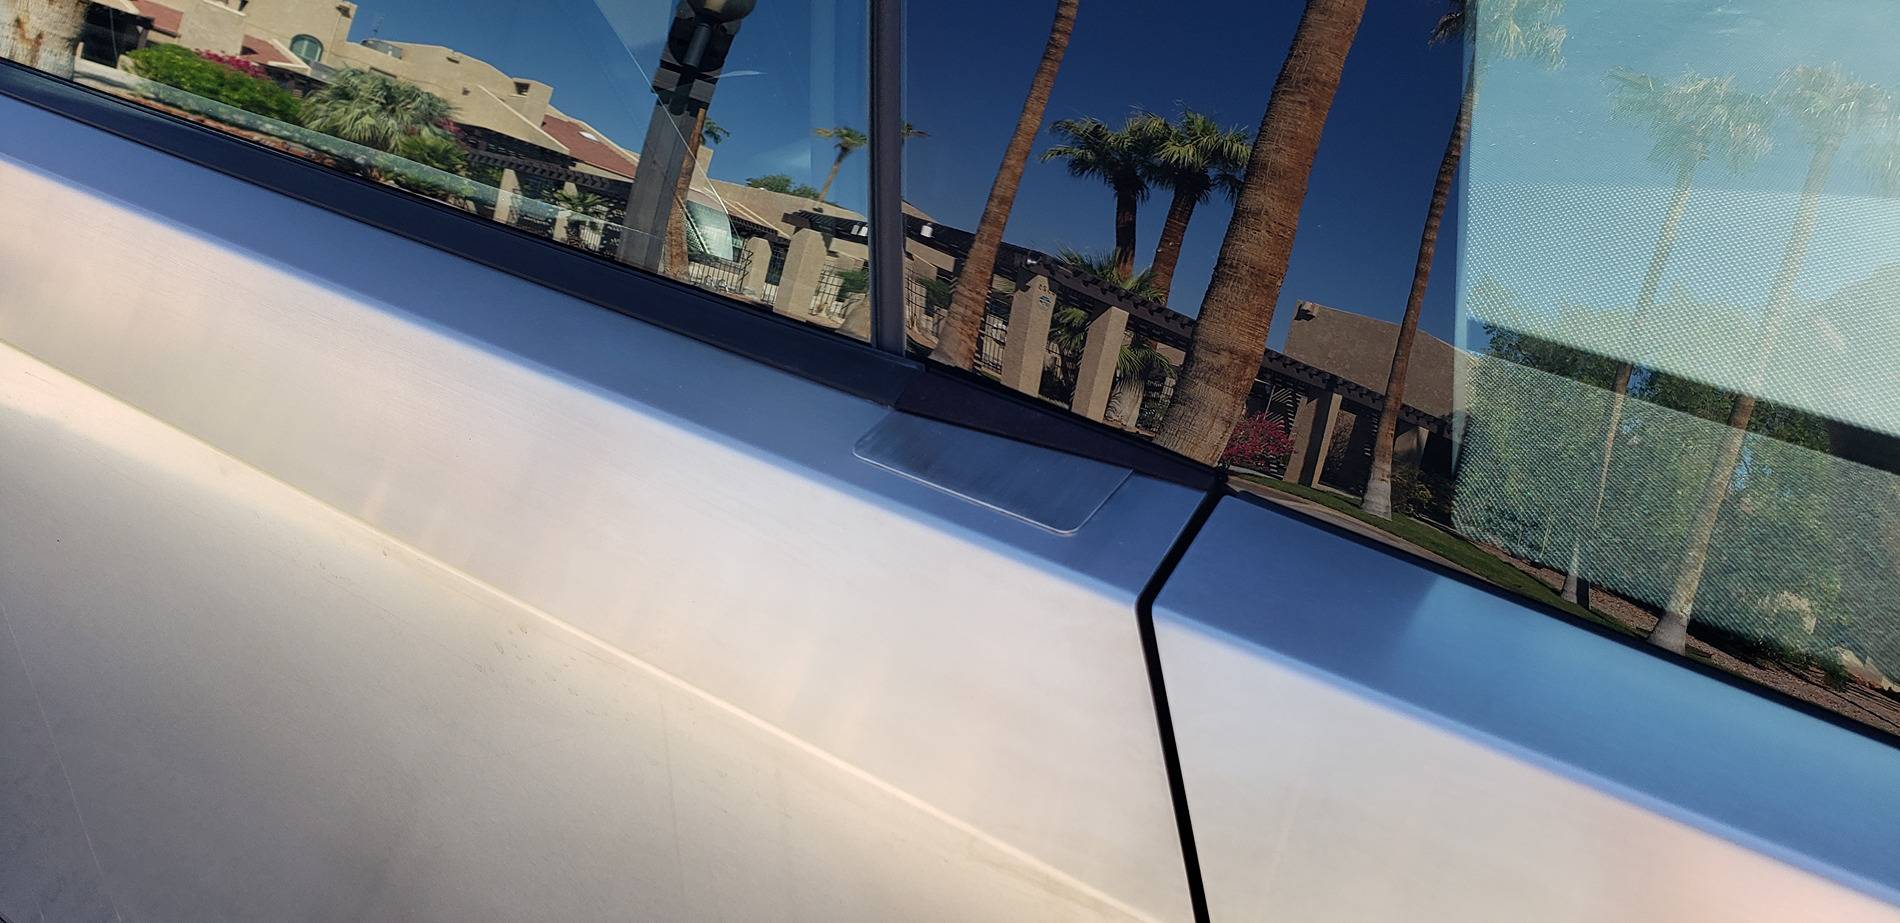
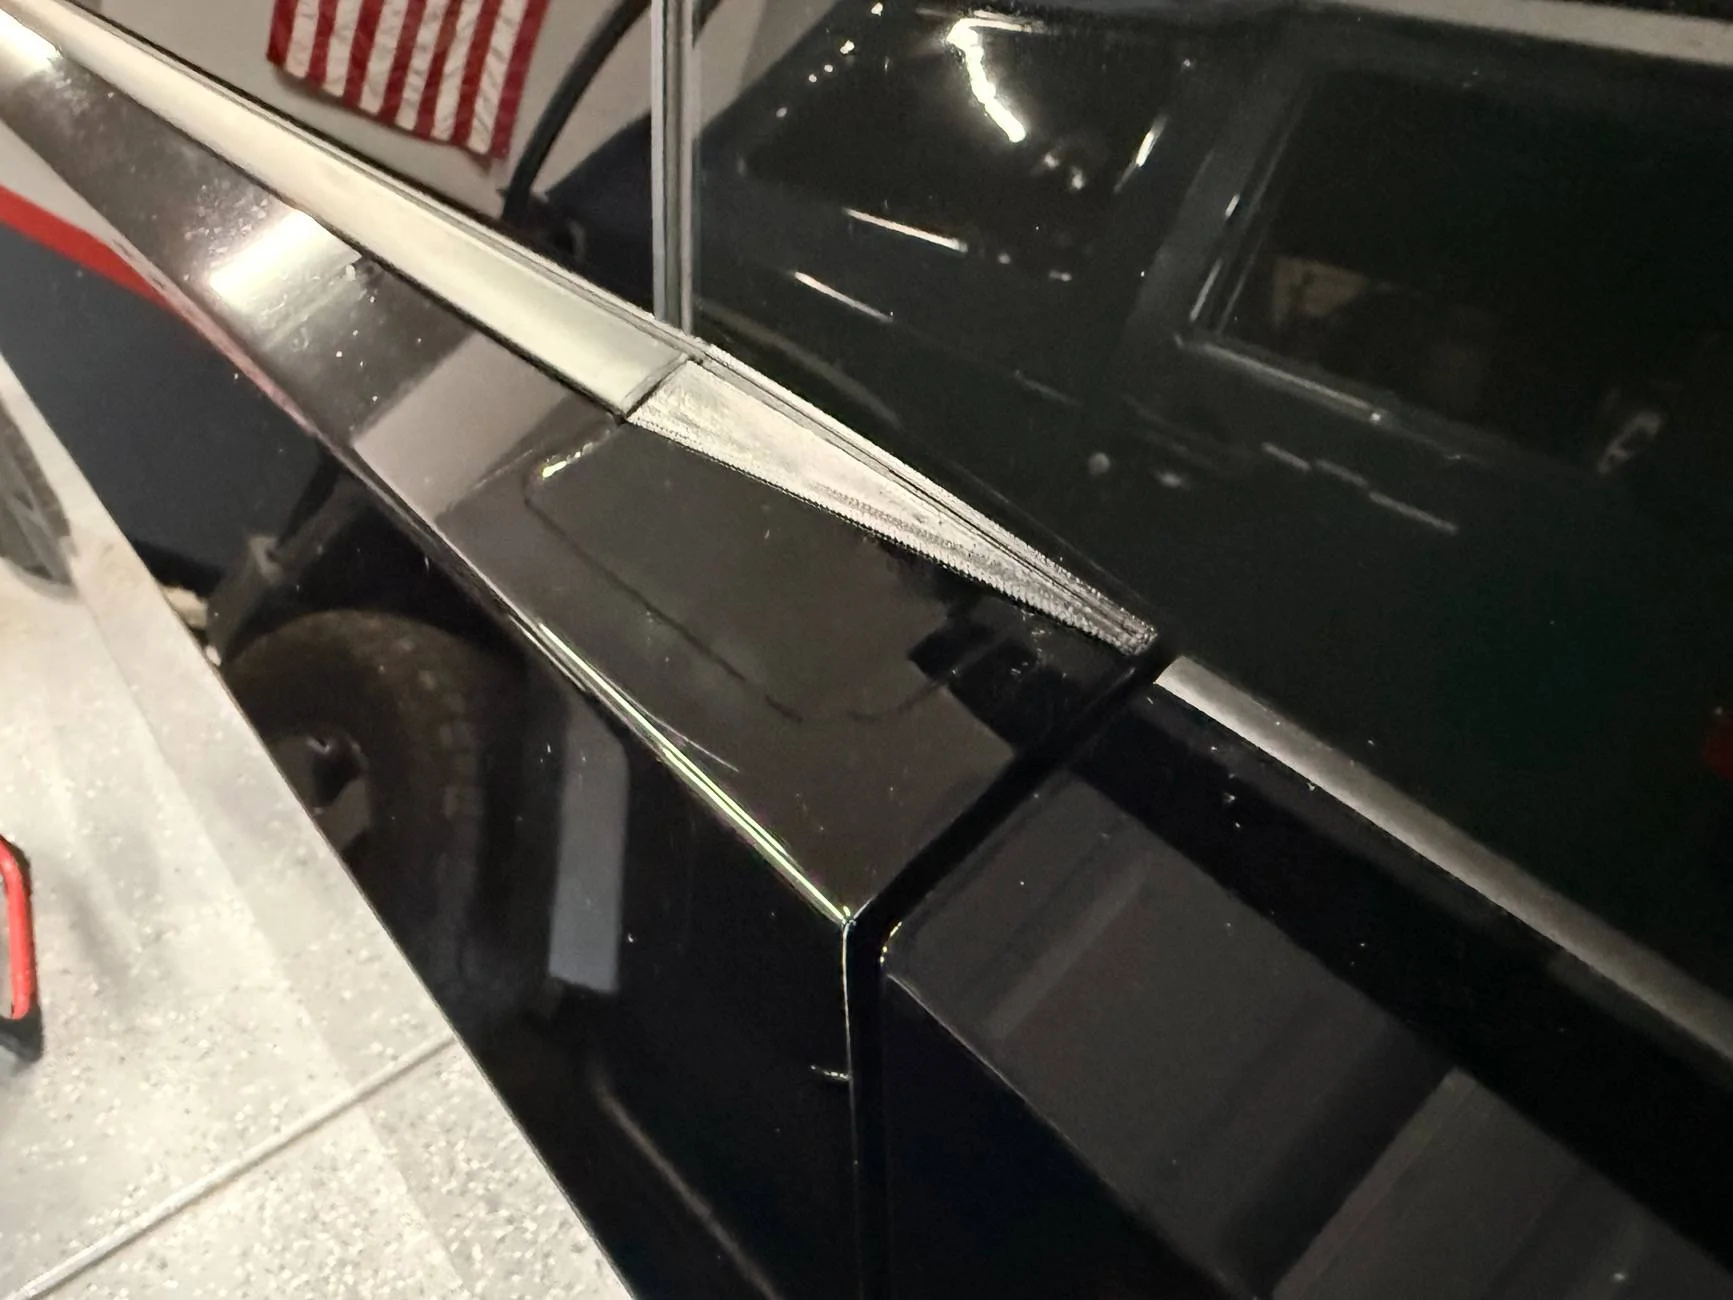
The blank could then be glued to a support piece fastened to the same bracket to which the factory mirror is bolted. The SS cover would be flush with the door panel for a nice clean appearance like this custom made cover at OCDetailing YouTube channel (I would remove the rubber piece).

The SS cover support piece can be designed and printed or made by hand since it won’t be visible when installed. I would use the factory 3-hole mirror mount as a template to fashion a wood support piece without much effort.
I haven't decided yet where to tap into Cybertruck’s 48V DC power for the cameras. A 48V source will require a 48V to 12V step down converter. They aren't very big, but need some space to be mounted. I think that tapping into the 48V pigtail under the frunk lining is the best place to mount the converter. Then run the 12V supply line into the cab to power the side view cameras and display.
Sponsored
")