joeliroquai
Member
- First Name
- Joel
- Joined
- Jan 12, 2024
- Threads
- 0
- Messages
- 8
- Reaction score
- 12
- Location
- Vancouver, WA
- Vehicles
- 2018 Model X, 2018 Model 3
I've had a few passes at putting this stuff on over the weekend. Here's my observations on it, and I'll likely just be removing it since it's very difficult to get a perfect coat of this stuff on.
DON'T WET SAND ANYTHING, it's entirely too easy to go too far with a wet sanding and you'll effect the stainless steel.
Unless you have an abundance of time, a good working area that's controlled, and can handle working with hazardous chemicals then this is probably best left to the professionals. Even my best results still have imperfections which are easily seen given the lack of body curves or lines to "hide behind." I, personally, wish I wouldn't have tried with this stuff and just dealt with the fingerprints as now I'll be stripping all of it which isn't going to be fun.
YMMV, tread cautiously, and good luck.
EDIT: Few more things I thought of:
- Make sure you're in a controlled environment and have your applicators clean from any lint or other contaminants.
- Humidity is also a factor as well. Ideally the environment is very dry.
- Try and avoid bubbles when pouring the solution into a tray. They can and will dry into the final coating.
- The sponges they come with have folds in the corner, so any pressure can cause a streak. I had better luck with wide foam applicators and I think a good brush would help here as well.
- Make sure the steel is dry as possible as any leftover cleaners/windex on the steel will cause streaking when the coating starts to dry. Streaks are very hard to deal with once set.
- Once it drys to a tackier state don't touch it. Any re-brushing will causes streaks or lumps.
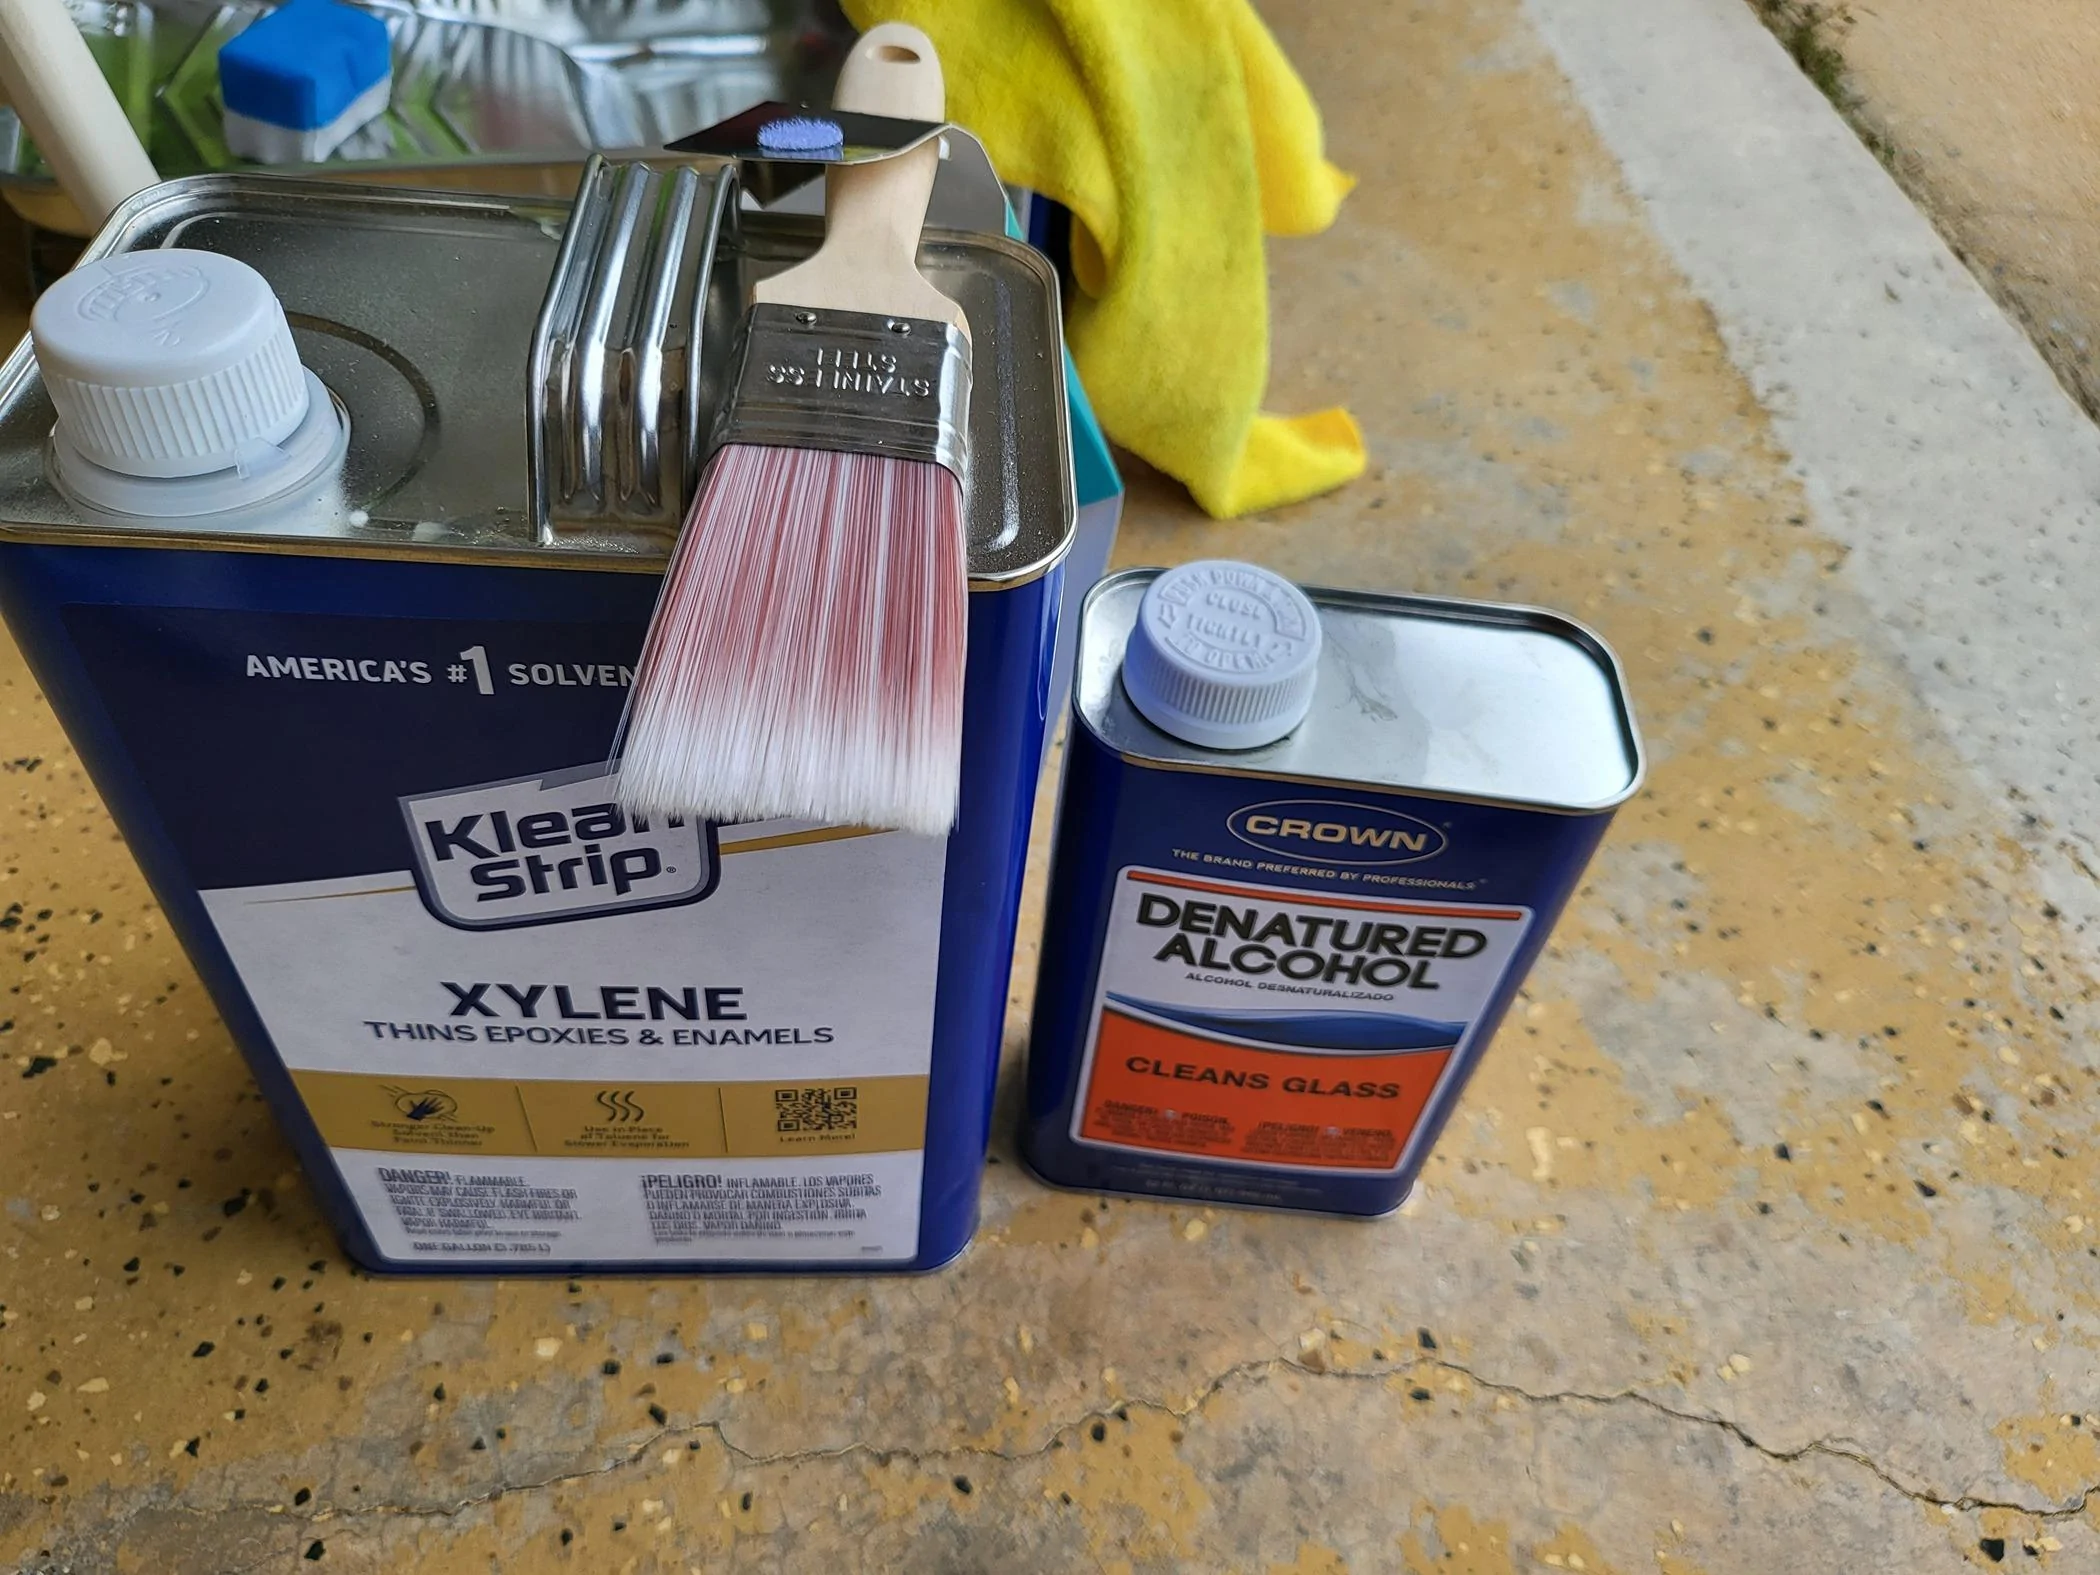
- ANY lint, hair or bugs that get into the coating will require you to remove it and retry. To do so you'll need:
- Xylene to remove it, and good amount of it. Xylene is particularly nasty, has a lot of fumes, is incredibly flammable and illegal (I've seen) in certain states. If you're going to go through with this process I'd recommend just getting a jug of it as there's 0% chance you nail this the first time.
- A little bit of protectaclear goes a long ways. Better to do a second coat then to do too heavy of a first and have runs or streaks.
DON'T WET SAND ANYTHING, it's entirely too easy to go too far with a wet sanding and you'll effect the stainless steel.
Unless you have an abundance of time, a good working area that's controlled, and can handle working with hazardous chemicals then this is probably best left to the professionals. Even my best results still have imperfections which are easily seen given the lack of body curves or lines to "hide behind." I, personally, wish I wouldn't have tried with this stuff and just dealt with the fingerprints as now I'll be stripping all of it which isn't going to be fun.
YMMV, tread cautiously, and good luck.
EDIT: Few more things I thought of:
- Tape off the black plastics with painters tape. Easier than trying to deal with drips immediately during the painting process.
- Most of the plastics on the truck don't seem to be effected by Xylene, but not sure that's the case with all of them since I couldn't find what types of plastics are used on the truck.
- Don't drive it between coatings or expose it as cleaning it can be a chore for the second coating.
Sponsored
Last edited: