OP
OP
Leo Snow
Well-known member
- First Name
- Leo
- Joined
- Nov 3, 2024
- Threads
- 26
- Messages
- 128
- Reaction score
- 235
- Location
- Kelowna
- Vehicles
- Cybertruck AWD, Model Y
- Thread starter
- #46
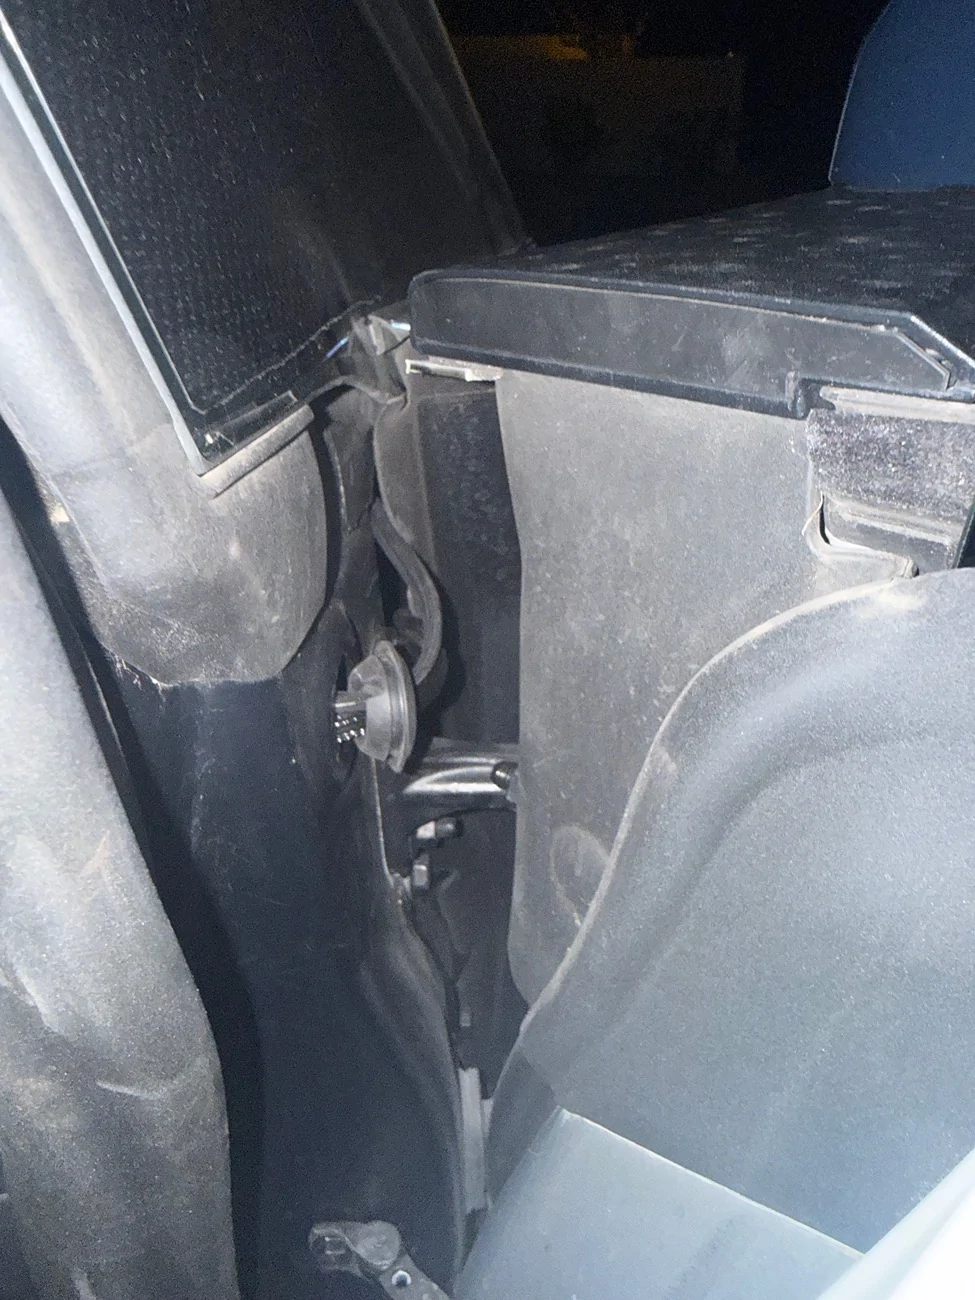
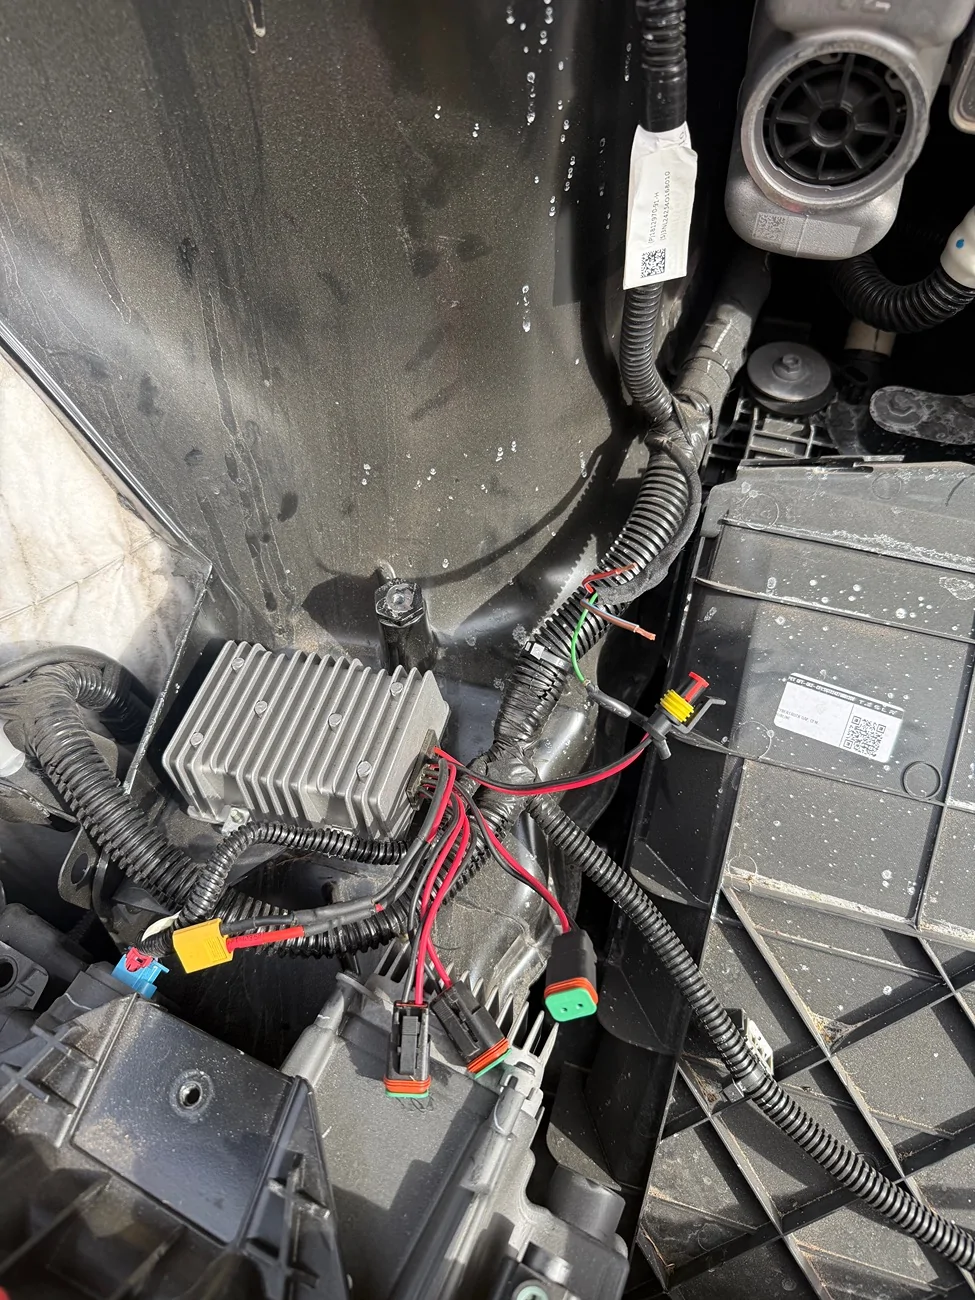
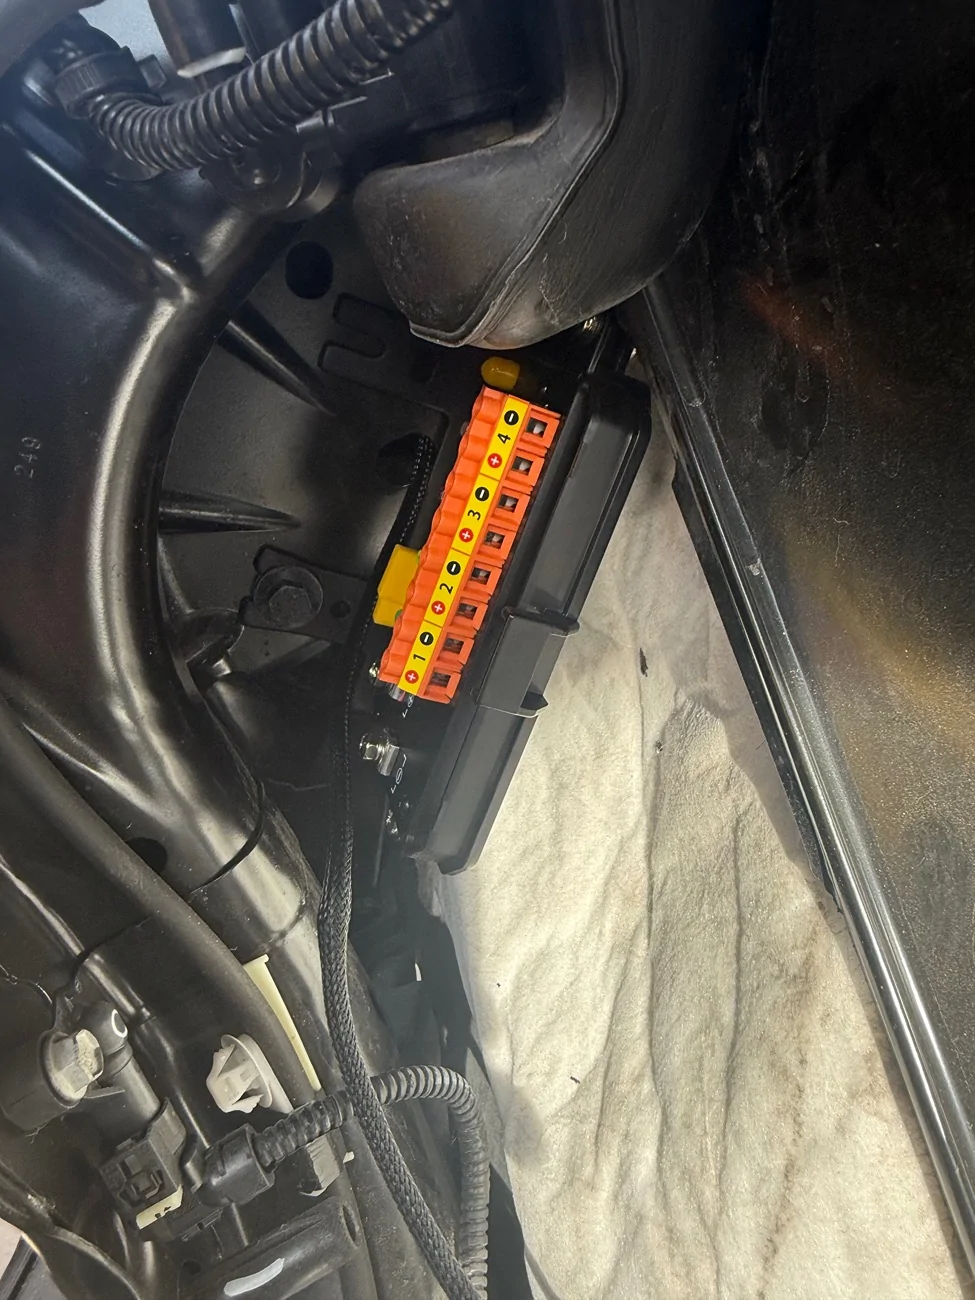
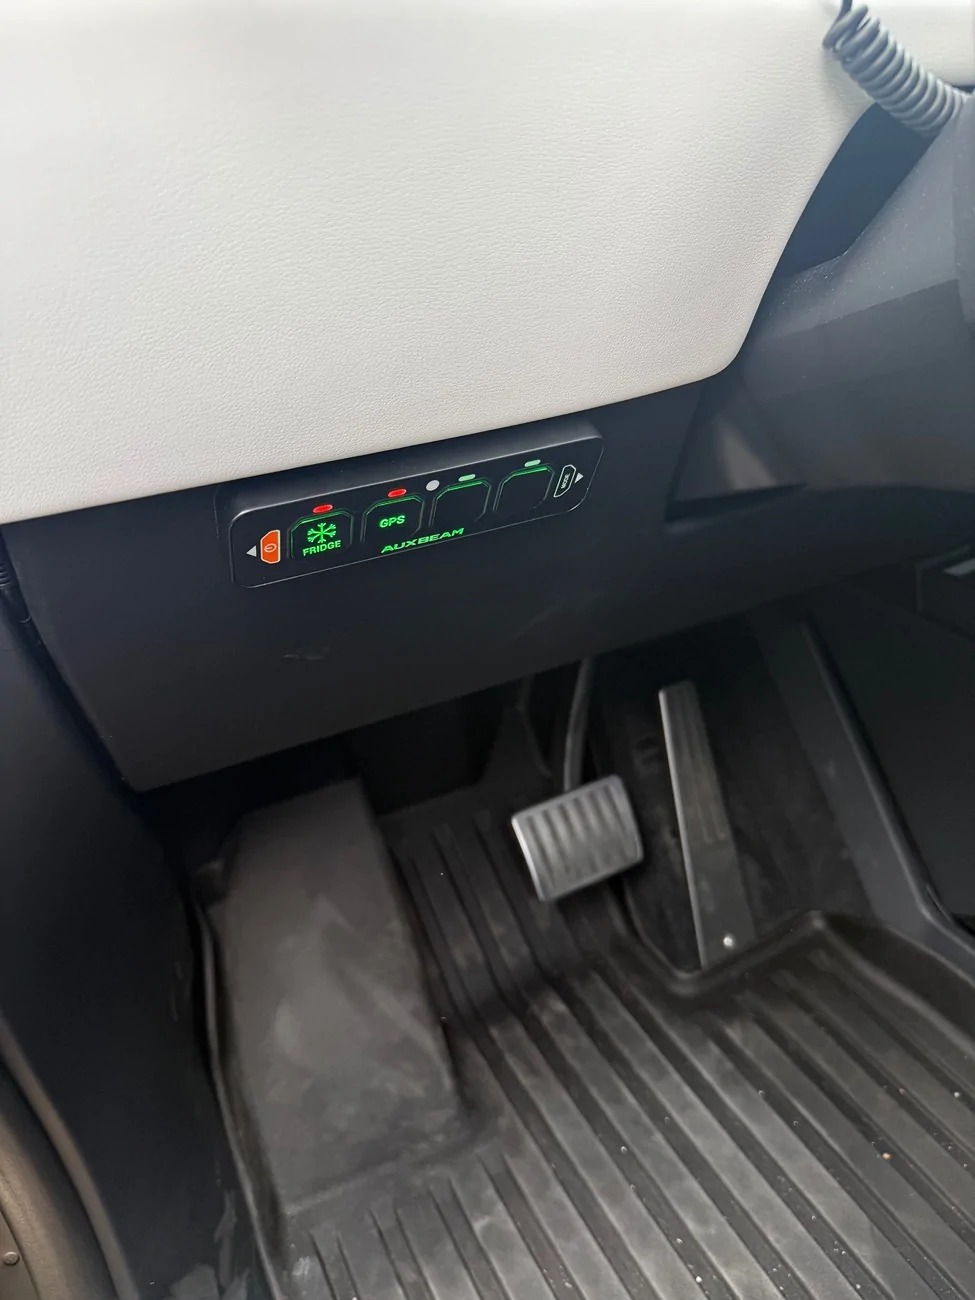
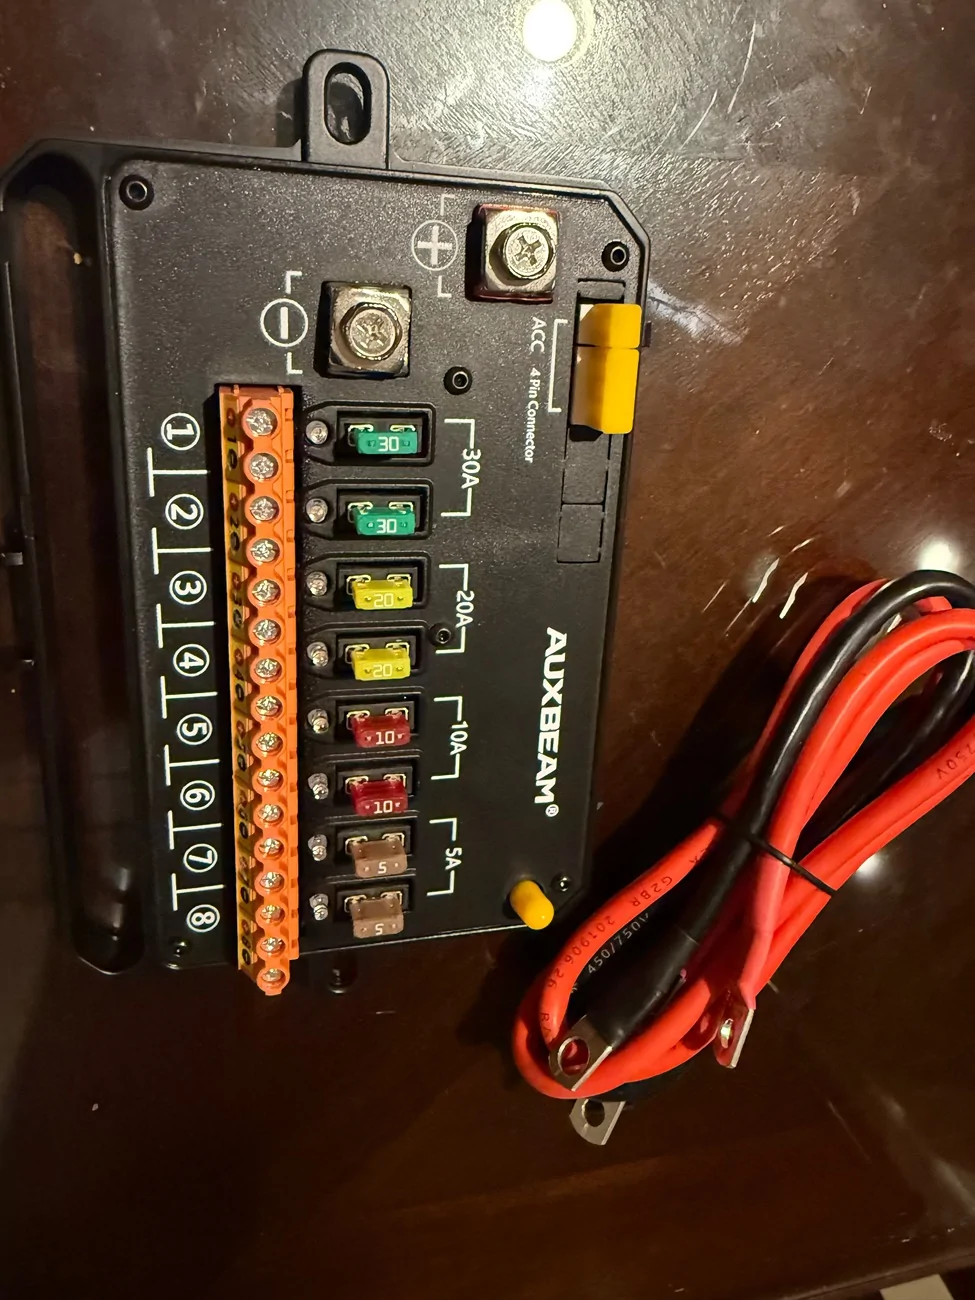
Nice! I still don’t get how you routed the wire through the interior (from the fridge and to the grommet). Is it going to the grommet from the inside, then behind the right panel (by the passenger door) and then comes out from there and routes the same way I did to the frunk? I believe there’s more ways to do that, but I spend a couple of hours trying to figure out what I did heh
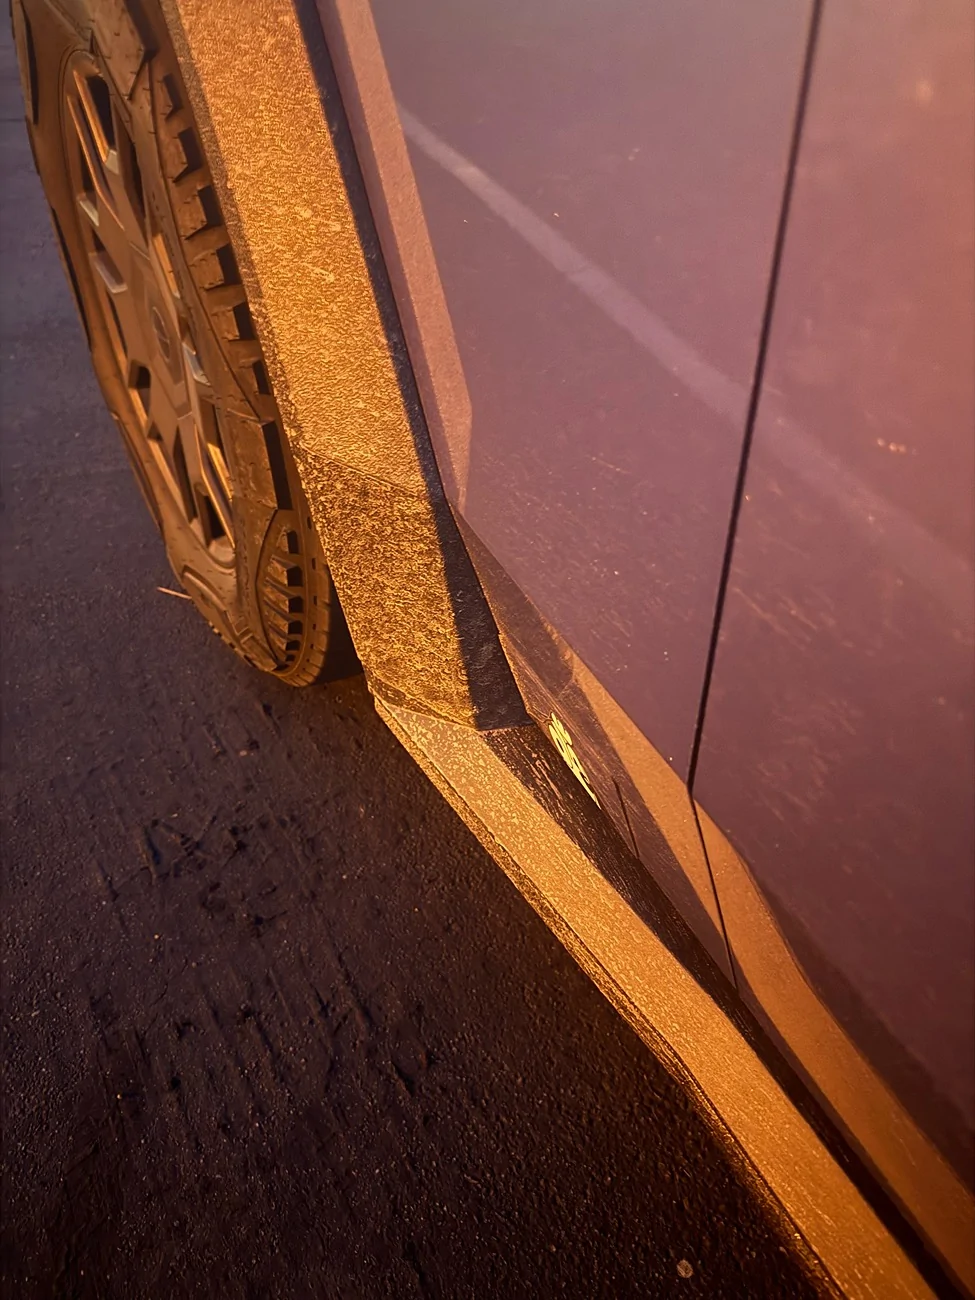
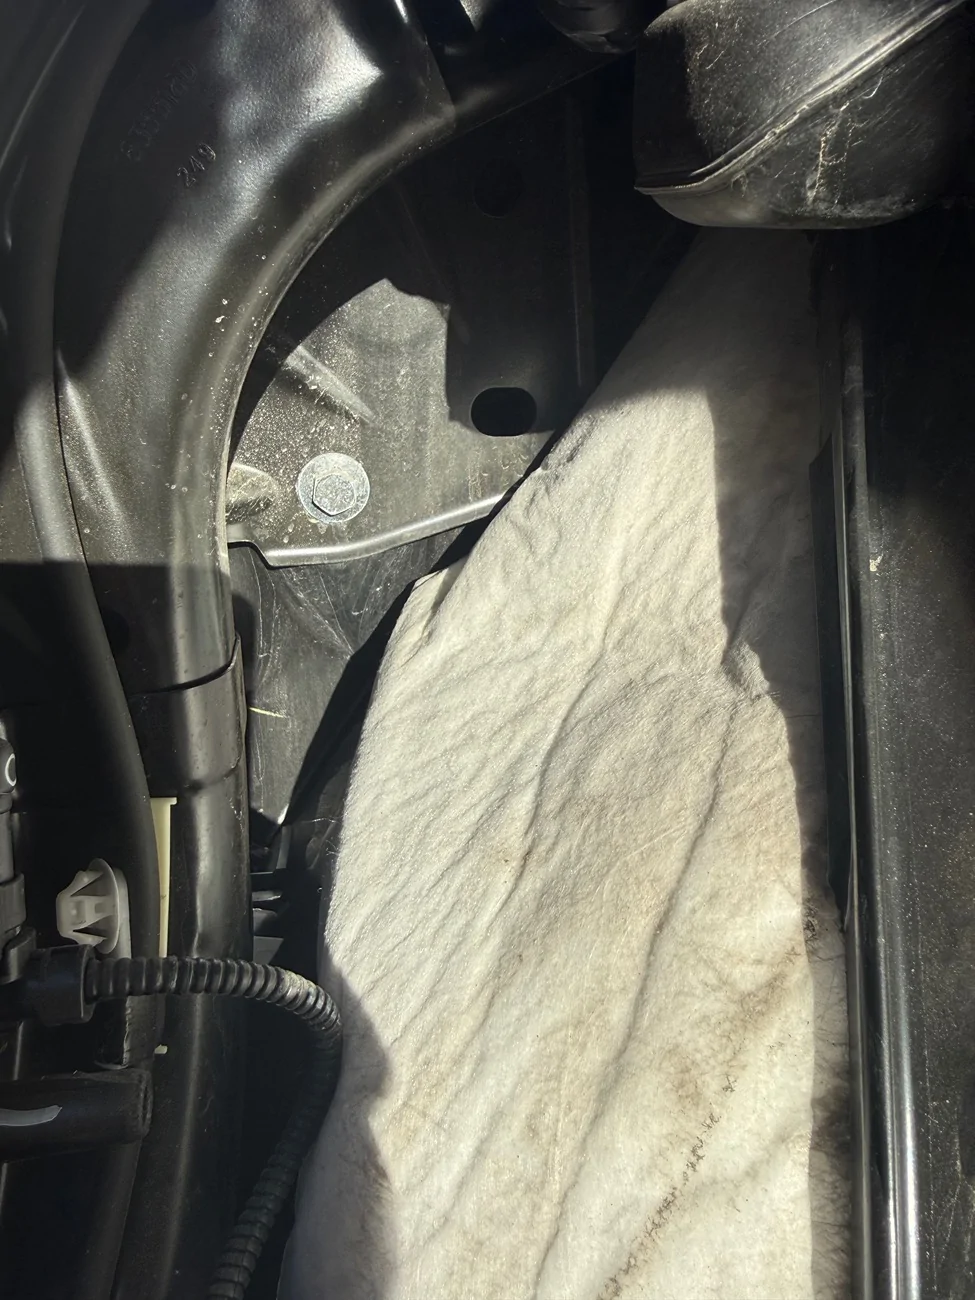
the screenshot with the fishing tape, is there a passage through the metal part of the door frame to the grommet?
the screenshot with the fishing tape, is there a passage through the metal part of the door frame to the grommet?
Sponsored