btcrealm
Well-known member
- First Name
- Brian
- Joined
- Aug 28, 2024
- Threads
- 9
- Messages
- 788
- Reaction score
- 1,043
- Location
- Virginia-ish, USA
- Website
- btcrealm.com
- Vehicles
- cybertruck
- Occupation
- NOC
That looks like the same components that come in the rest of the kits.
This fixes the number one problem that I've seen https://www.amazon.com/dp/B07V1WHDKL
And as far as the screen being lower instead of higher, all the kits seem to do this. Flipping them upside down creates an annoying arc because of the build design (I tried it for a bit).
See my quoted message above for the solution to that.I got my swivel mount from anysix and I am very happy that I did it. What I would like to share with everybody who put a swivel amount in is that while I was installing it, I noticed a slight problem.
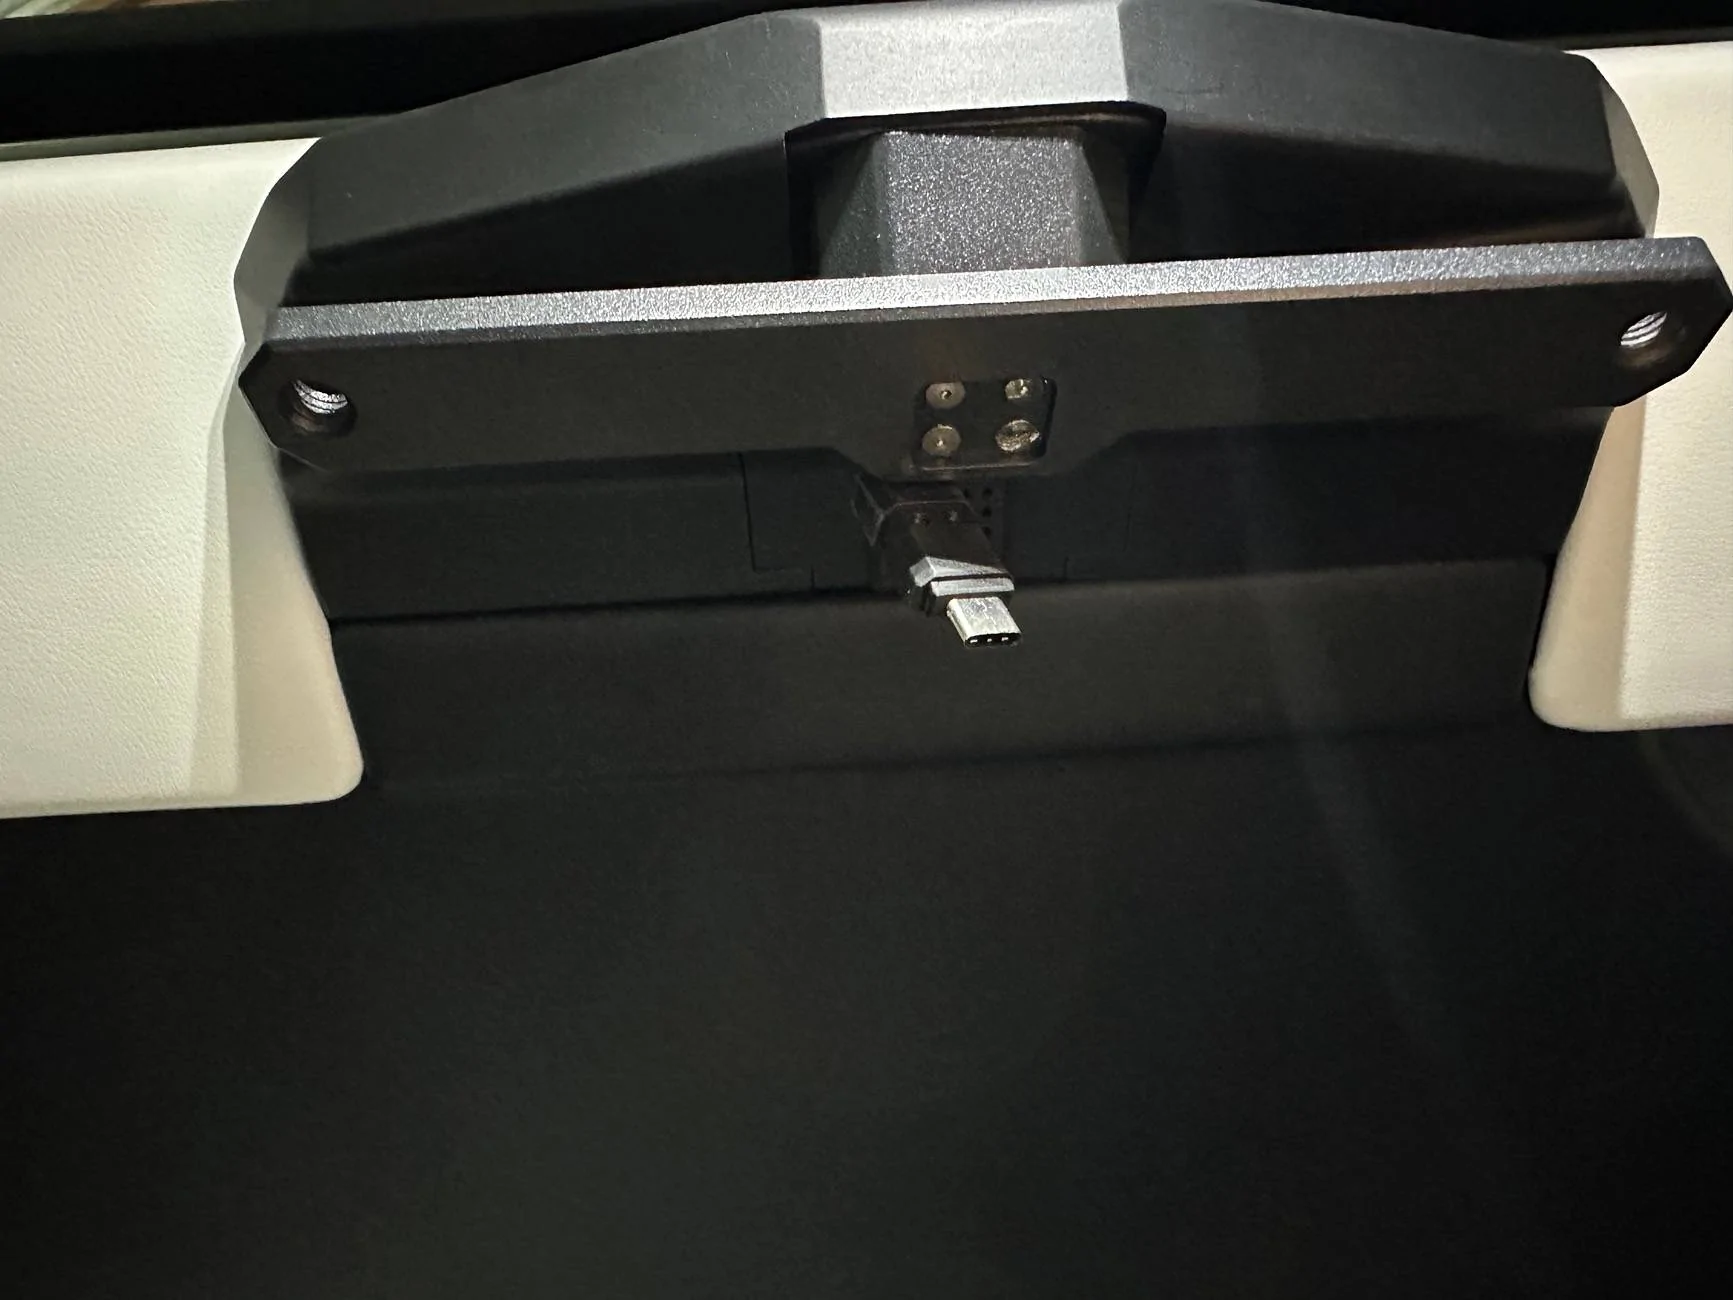
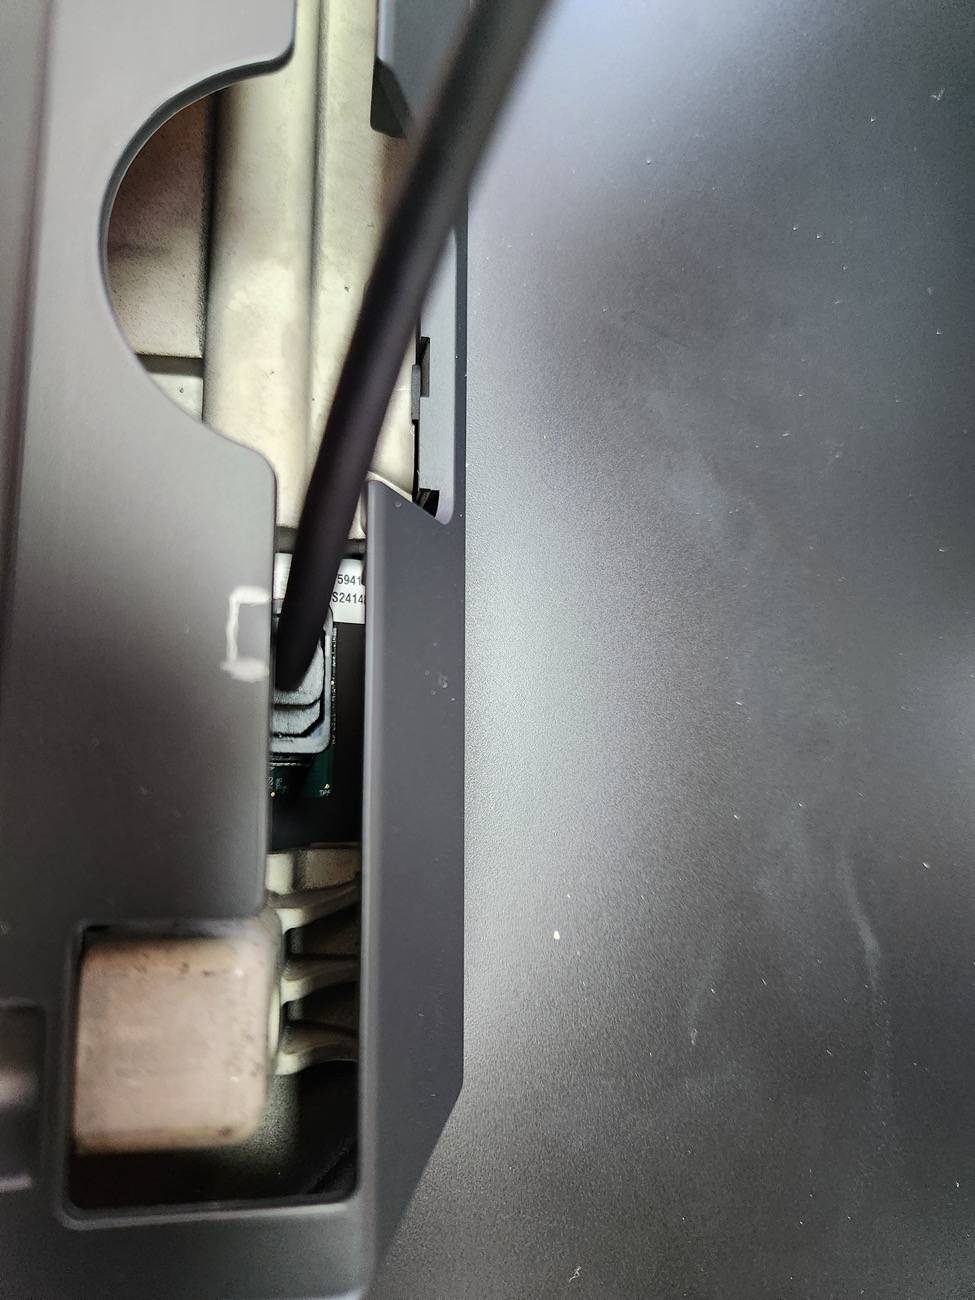
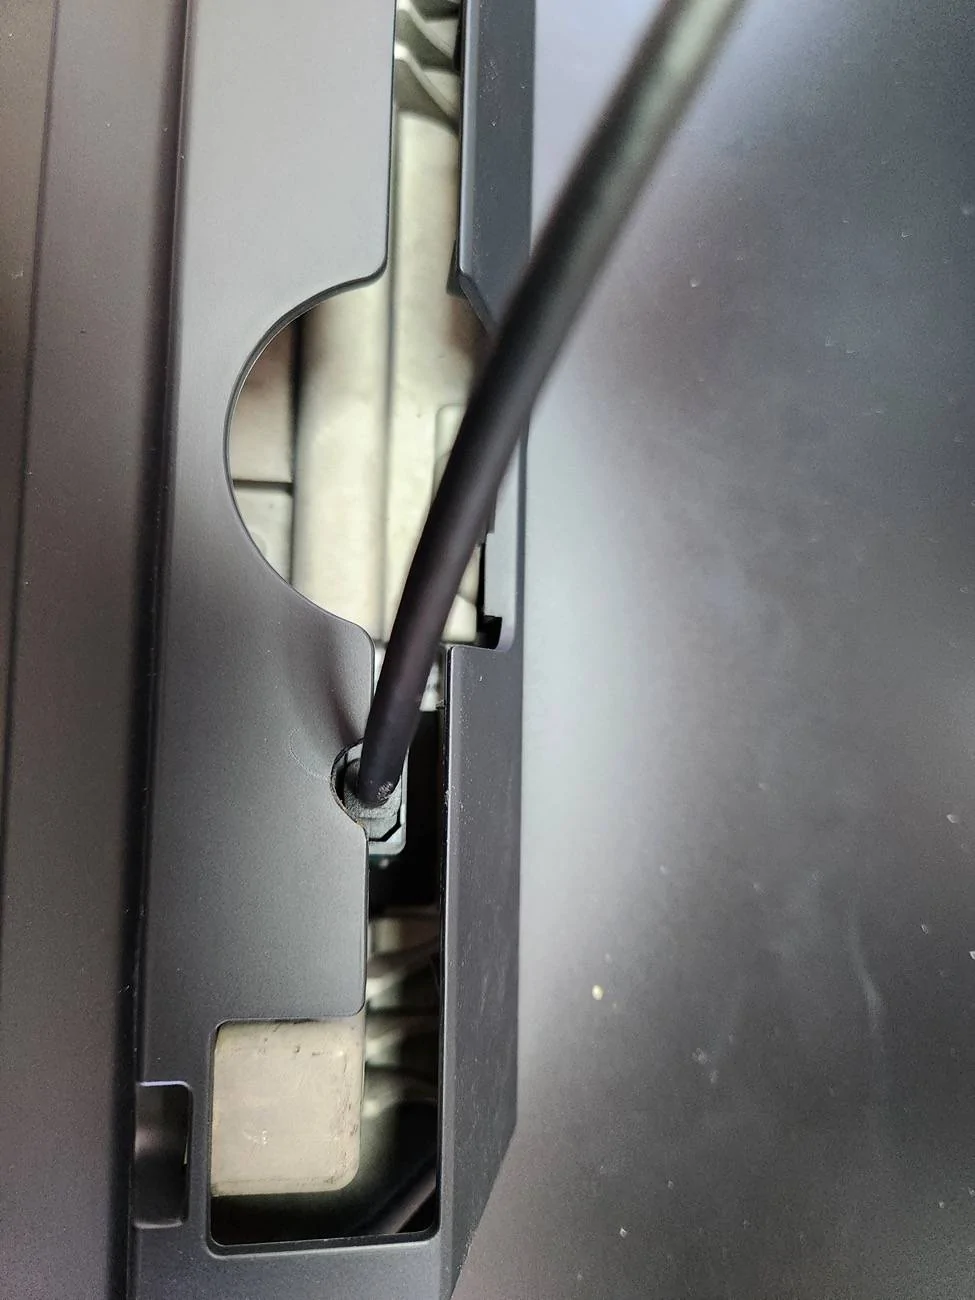
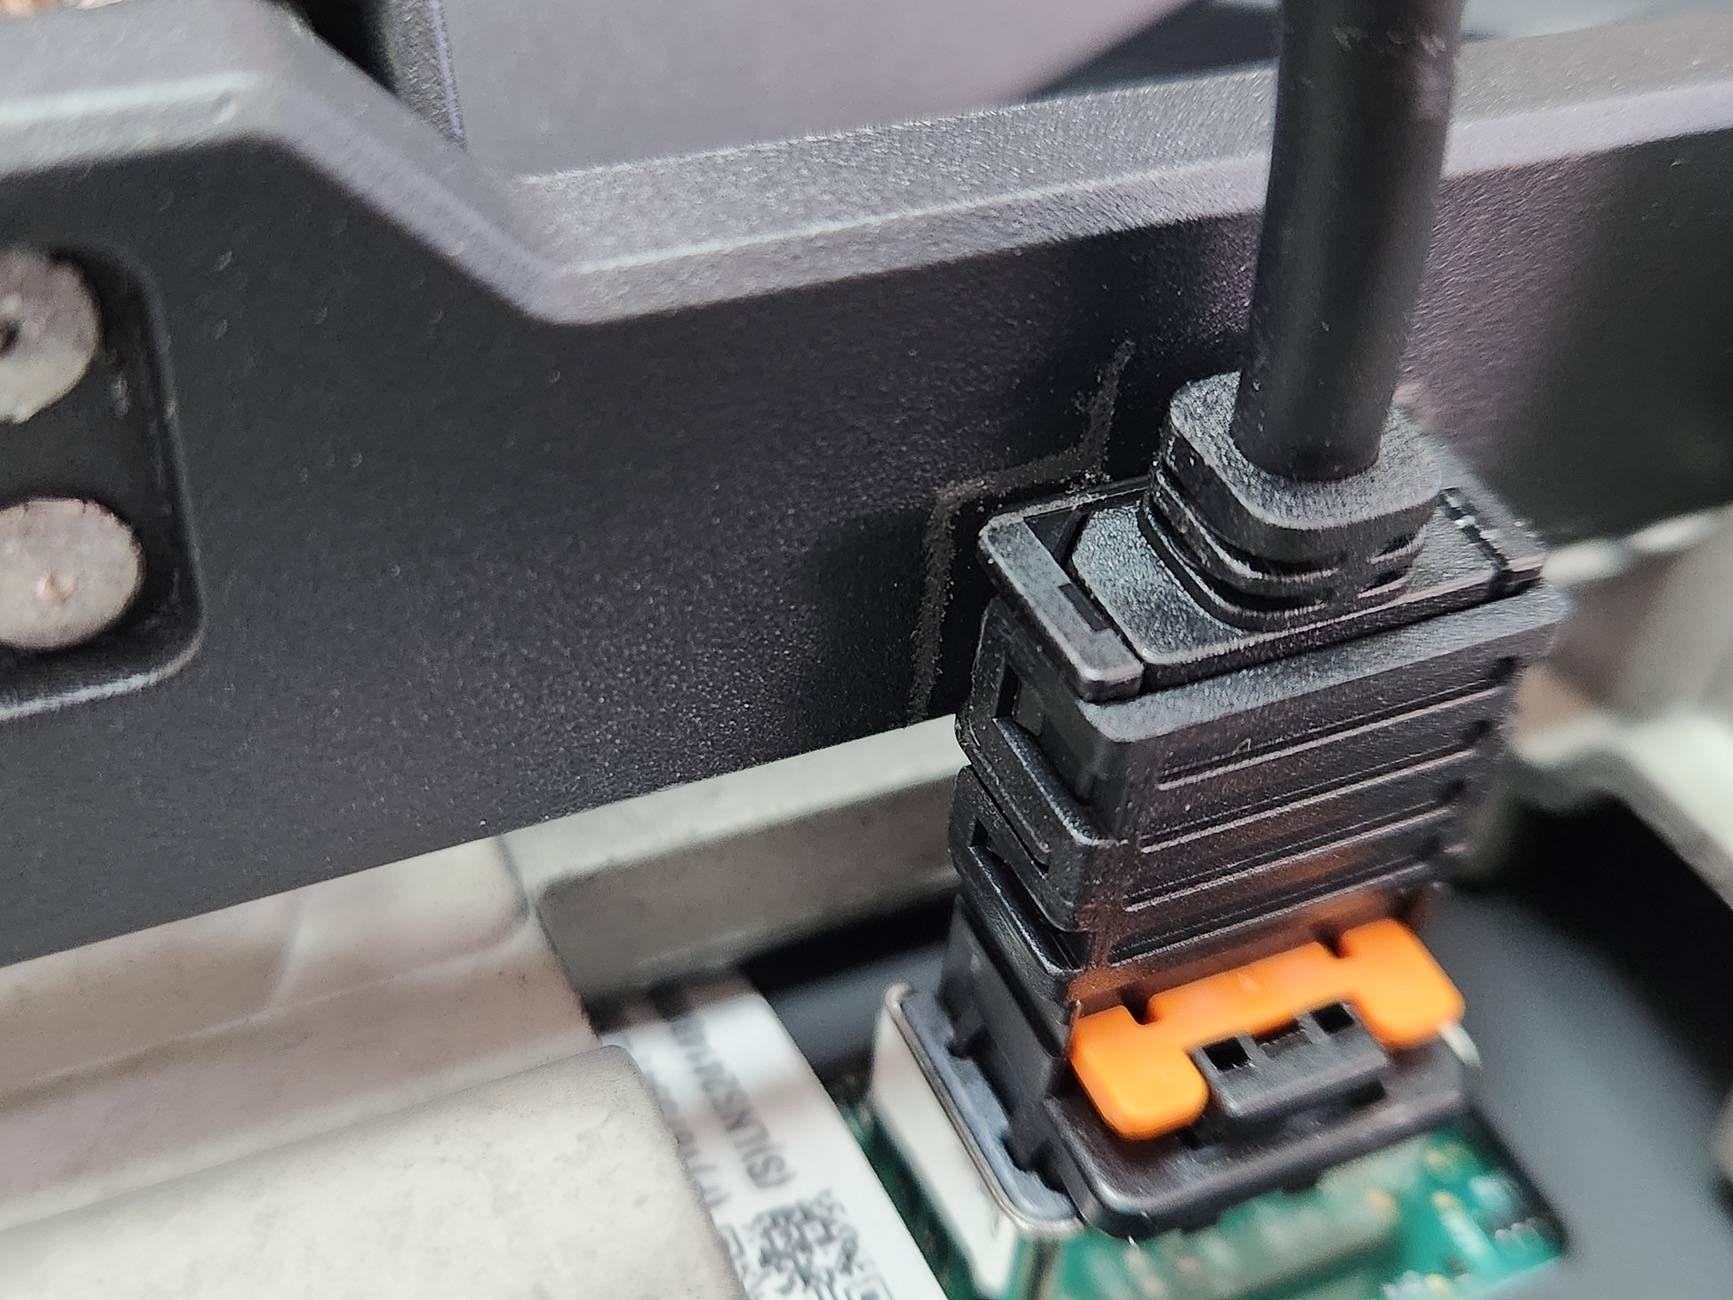
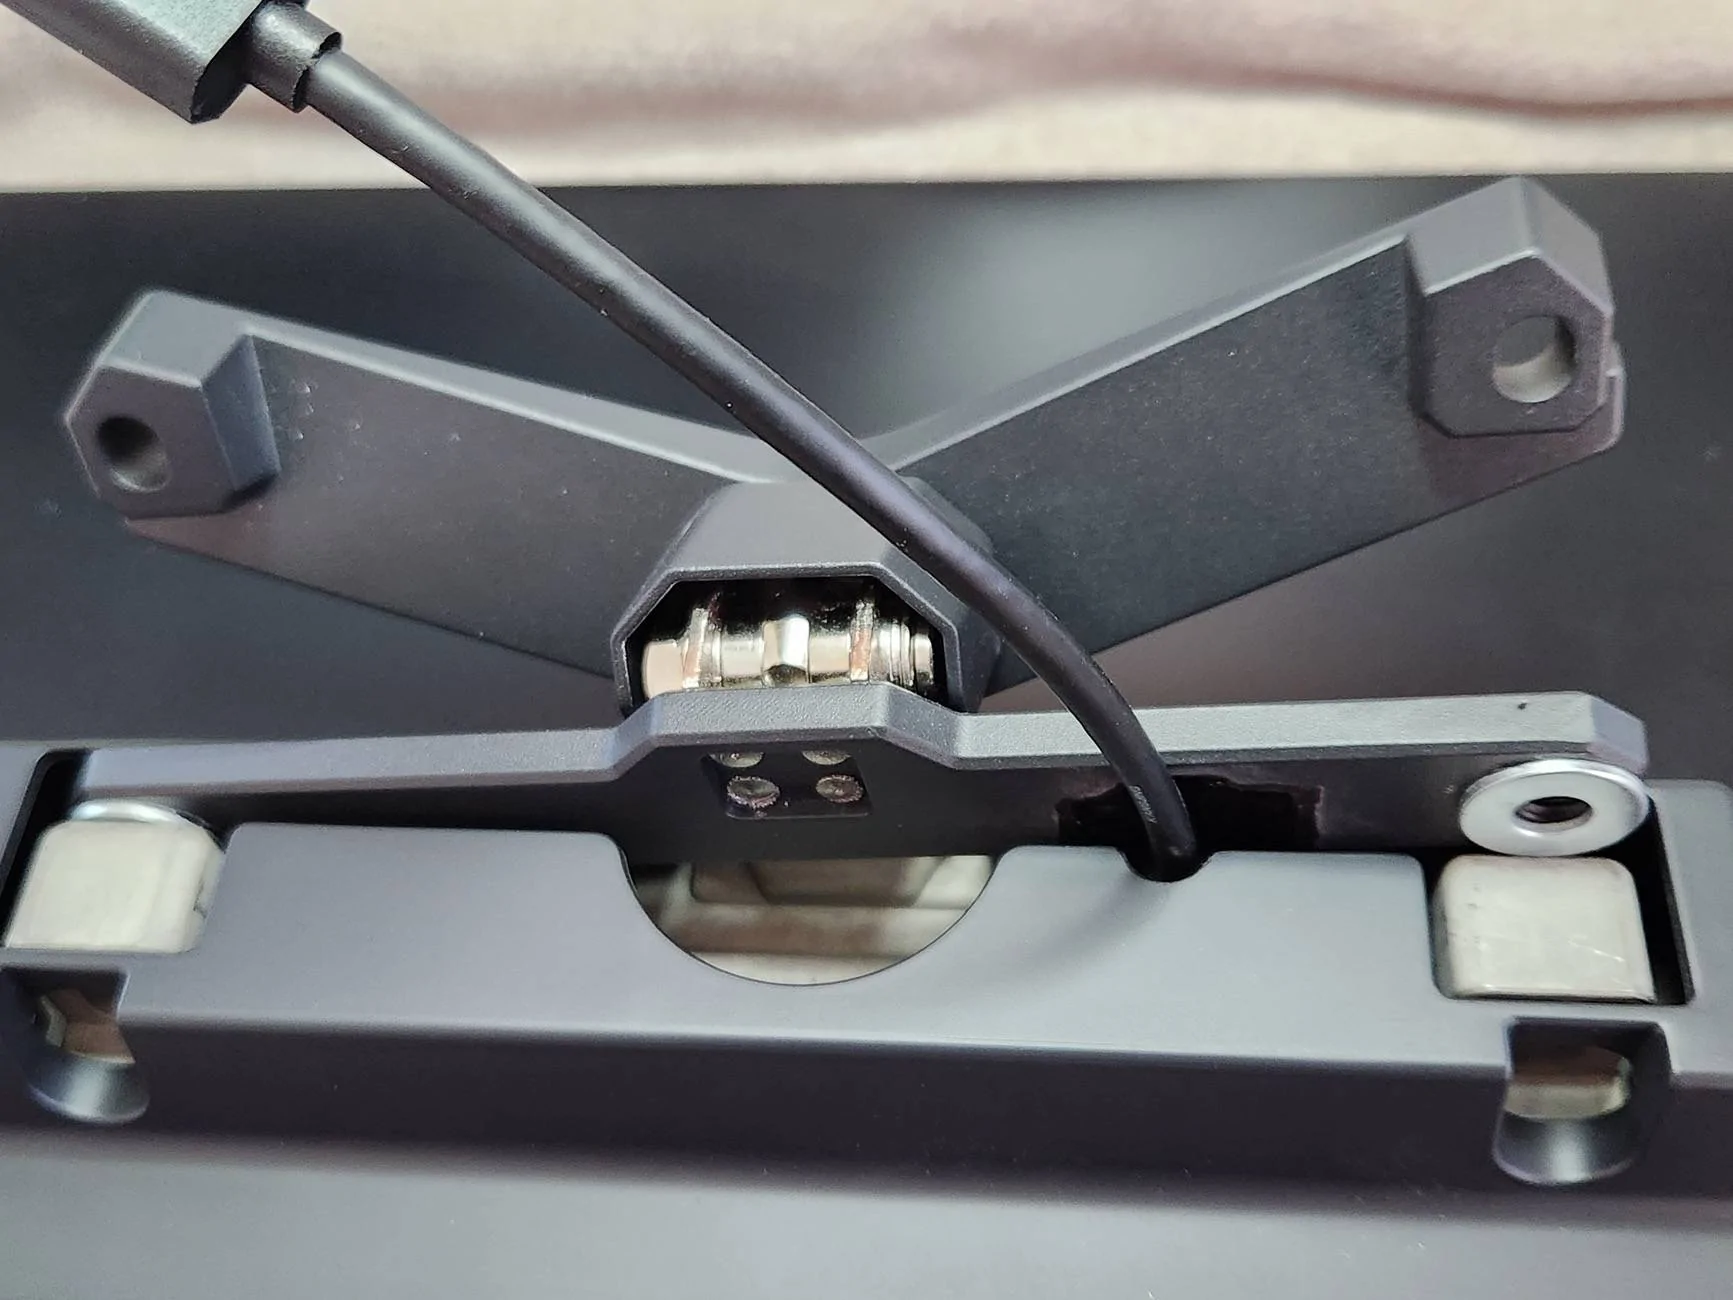
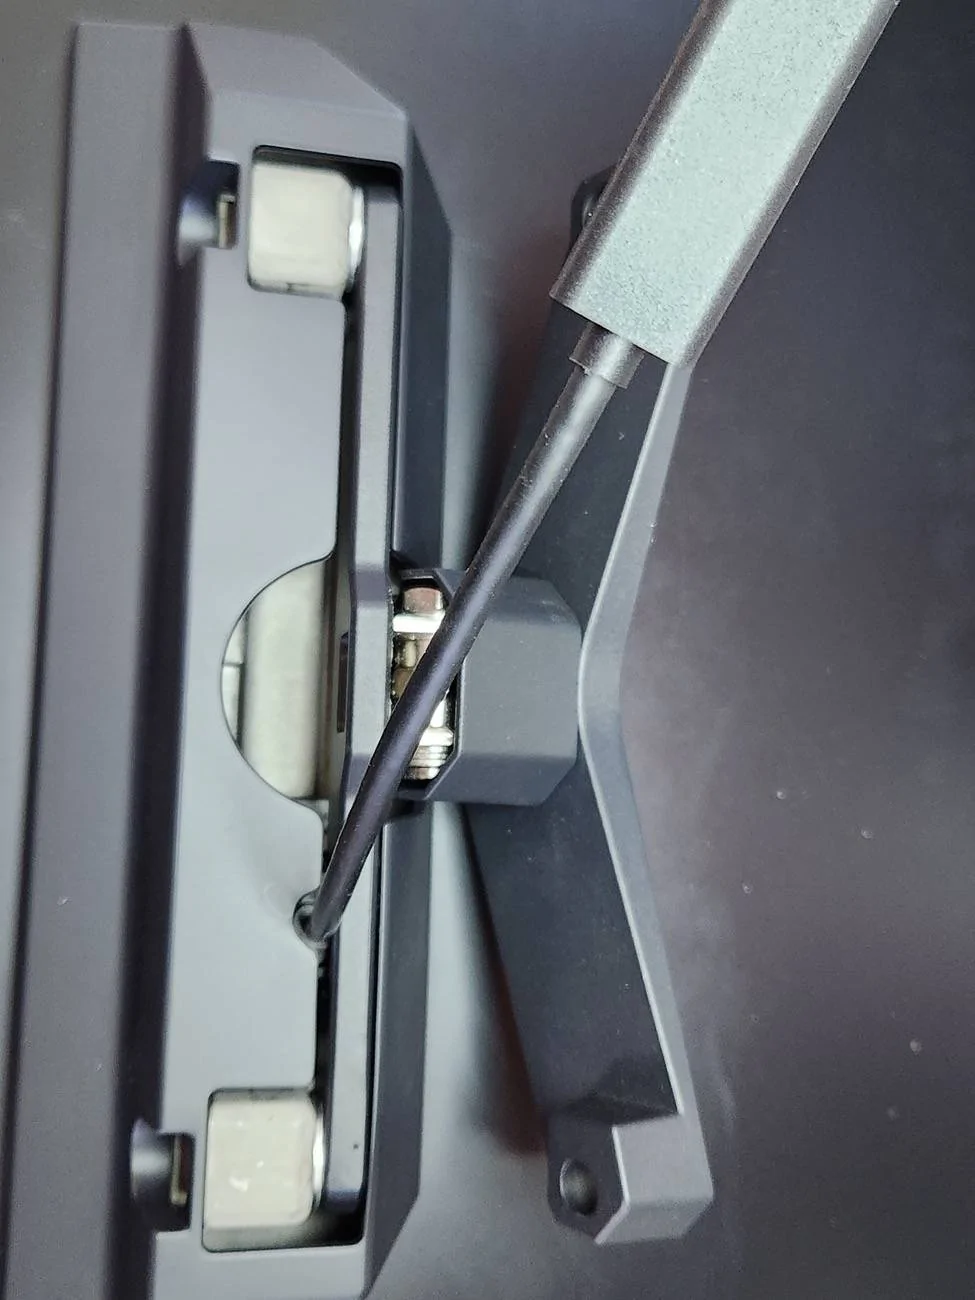
For any of you who installed a swivel mount, if you remember the part where you put the two bolts from the swivel mount through the back of the body of the screen. What a lot of people don't realize is that bar on the swivel mount that gets bolted to the back of the screen. The bar goes right above the plug for the screen and when you tighten the bolts up, it puts pressure on the plug. So right away I called Anysix and told them about the problem and I recommended that they install a washer thick enough to bridge the gap so there's no pressure on the plug. But what I did on my end instead of waiting for a new modification, I modified what I had and crazy glued 2 washers to each side
(just a little dab so the washers don't move) to the top of the mounting part of the back of the screen so the bar for the mount would sit higher and clear the plug.
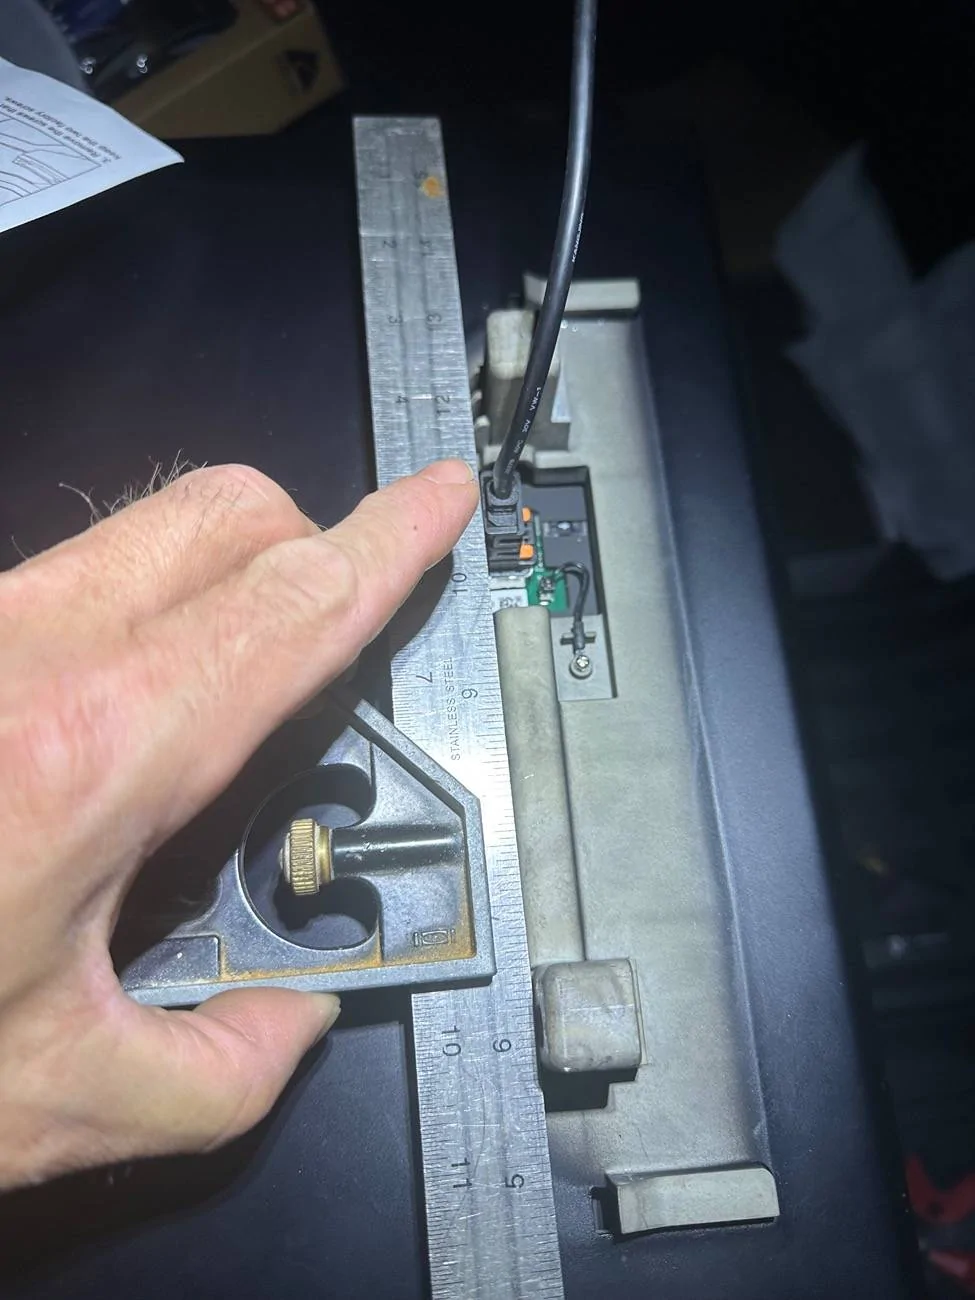
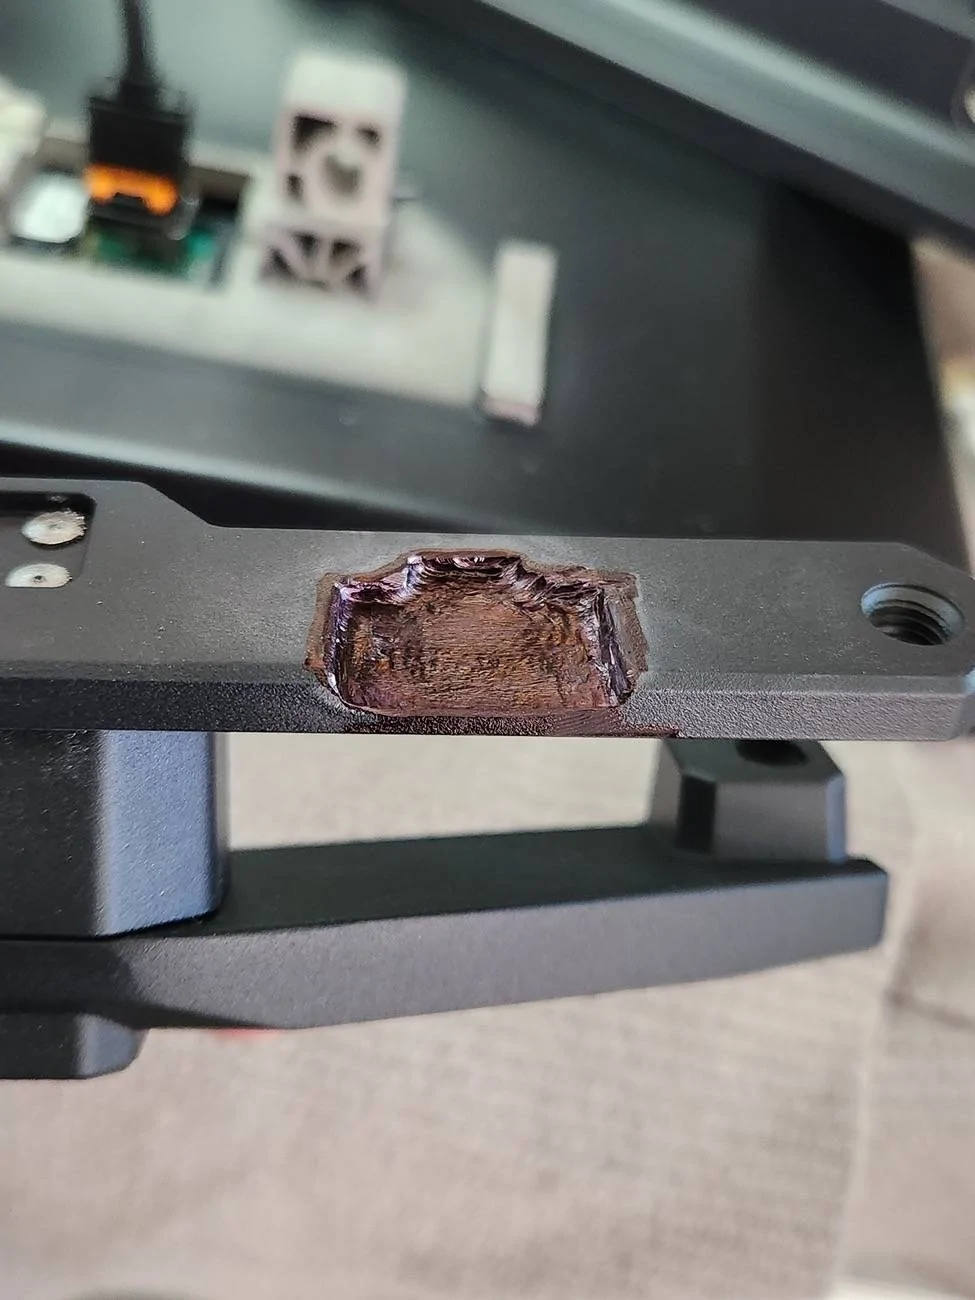
How did I notice this? I'm glad you asked. While looking at the back of the screen when it is disconnected, you can see that the two mounting points on the back of the screen sit a little bit lower than the plug. You can see what I'm talking about in the picture that I added. I put a straight edge across
the two mounting points on the back of the screen and you can tell that the plug would be in the way.
Anysix was very pleased with the information I gave them and they refunded half of my money back without me asking for anything.
You replace the included cable with this.
Sponsored