CyberT
Well-known member
- Joined
- May 18, 2020
- Threads
- 23
- Messages
- 673
- Reaction score
- 1,417
- Location
- Orange County, CA
- Vehicles
- 2024 Cybertruck AWD and 2018 Model 3 LR RWD
- Occupation
- Service Technician
- Thread starter
- #1
Hey guys, just like many of you who got the STARLINK mini for the recent discounted price, I installed mine over the weekend.
I’ll share with you the parts I used and pictures with 8 steps needed for a professional and clean installation using a suction cup glass ceiling installation.
I took some pictures to show you the path. And wrote the step-by-step instructions on each picture for convenience.
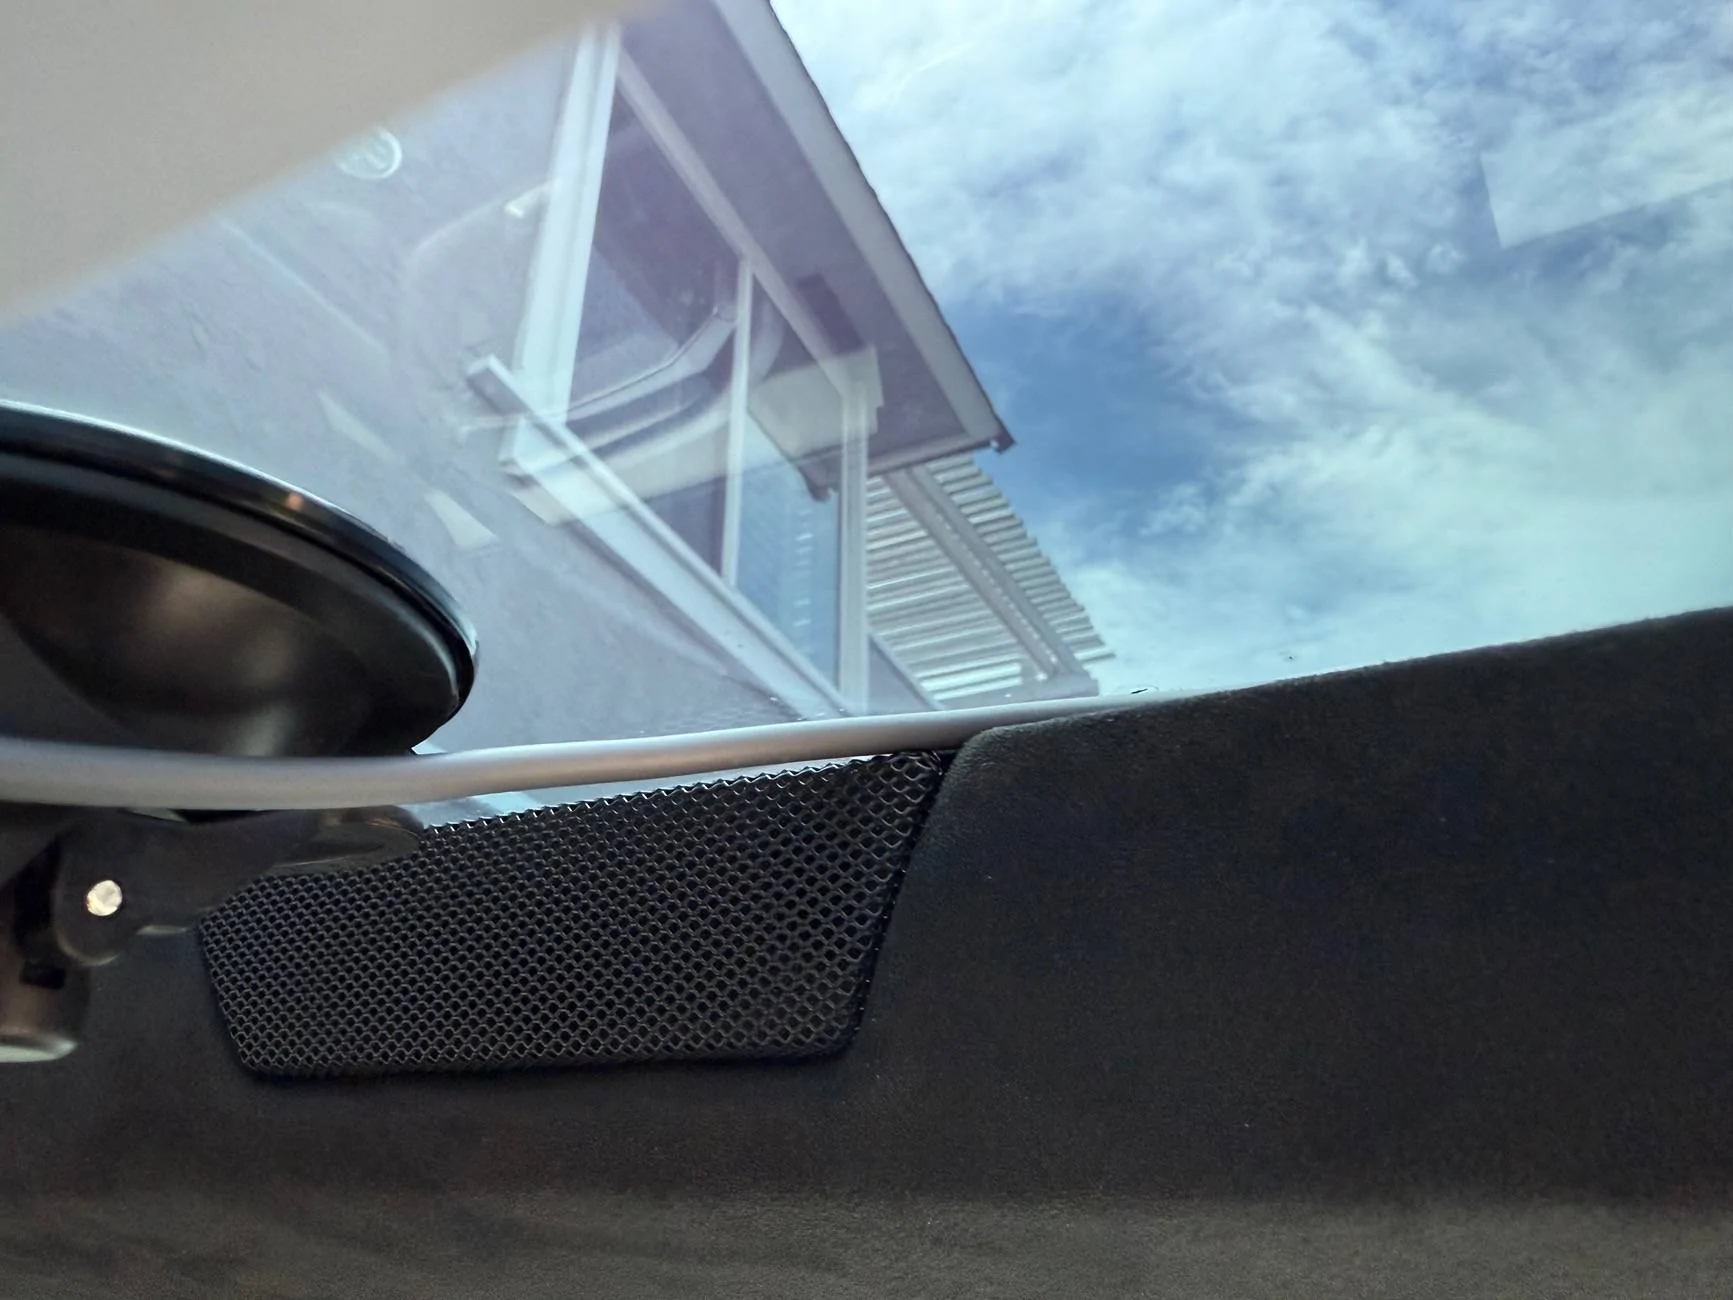
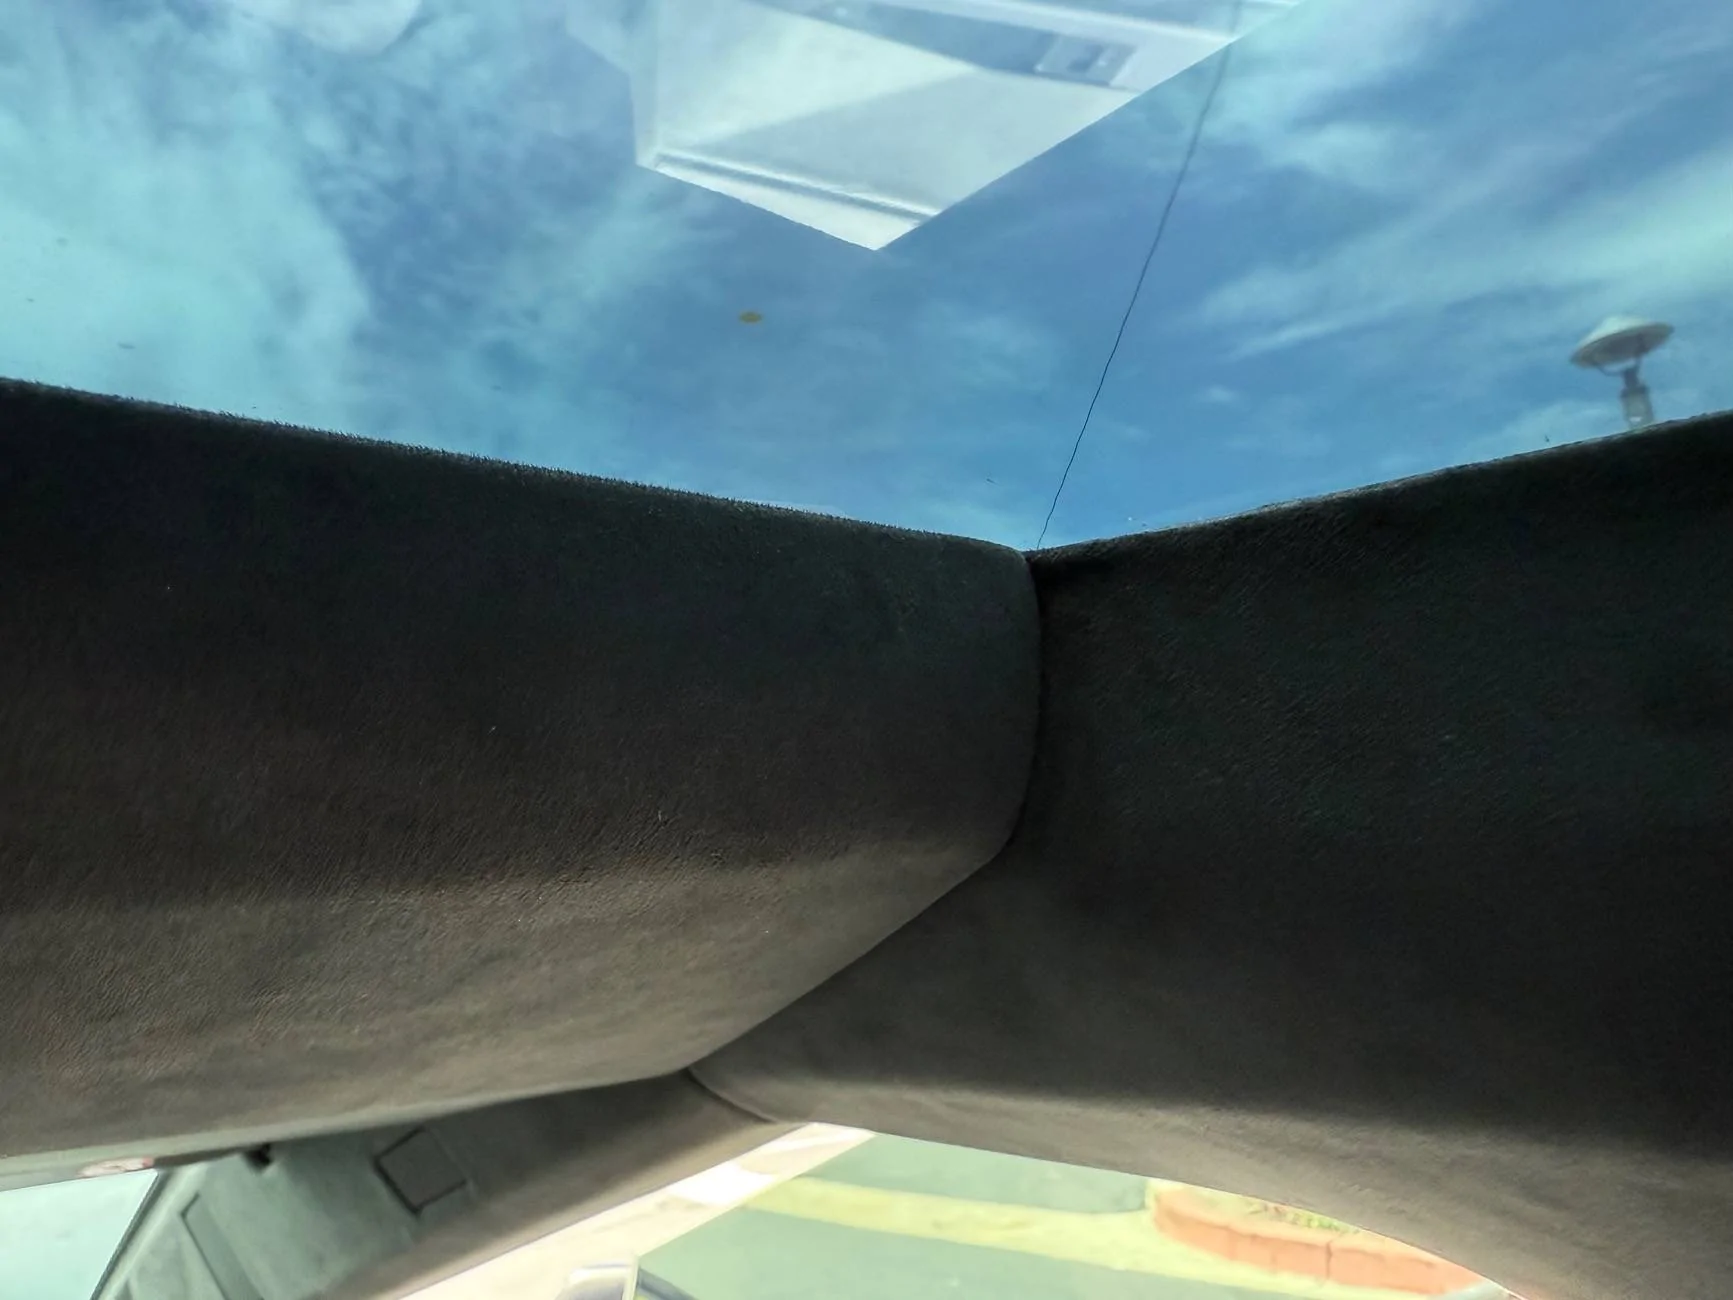
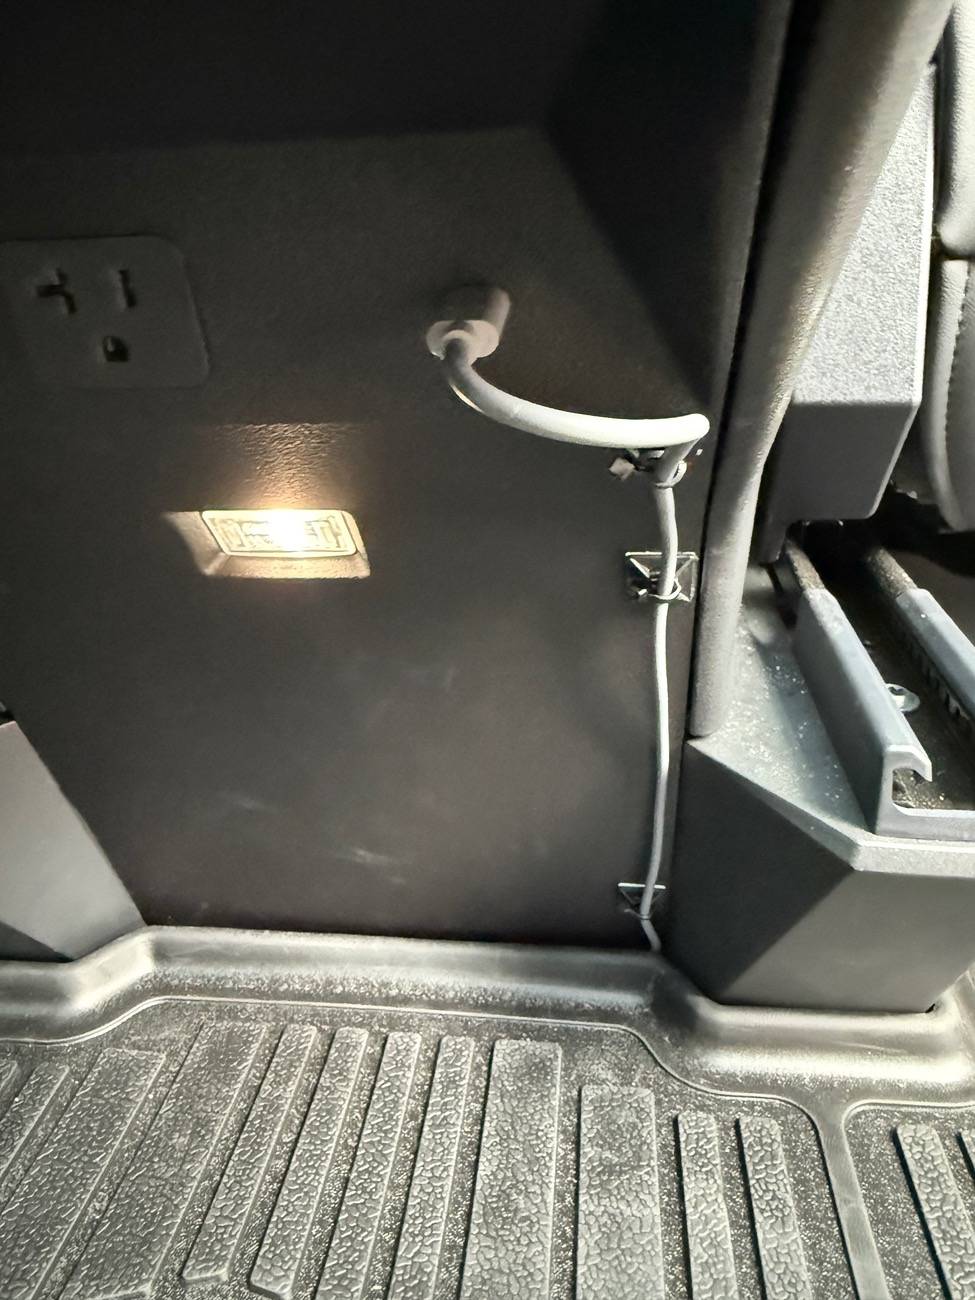
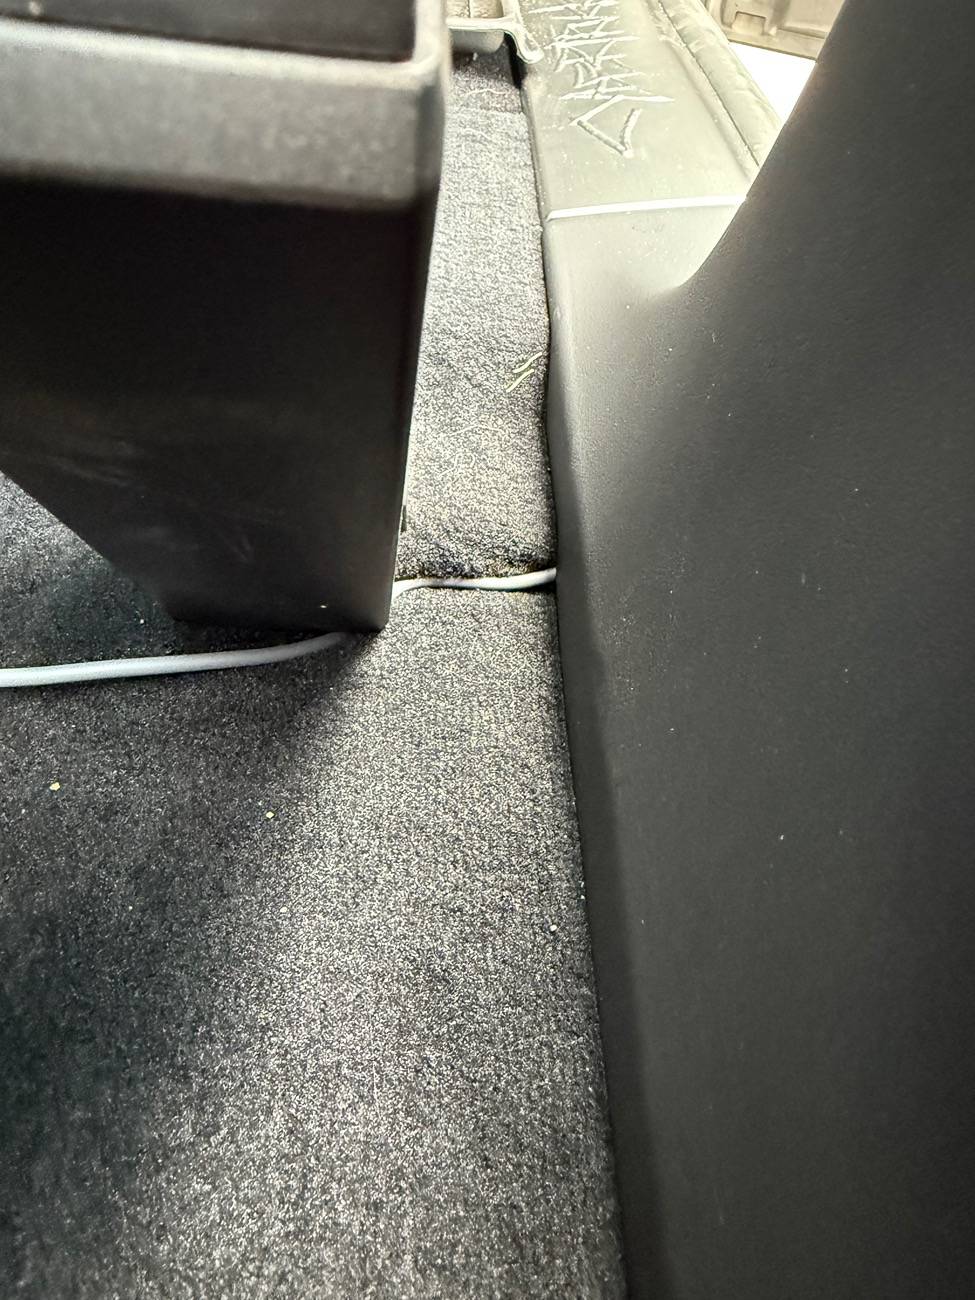
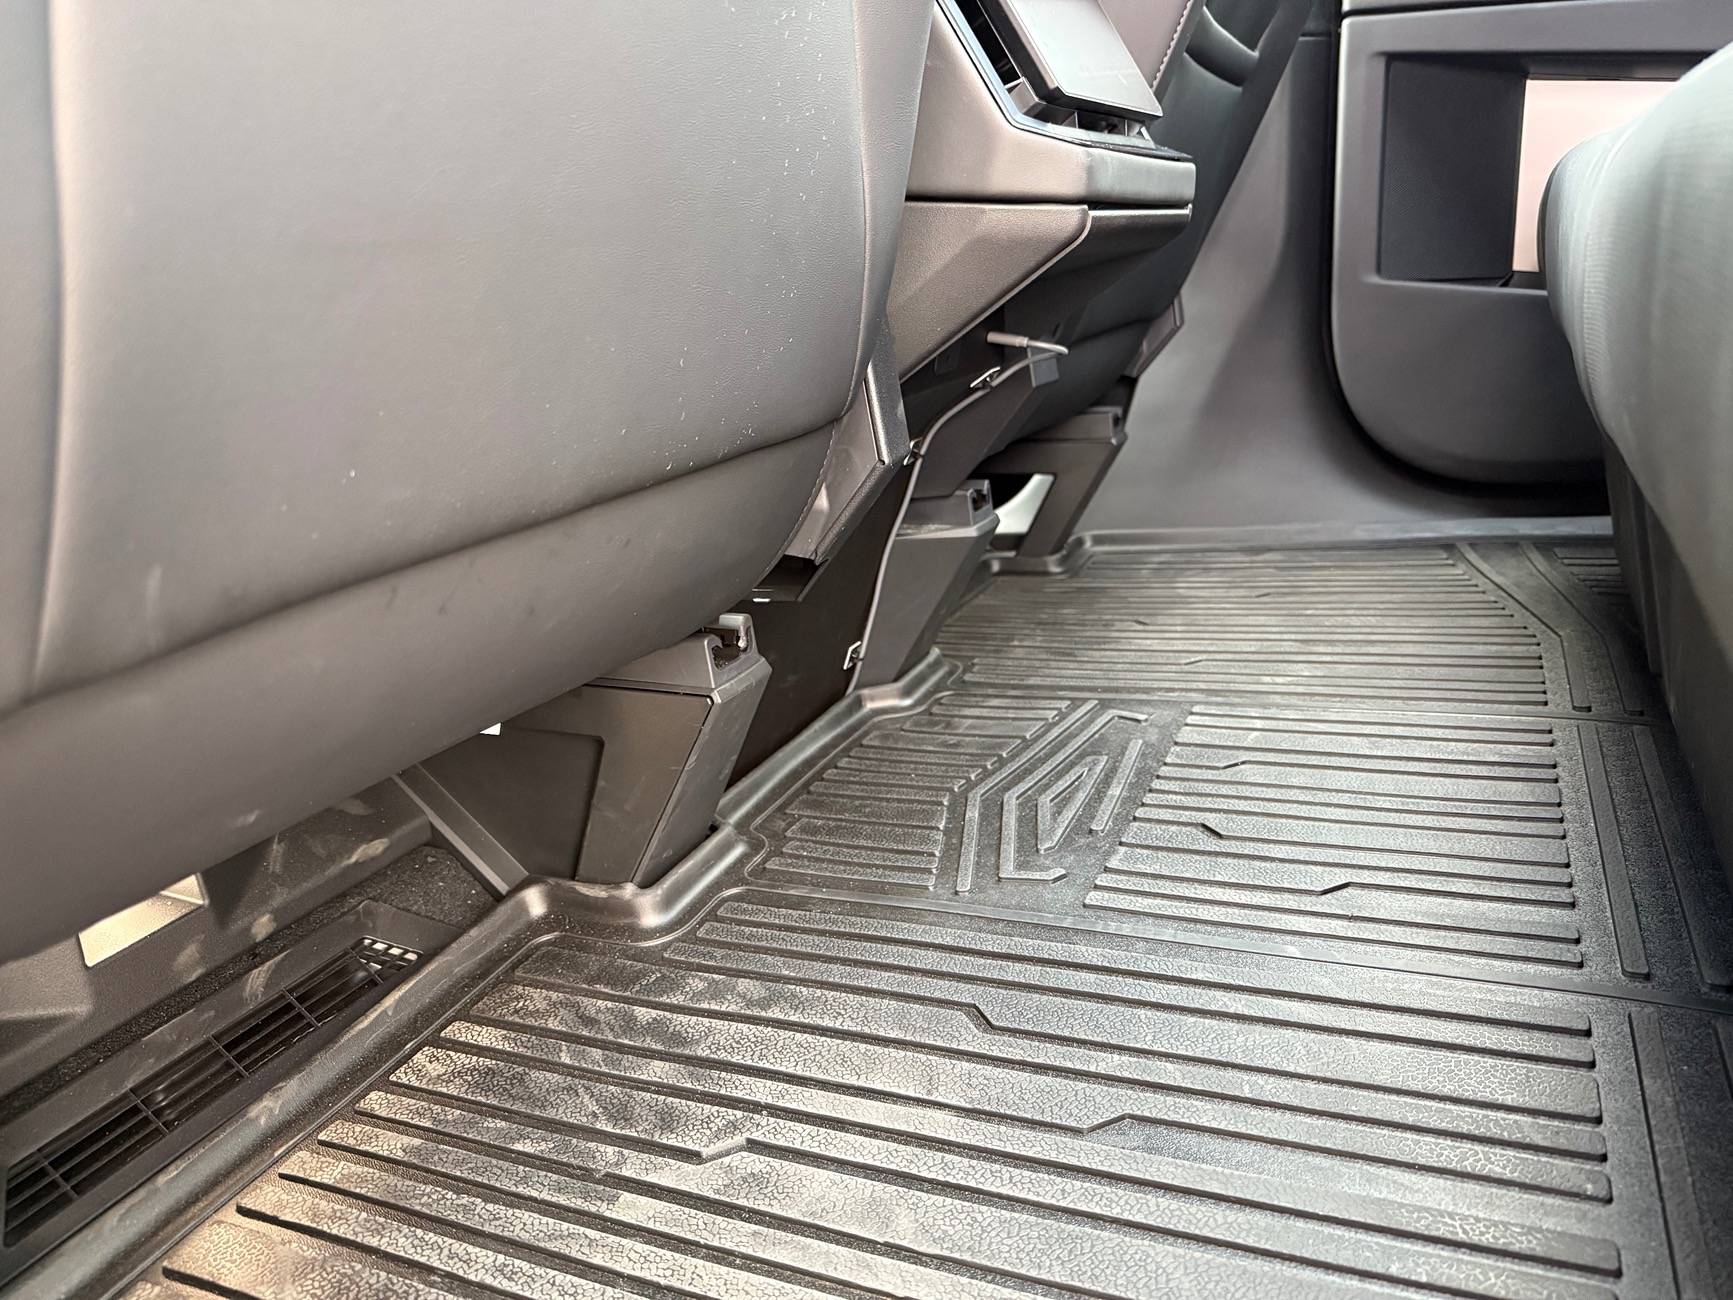
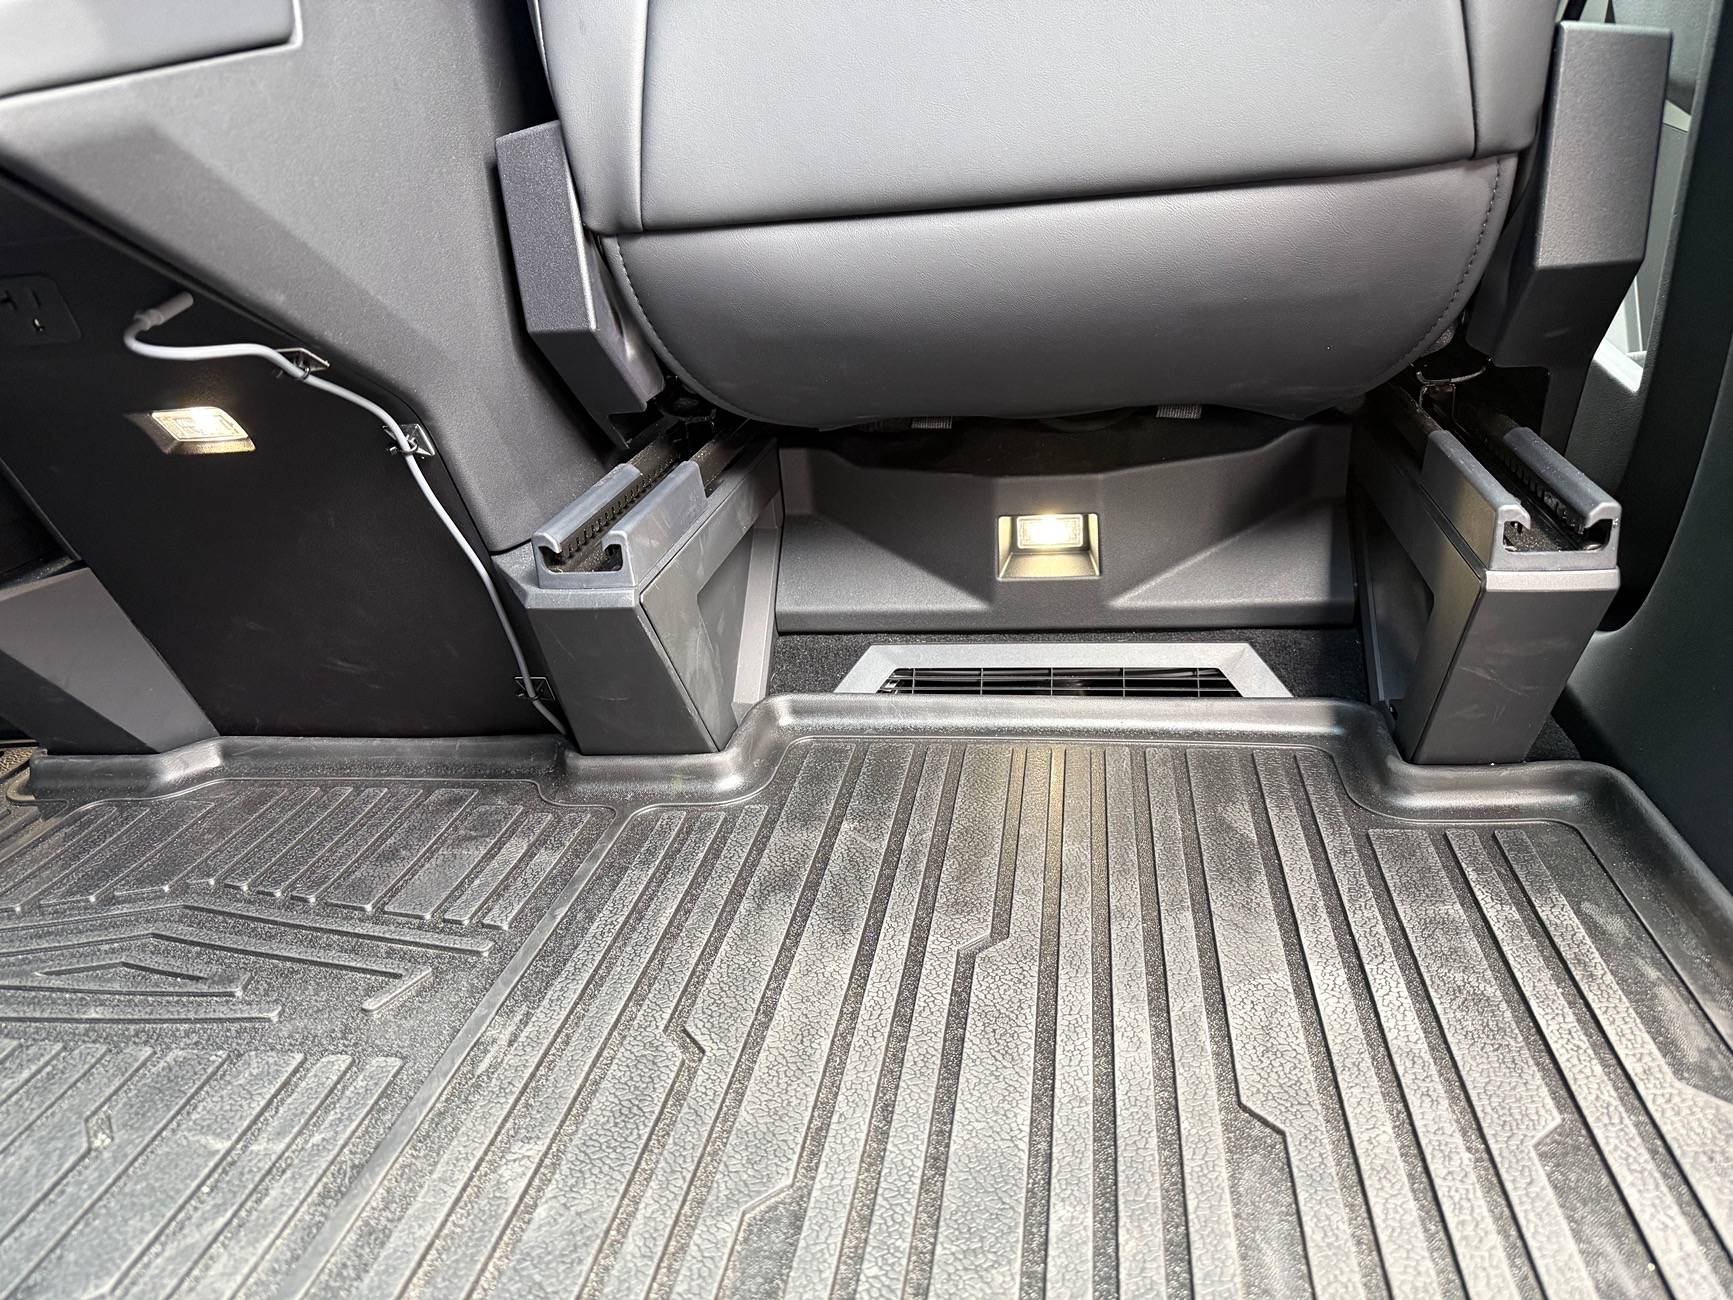
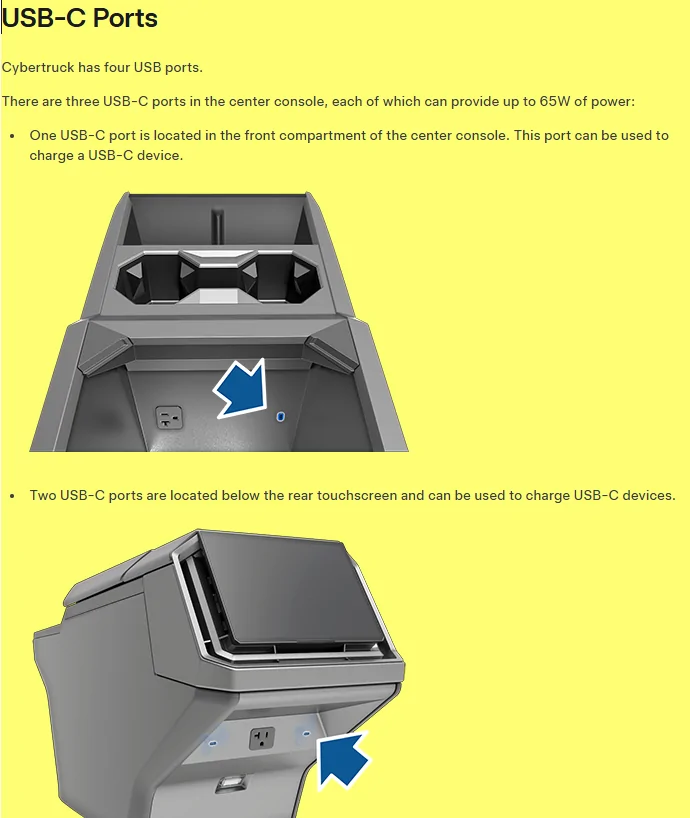
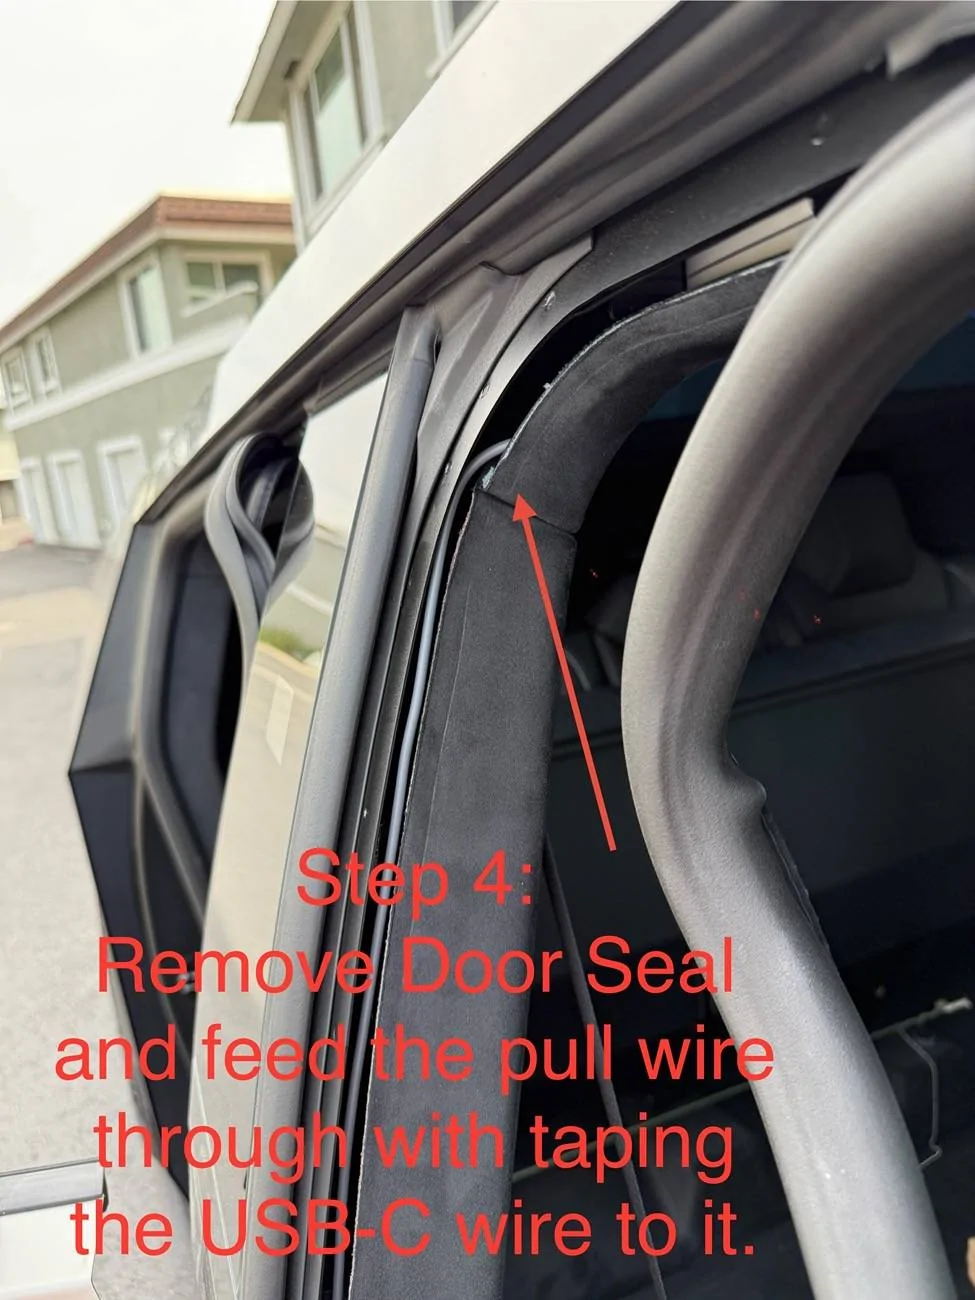
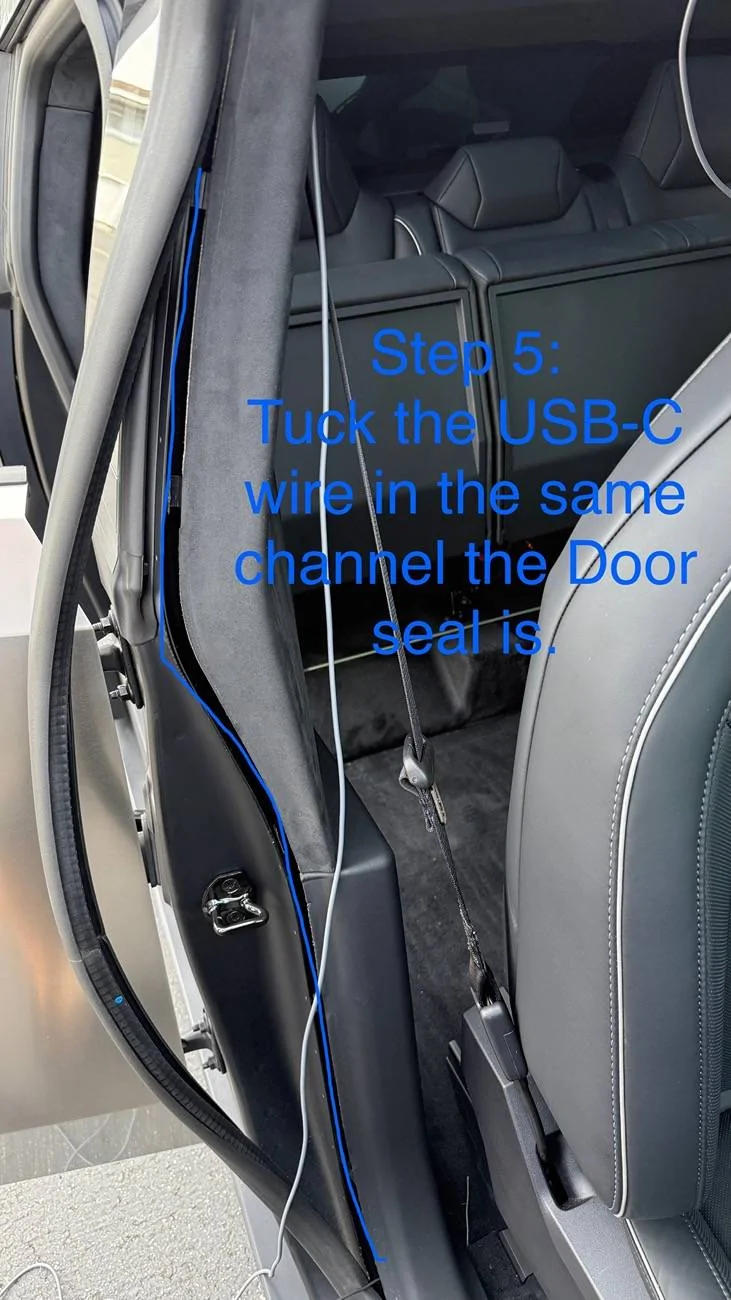
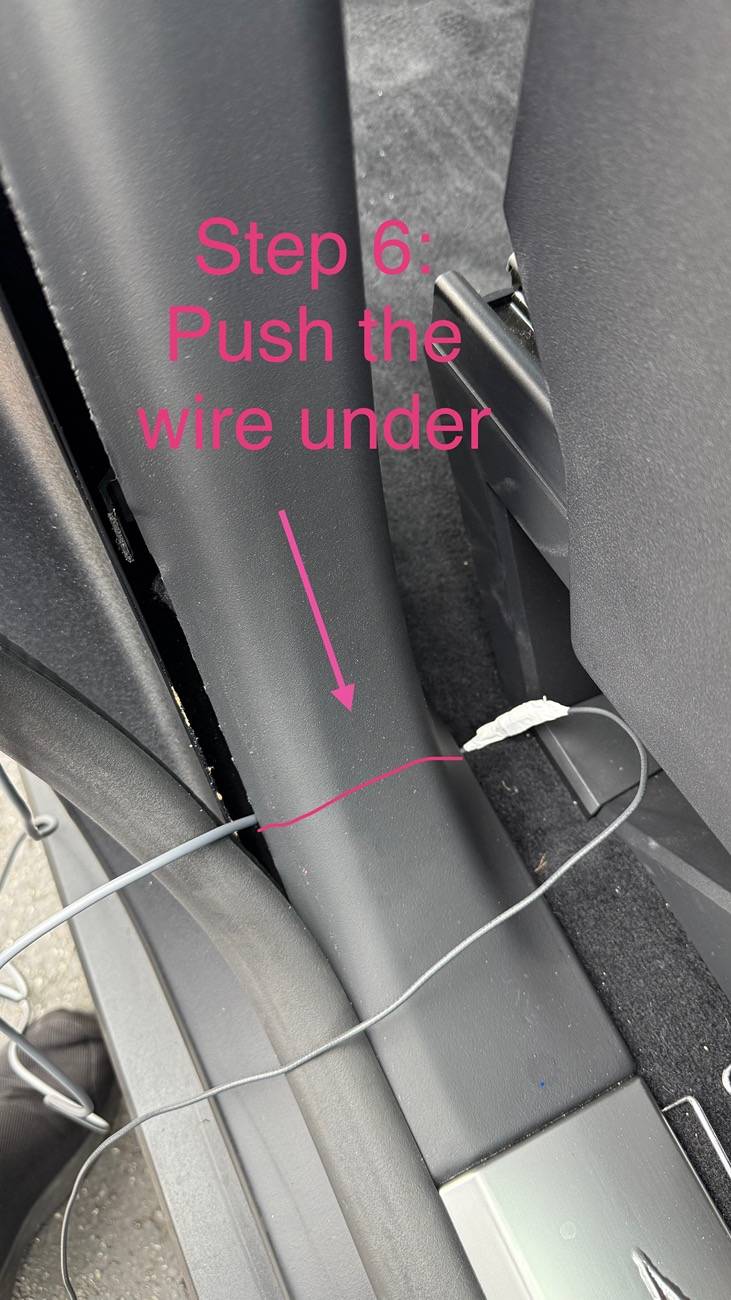
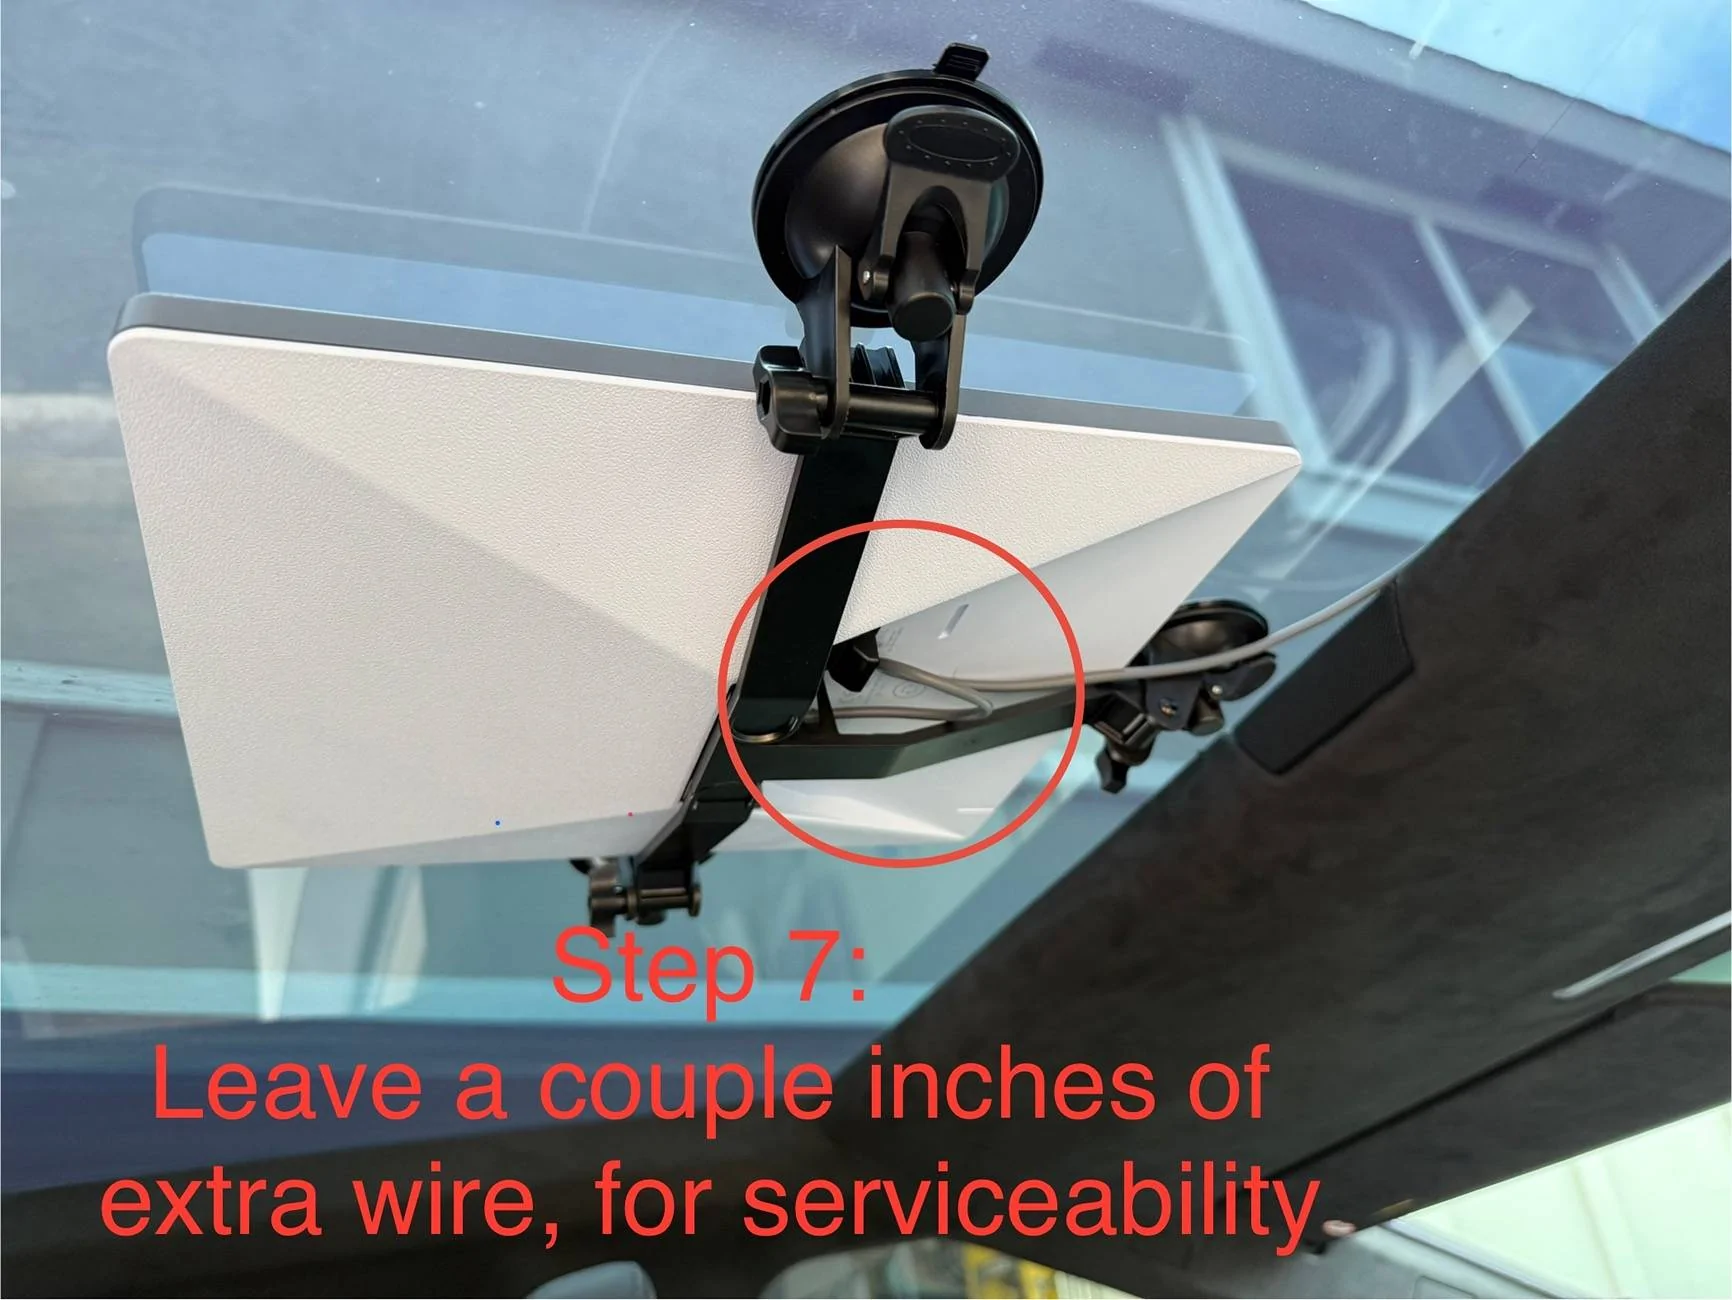
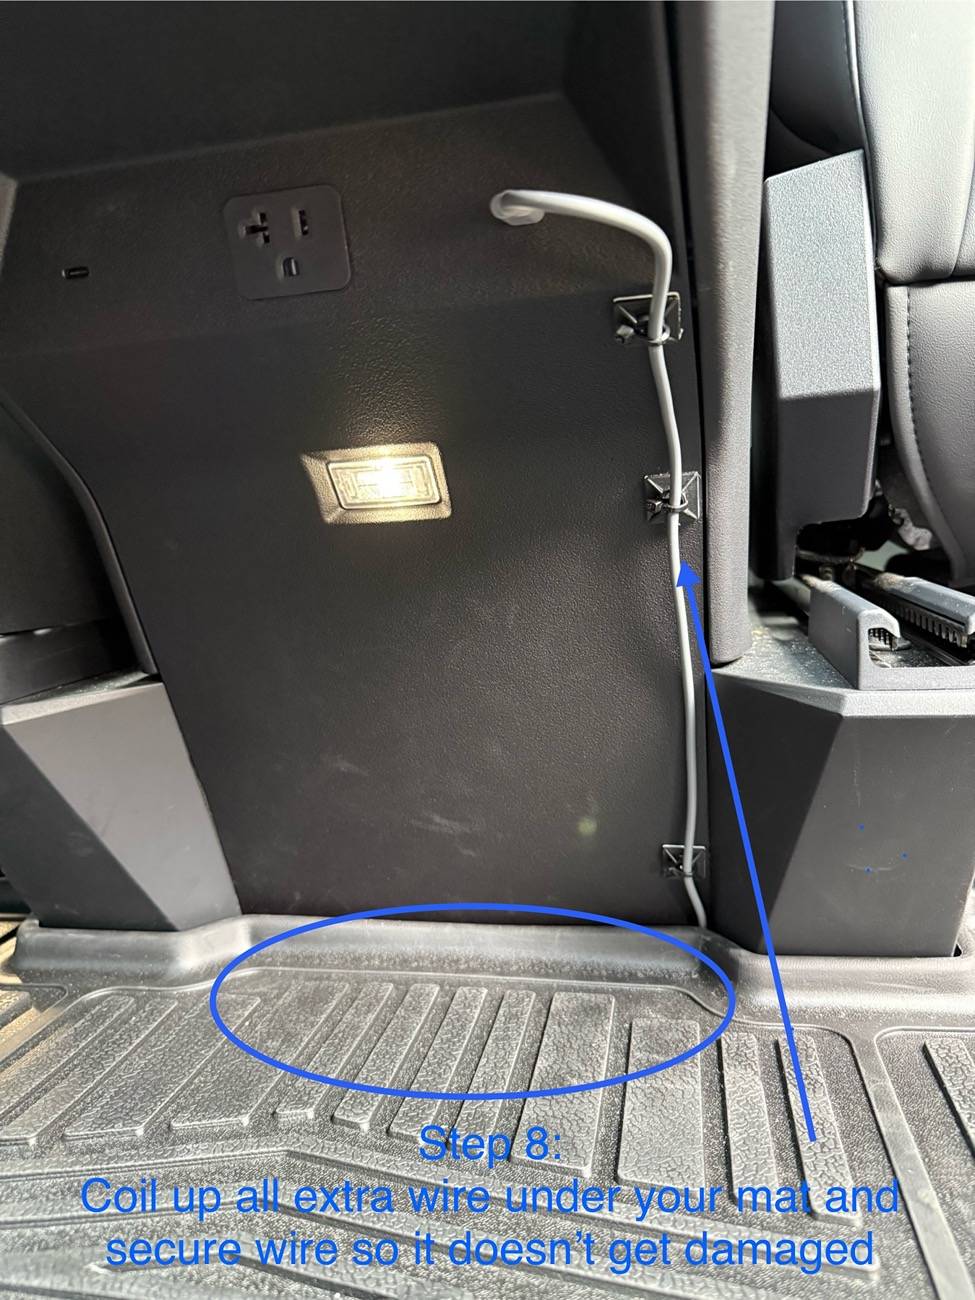
It took me about 1 hour in total, but if I were to do it again, I could reduce the time to under 30 minutes. Please note that the wire path starts at the Starlink Mini, proceeds to the passenger side, and then continues downward, finally passing under the bottom trim to reach the rear center console USB-C Port.
Tools Needed:
-Pry tool set Pry Tool
-2’ long piece of 14awg of Romex electrical wire. 14awg is thin enough to be flexible but also firm enough not to get caught. Romex
- White electrical tape (white doesn't leave stick gunk on the cable) Tape
- Cable Zip tie mounts Mounts
Parts Needed:
- STARLINK Mini
- 5m DC to USB-C cable DC>USB-C Cable
- STARLINK Mini Suction Cup Mount Suction Cup Mount
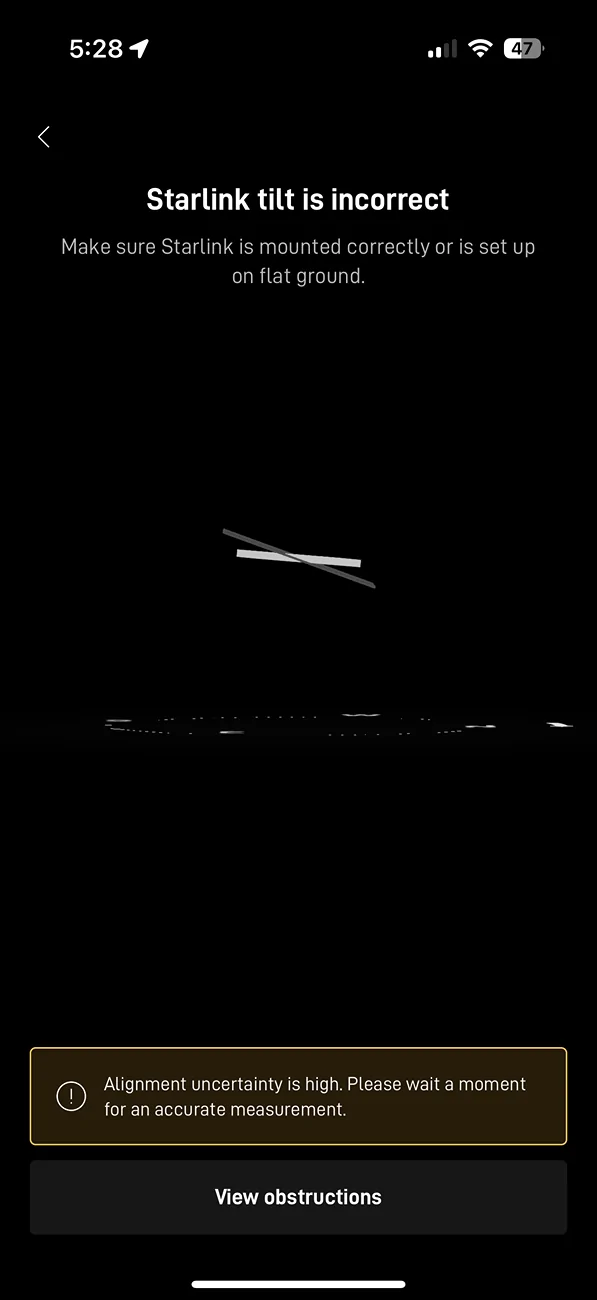
I mounted the Dish high up on the Glass Roof so as not to hit the head of anyone sitting in the middle seat. I think I will be reversing the Mini compared to what you see in the pictures, so the wire ports point to the back seats, as I've been consistently seeing alignment alerts during testing. I'll keep you updated.
Good luck! And if anyone in Orange County needs a hand, please reach out, and I'll be happy to stop by and assist you.


I’ll share with you the parts I used and pictures with 8 steps needed for a professional and clean installation using a suction cup glass ceiling installation.
I took some pictures to show you the path. And wrote the step-by-step instructions on each picture for convenience.
It took me about 1 hour in total, but if I were to do it again, I could reduce the time to under 30 minutes. Please note that the wire path starts at the Starlink Mini, proceeds to the passenger side, and then continues downward, finally passing under the bottom trim to reach the rear center console USB-C Port.
Tools Needed:
-Pry tool set Pry Tool
-2’ long piece of 14awg of Romex electrical wire. 14awg is thin enough to be flexible but also firm enough not to get caught. Romex
- White electrical tape (white doesn't leave stick gunk on the cable) Tape
- Cable Zip tie mounts Mounts
Parts Needed:
- STARLINK Mini
- 5m DC to USB-C cable DC>USB-C Cable
- STARLINK Mini Suction Cup Mount Suction Cup Mount
I mounted the Dish high up on the Glass Roof so as not to hit the head of anyone sitting in the middle seat. I think I will be reversing the Mini compared to what you see in the pictures, so the wire ports point to the back seats, as I've been consistently seeing alignment alerts during testing. I'll keep you updated.
Good luck! And if anyone in Orange County needs a hand, please reach out, and I'll be happy to stop by and assist you.

Sponsored