kobratoldya
Well-known member
- Joined
- Feb 12, 2024
- Threads
- 11
- Messages
- 135
- Reaction score
- 234
- Location
- California
- Vehicles
- Model Y Model X
Thanks!
Sponsored
I’ve done the process and sometimes you have to do it 2 or 3 times. I did one panel at a time and maybe went back to give it another pass. I used the swirl motion but I don’t know if it made a difference. When I did it I bought a whole pack of the microfiber clothes from Sam’s. I had one just for the BF and tossed it when it got dirty. I had a second one just to get the BF off with Windex. And then a third one with maybe using 1 light squirt of Windex to get any fine residual off.This is my second time trying the BFK+Windex combo and I’m left with splotches, streaks, and inconsistencies. I wonder what I’m doing wrong. I’ve been following Out of Specs tips the best that I can. Any tips?


Thanks! I would live to see a pic of the final resultI’ve done the process and sometimes you have to do it 2 or 3 times. I did one panel at a time and maybe went back to give it another pass. I used the swirl motion but I don’t know if it made a difference. When I did it I bought a whole pack of the microfiber clothes from Sam’s. I had one just for the BF and tossed it when it got dirty. I had a second one just to get the BF off with Windex. And then a third one with maybe using 1 light squirt of Windex to get any fine residual off.
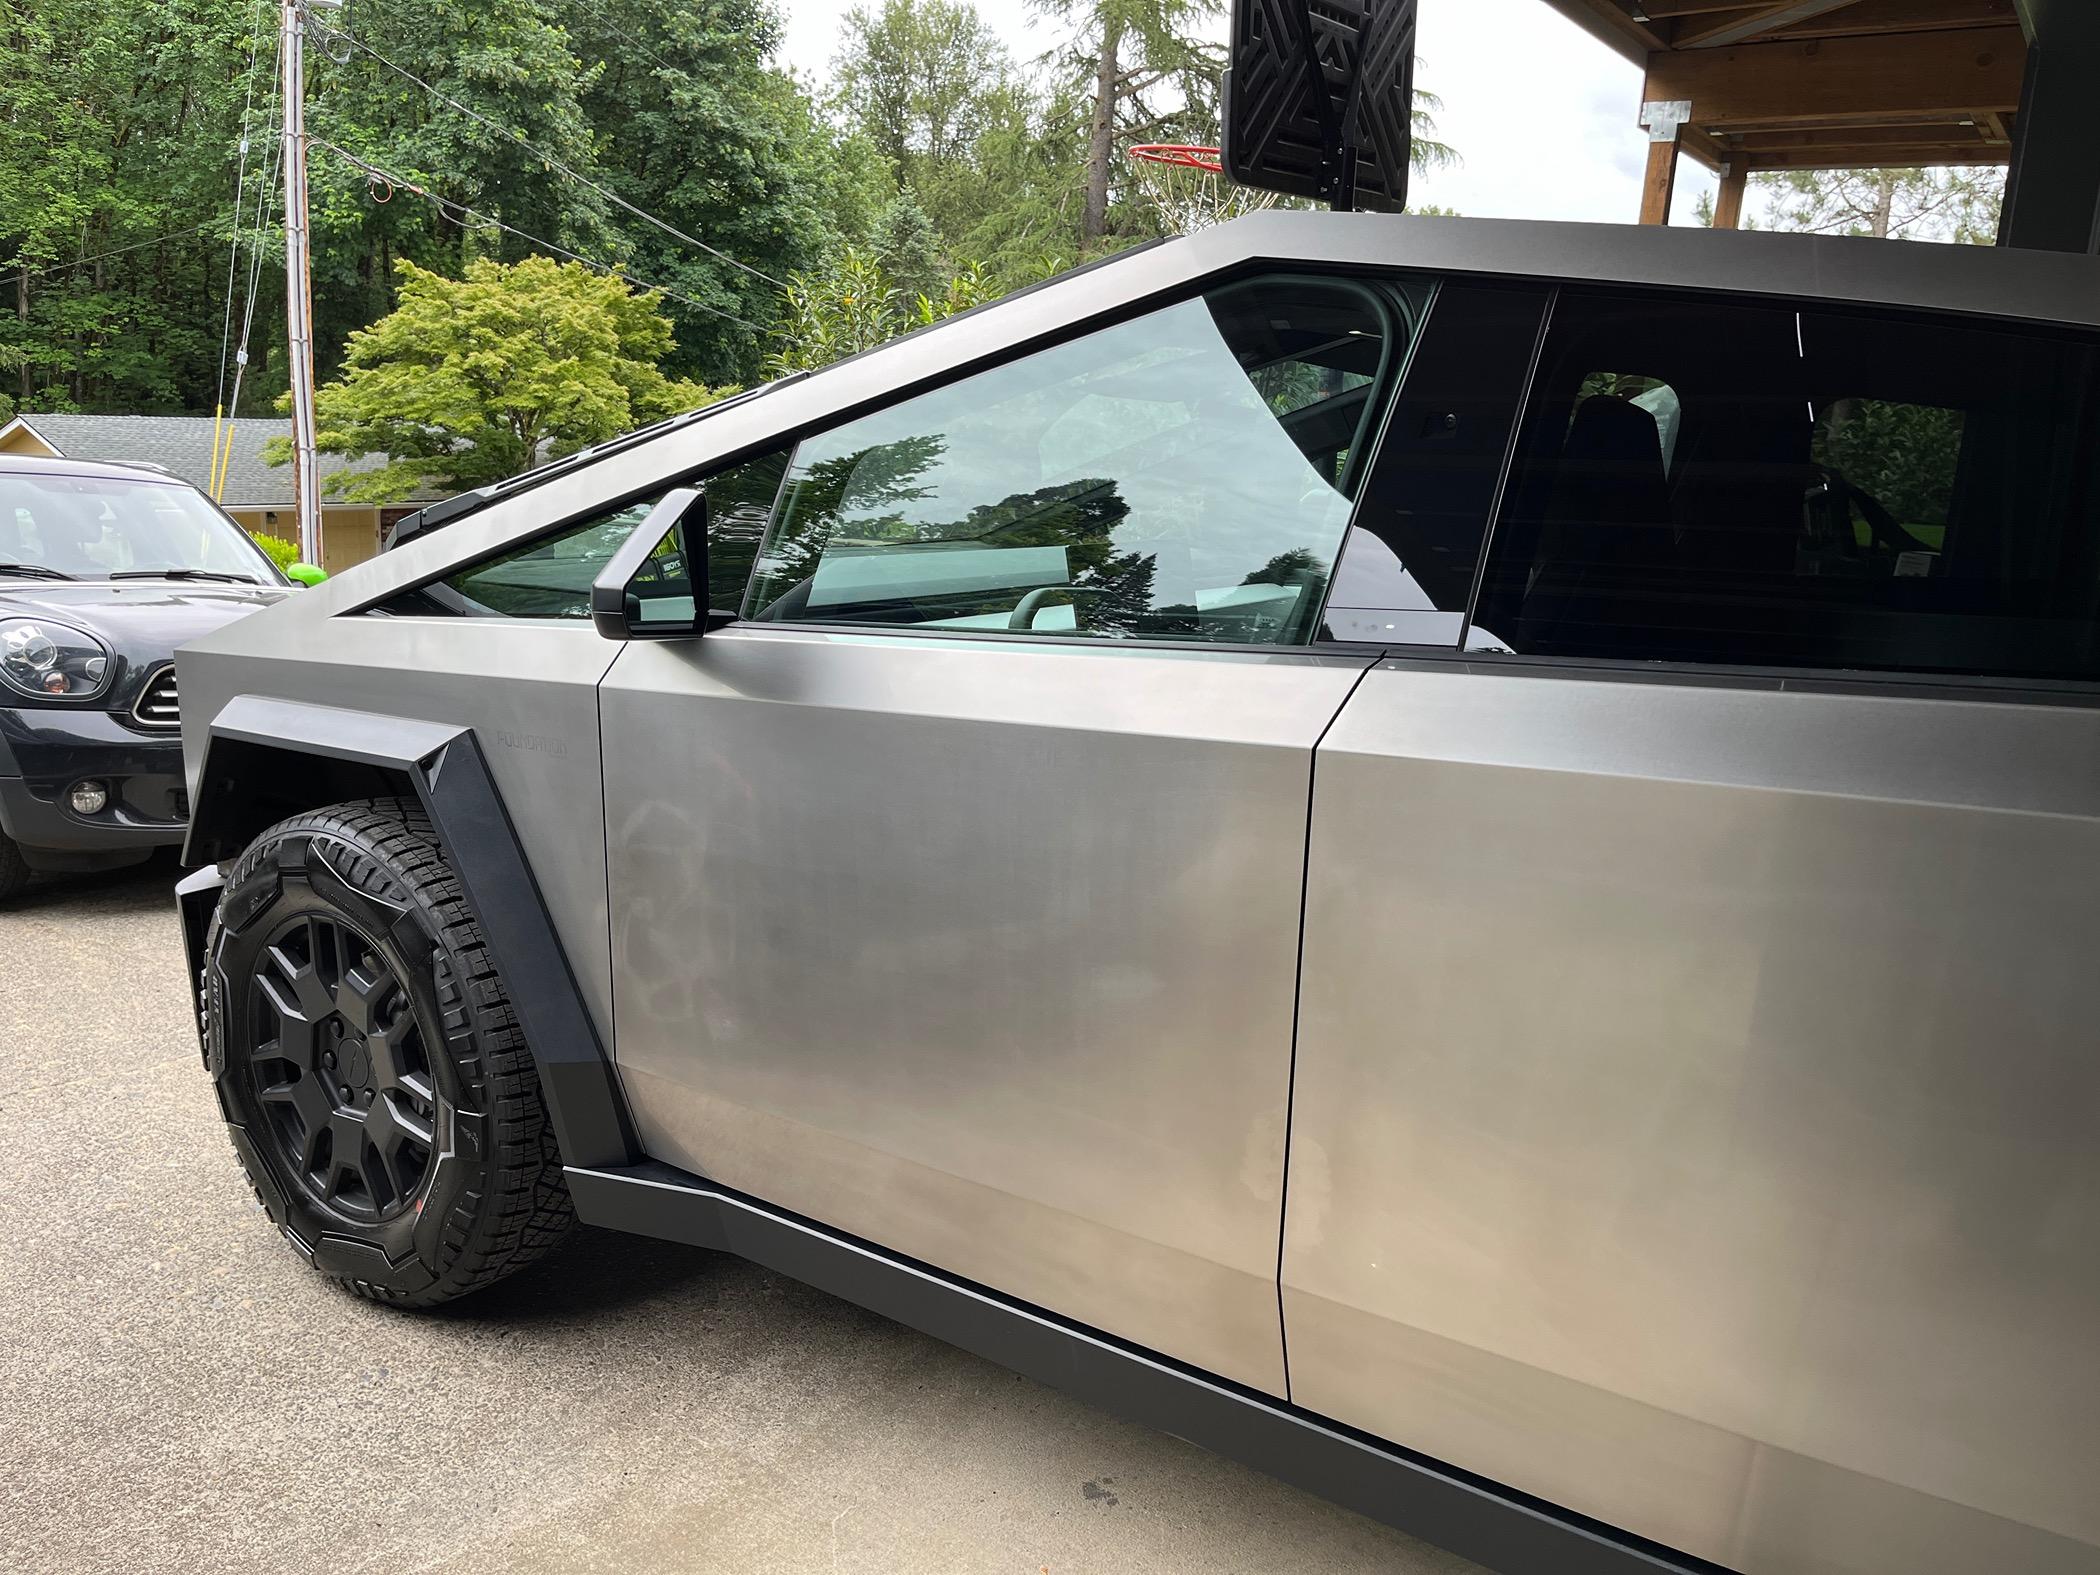
Oh please go away. Everyone knows you had a bad experience. And you lost all credibility when you say Out of Spec took a bribe to give the company a good review (from the comments you made in the Youtube video). I was there all day during the video and watched the process. It can be done successfully and good results can be achieved.Colton trying so hard to make the product work. Three months since I started using the product and it has by far been the worse experience of owning a Cybertruck to date. What a stupid way to ruin the Cybertruck experience. After the countless hours of trying to make it work, fixing, stripping, re-applying, I finally spent the whole weekend to strip the entire truck and apply the DIY Metal Ceramic Coat. Took three hours and urned out perfectly, imagine that.
I was offered a 50% refund if I paid for return shipping. No thanks, it’s easier to dispose of it with my old paint cans at the next city event.
 Some people can get it and some people can’t. Kyles wife had a little trouble applying the DIY Detail coating. there is some trial and error to get the right touch for these coatings.
I am genuinely glad you had your truck done for free and it turned out to your liking. Telling me to go away seems a bit Immature though.Oh please go away. Everyone knows you had a bad experience. And you lost all credibility when you say Out of Spec took a bribe to give the company a good review (from the comments you made in the Youtube video). I was there all day during the video and watched the process. It can be done successfully and good results can be achieved.
What can we learn of Will’s misfortune. For one the applicators have been improved. Now you use the big round one. But the big thing is just do one section (the frunk hood is perfect) to get your technique down. Don’t do the whole entire truck and realize you can’t apply it that great ?
Simple fact is the coating can be applied right and look good (as many people can attest too). You apparently did not apply it right.I am genuinely glad you had your truck done for free and it turned out to your liking. Telling me to go away seems a bit Immature though.
Did Colton take the $5000 that Everbrite was referring to? Bribe money? Hit piece? Not my words. Kinda SUS. Chris. I value your opinion even though you were the side show helping with the application. Try doing it yourself and then have Everbrite tell you it’s your fault.
The purpose of this forum is for people to express their opinions and help each other out. Telling people to “Go Away” for expressing their opinion is such a dick move. Chris.
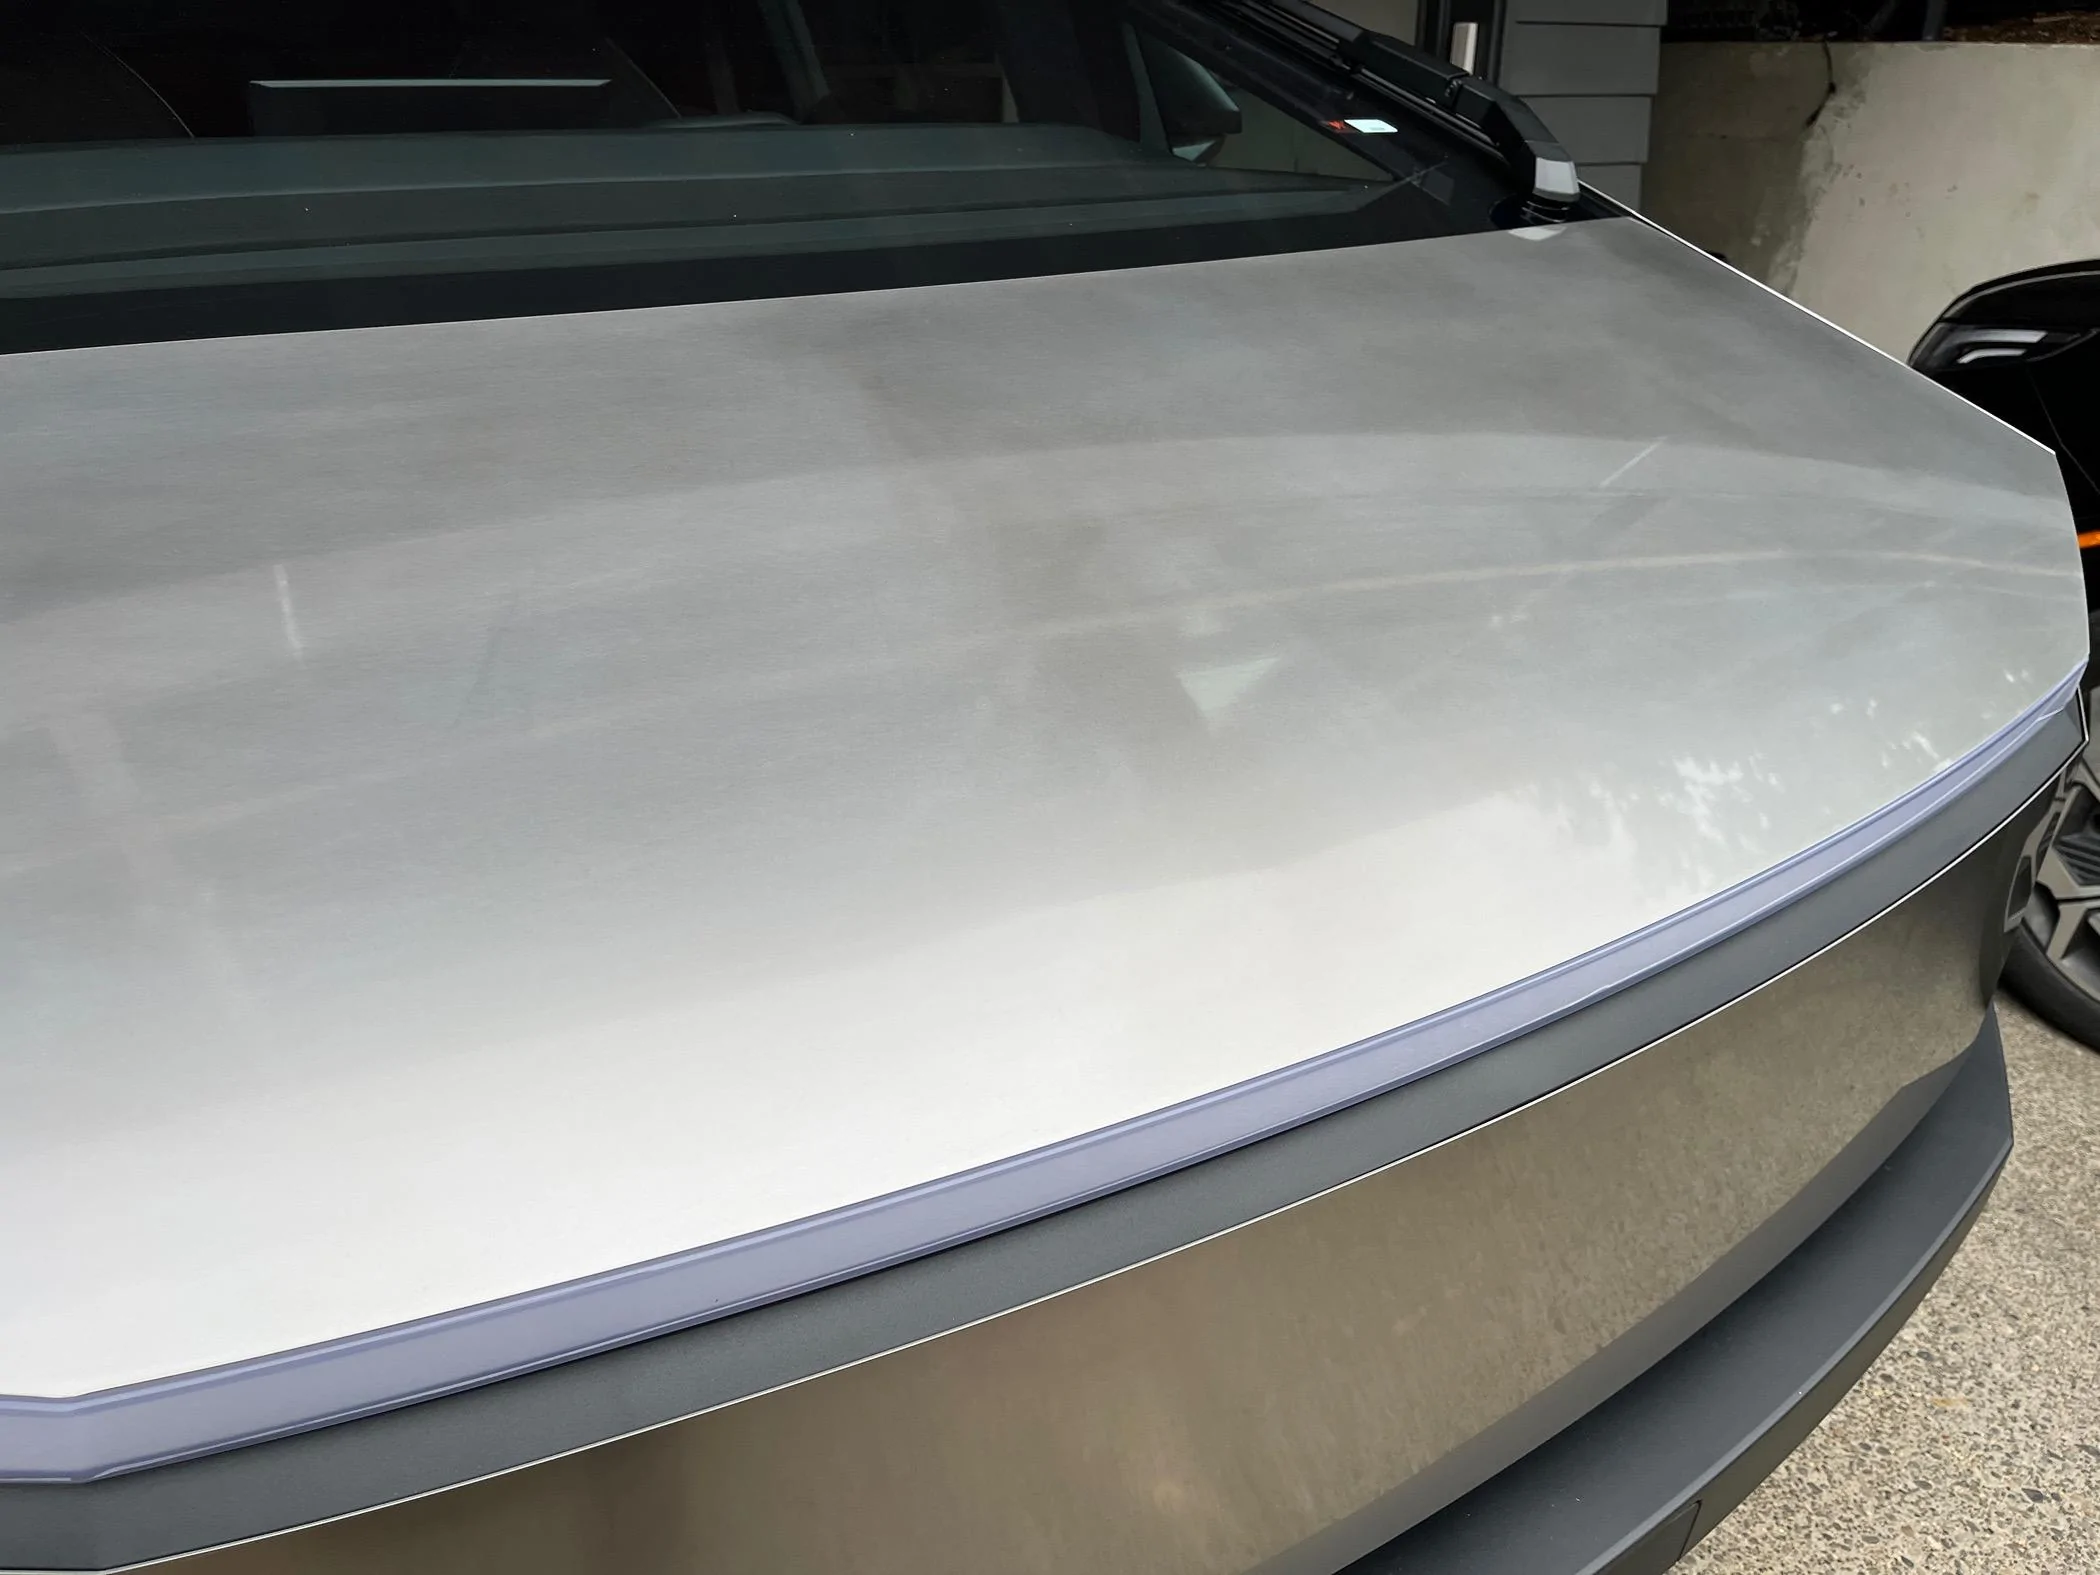
I did it to my truck a week ago. Put it on thin and had to do 3 coats. Overall I am happy with the results. I have one small run I will fix sometime. I think the hardest thing is that it will stick dust and lint when wet. That part is hard to control. But you have to look close to notice. I did mine in a closed garage.If you get it right it looks really, really good. If you get it wrong it looks terrible. The line separating the two looks pretty thin. Definitely watch this video if you plan on using it. I suspect people get into trouble the most when they put it on too thick. Much cheaper option than PPF. Definitely going to try it out.
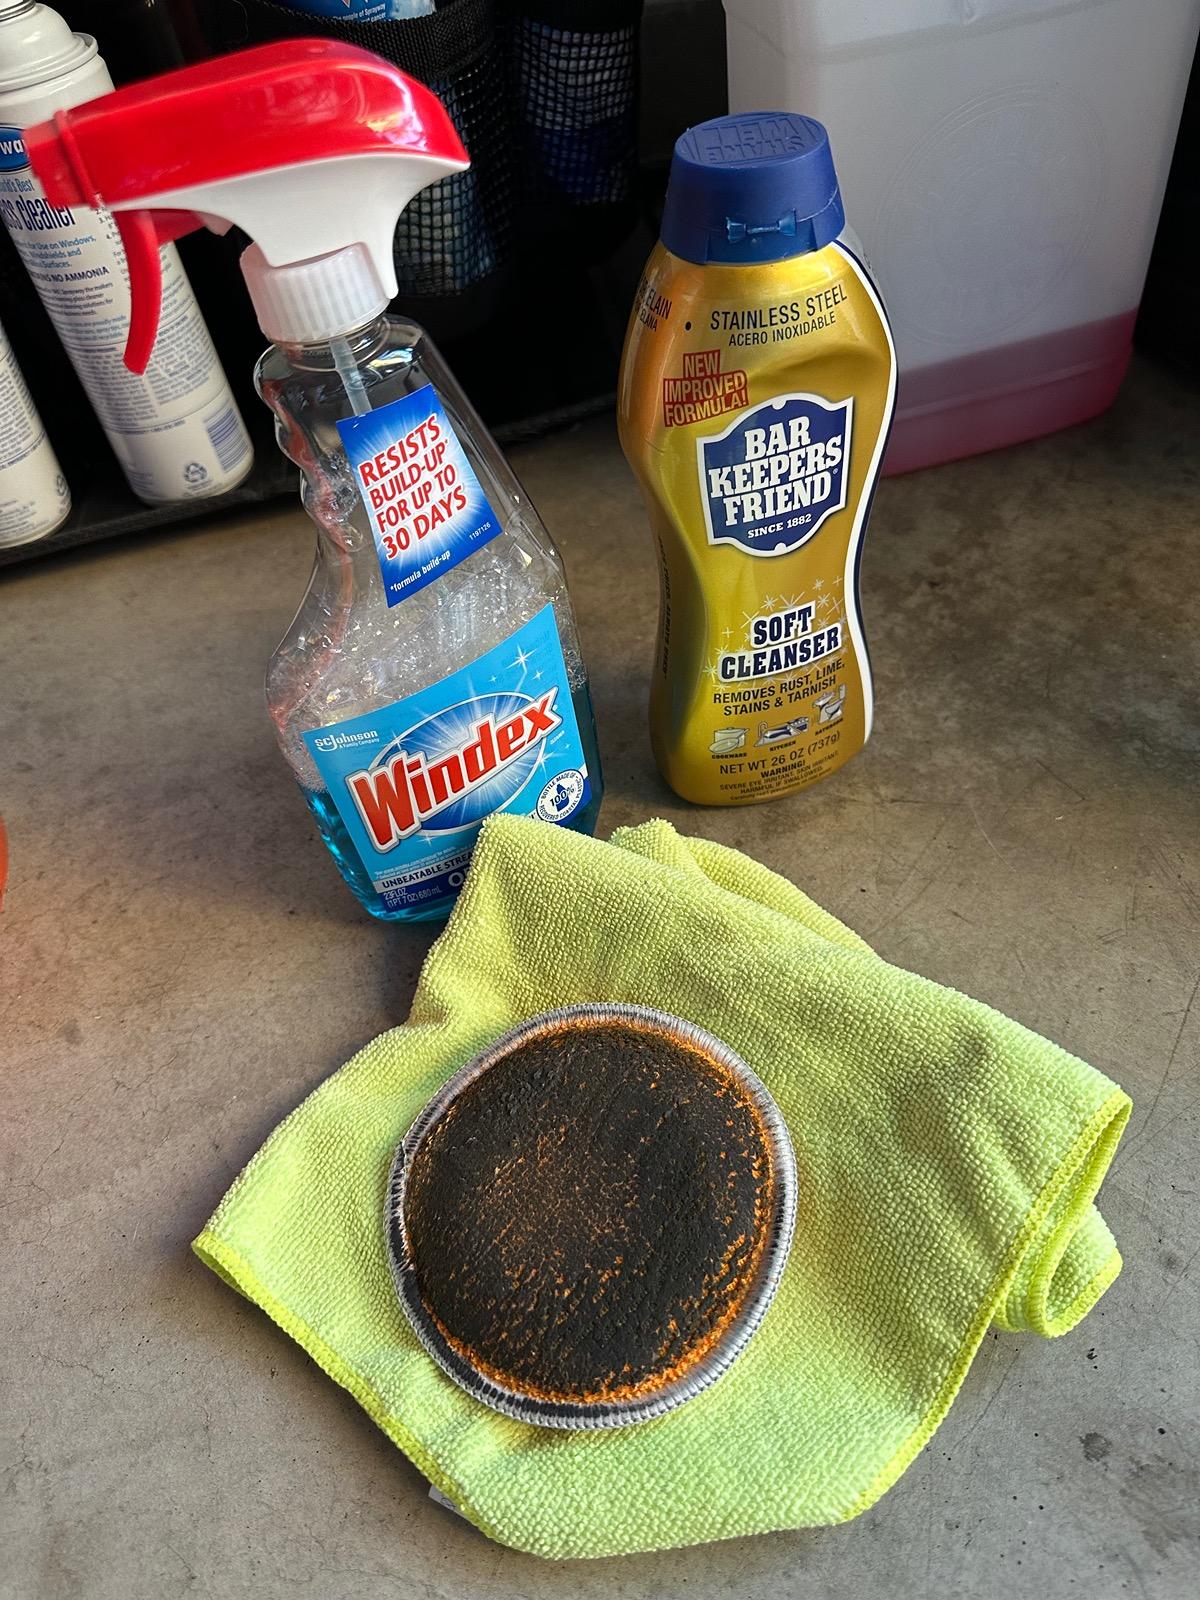
This is my second time trying the BFK+Windex combo and I’m left with splotches, streaks, and inconsistencies. I wonder what I’m doing wrong. I’ve been following Out of Specs tips the best that I can. Any tips?
| Soft Cleanser How to use BKF Soft Cleanser
Because our Soft Cleanser is acidic and contains polishing compounds, BKF may etch or dull delicate surfaces. Before applying to fiberglass, plastics, anodized aluminum or brushed metal surfaces, such as appliance exteriors, test in a small, hidden area first. |
Yeah see he claims 2 passes of windex is enough. I did not find that to be true. Even if my second pass started with a fresh rag that had no residue on it, I often needed 3 rags for the removal of the bkf. I would rotate my rags. The clean 3rd rag would become the 2nd rag on the next spot i would apply bkf. Then the first on the 3rd spot. You can't have any residue within the microfiber on your final pass. Even if you switched to a fresh surface of the rag, it doesn't matter. If the rag is damp the residue will come through from the other sideThis is my second time trying the BFK+Windex combo and I’m left with splotches, streaks, and inconsistencies. I wonder what I’m doing wrong. I’ve been following Out of Specs tips the best that I can. Any tips?
Yeah see he claims 2 passes of windex is enough. I did not find that to be true. Even if my second pass started with a fresh rag that had no residue on it, I often needed 3 rags for the removal of the bkf. I would rotate my rags. The clean 3rd rag would become the 2nd rag on the next spot i would apply bkf. Then the first on the 3rd spot. You can't have any residue within the microfiber on your final pass. Even if you switched to a fresh surface of the rag, it doesn't matter. If the rag is damp the residue will come through from the other side
I also found other glass cleaner that worked way better, but you can't just walk into a store and buy it. It also contains ammonia.
I mention it because there may be another glass cleaner that contains ammonia that's more effective at this than windex. I just dont want to play salesman because I know the owner of the injection molding company that sells the stuff I liked the best.
People love to say how you should only rinse the bkf and that's the only reason for issues. If you use water to rinse the bkf, and you don't perfectly rinse it off of the black plastic, it will turn white. You won't know by looking at it if you have gotten it all off. You will only know later if it doesn't leave drip marks on the plastic. My truck was delivered with these drip marks on my rockers, which I made them replace after being unable to remove the stains. I won't risk that happening again so I'm sticking with the much easier to control process of using glass cleaner
I totally agree with you! I also used the 3 rag solution (1 - BF, 2 - Windex rag to remove the BF, and 3(4) - fine cleaning rag with one side a light spray of Windex and then the other side that had nothing on it). In the video time lapse you can see me using that final 3 rag to get off any small residual spots. The surface was perfect before coating.Yeah see he claims 2 passes of windex is enough. I did not find that to be true. Even if my second pass started with a fresh rag that had no residue on it, I often needed 3 rags for the removal of the bkf. I would rotate my rags. The clean 3rd rag would become the 2nd rag on the next spot i would apply bkf. Then the first on the 3rd spot. You can't have any residue within the microfiber on your final pass. Even if you switched to a fresh surface of the rag, it doesn't matter. If the rag is damp the residue will come through from the other side
I also found other glass cleaner that worked way better, but you can't just walk into a store and buy it. It also contains ammonia.
I mention it because there may be another glass cleaner that contains ammonia that's more effective at this than windex. I just dont want to play salesman because I know the owner of the injection molding company that sells the stuff I liked the best.
People love to say how you should only rinse the bkf and that's the only reason for issues. If you use water to rinse the bkf, and you don't perfectly rinse it off of the black plastic, it will turn white. You won't know by looking at it if you have gotten it all off. You will only know later if it doesn't leave drip marks on the plastic. My truck was delivered with these drip marks on my rockers, which I made them replace after being unable to remove the stains. I won't risk that happening again so I'm sticking with the much easier to control process of using glass cleaner
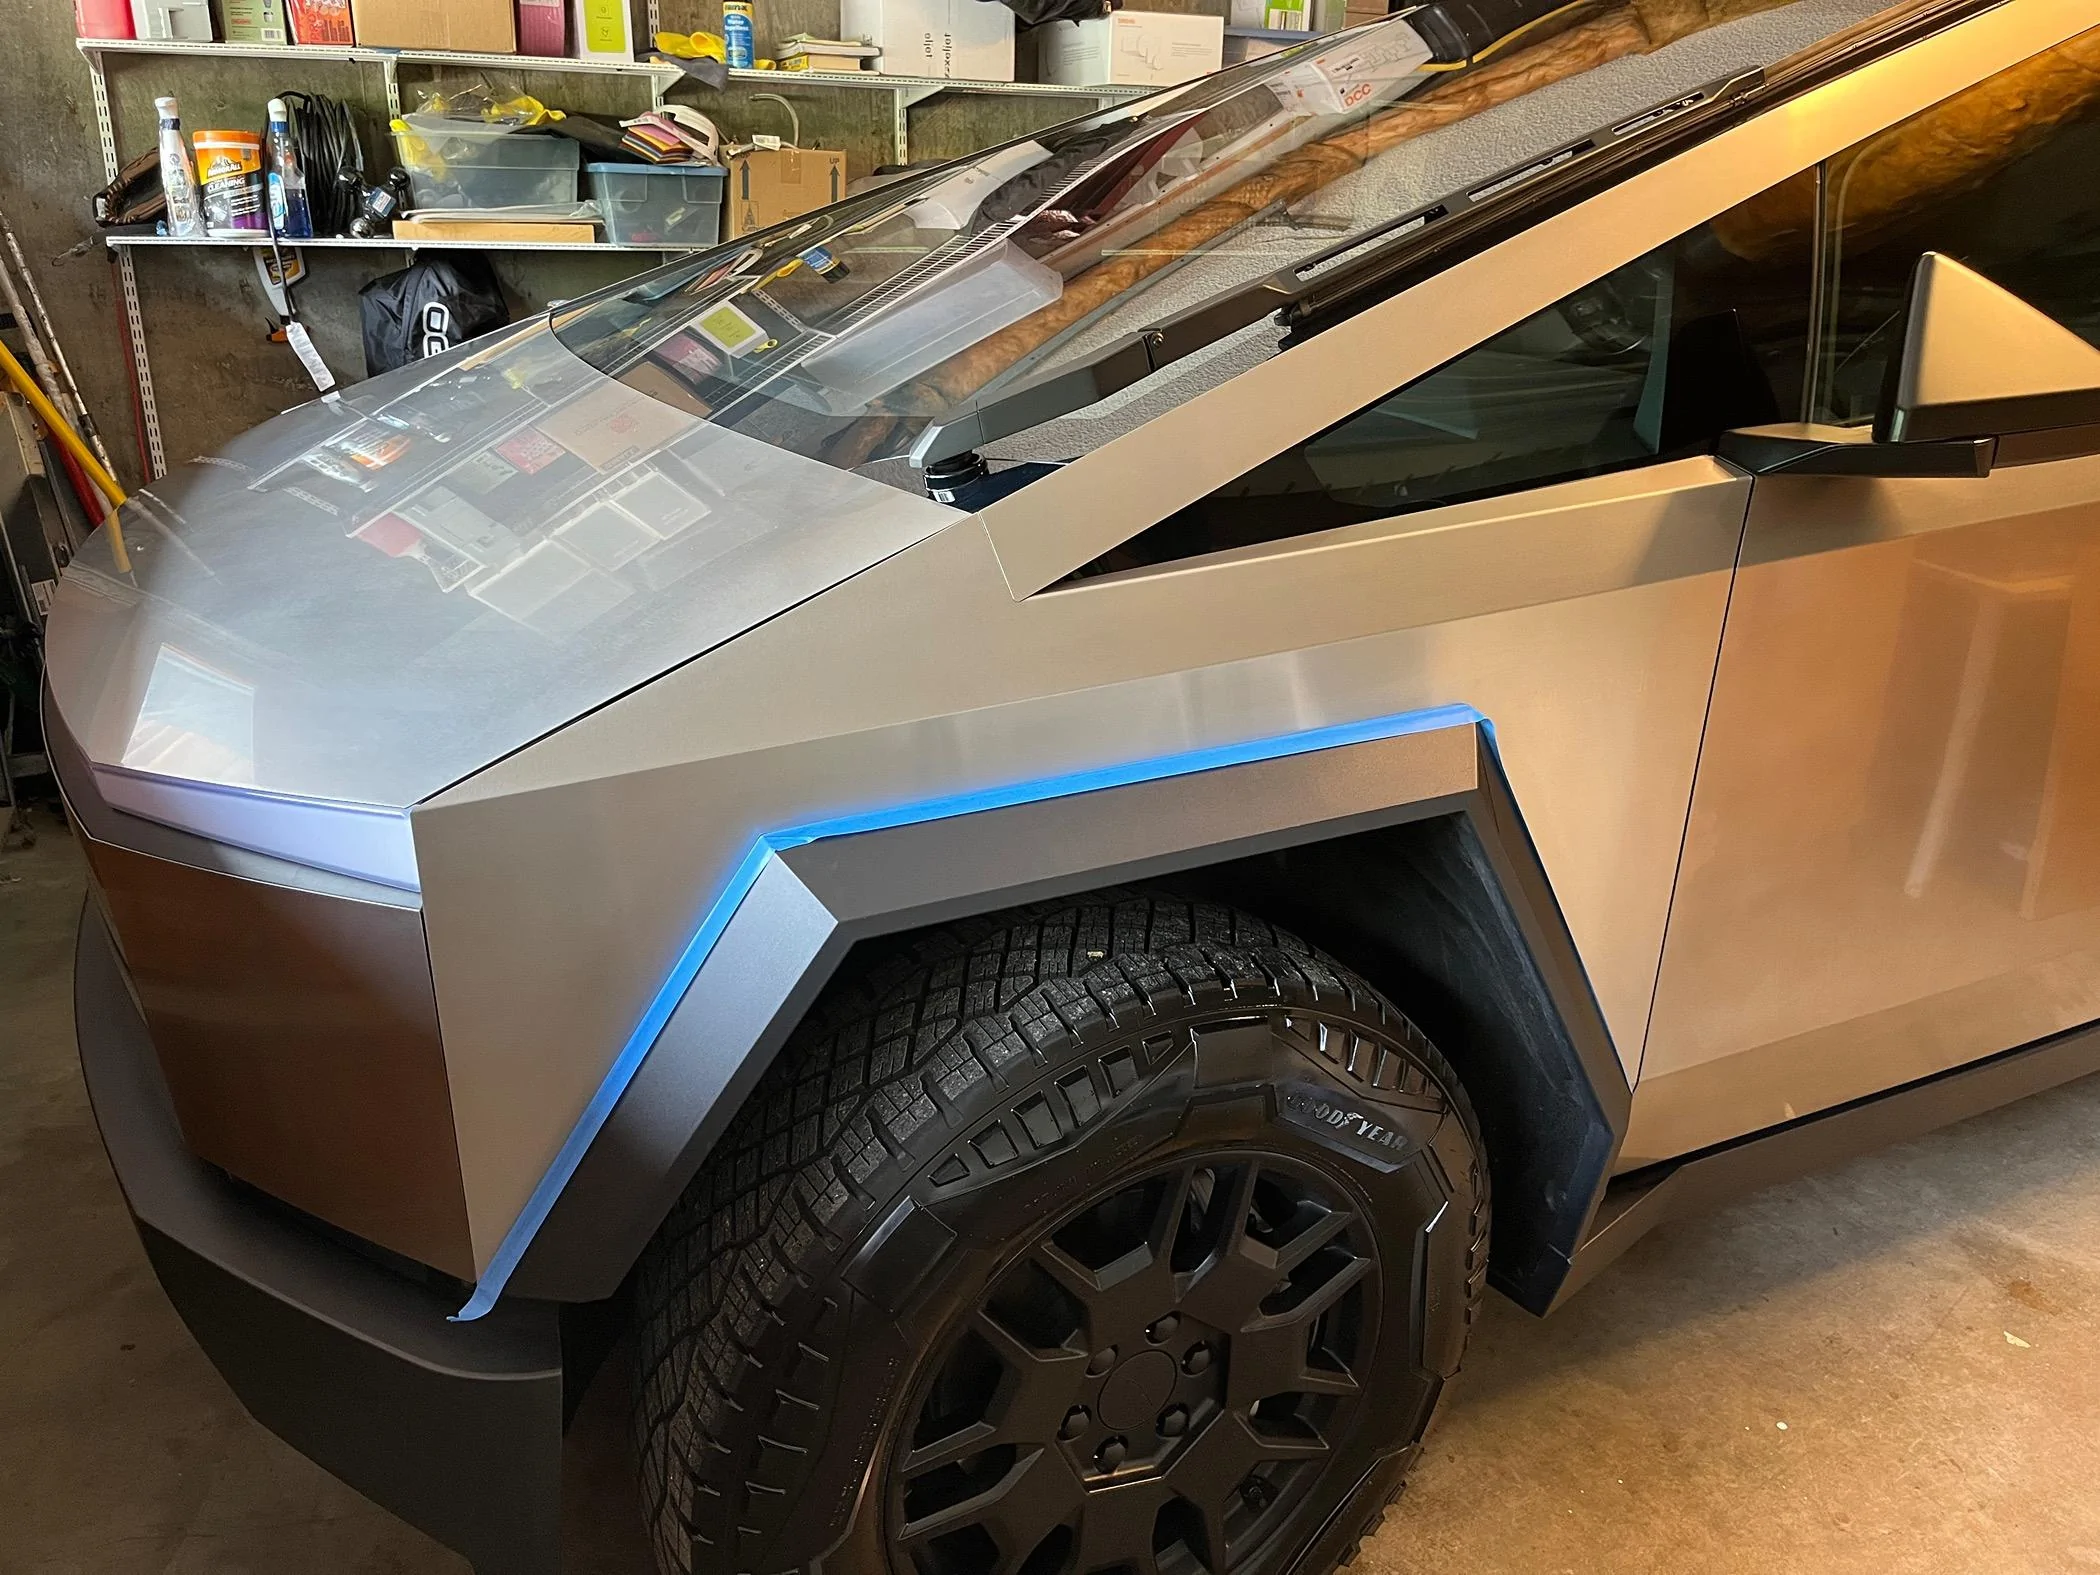
Good idea to protect the gold. That gold layer would scratch off way too easy and needs the protection.I wonder if ProtectaClear would work well over gold plated CT. @ProtectaClear ?
I tried twice and failed. Despite being meticulous, I couldn't find the right balance between too much and too little. I had to pay $30 to return the product to get half of my money back, but it was better than nothing. I liked how easy it was to wipe off the truck with Protectaclear applied.If you get it right it looks really, really good. If you get it wrong it looks terrible. The line separating the two looks pretty thin. Definitely watch this video if you plan on using it. I suspect people get into trouble the most when they put it on too thick. Much cheaper option than PPF. Definitely going to try it out.