CyberGus
Well-known member
- First Name
- Gus
- Joined
- May 22, 2021
- Threads
- 91
- Messages
- 10,248
- Reaction score
- 33,931
- Location
- Austin, TX
- Vehicles
- 1981 DeLorean, 2024 Cybertruck
- Occupation
- IT Specialist
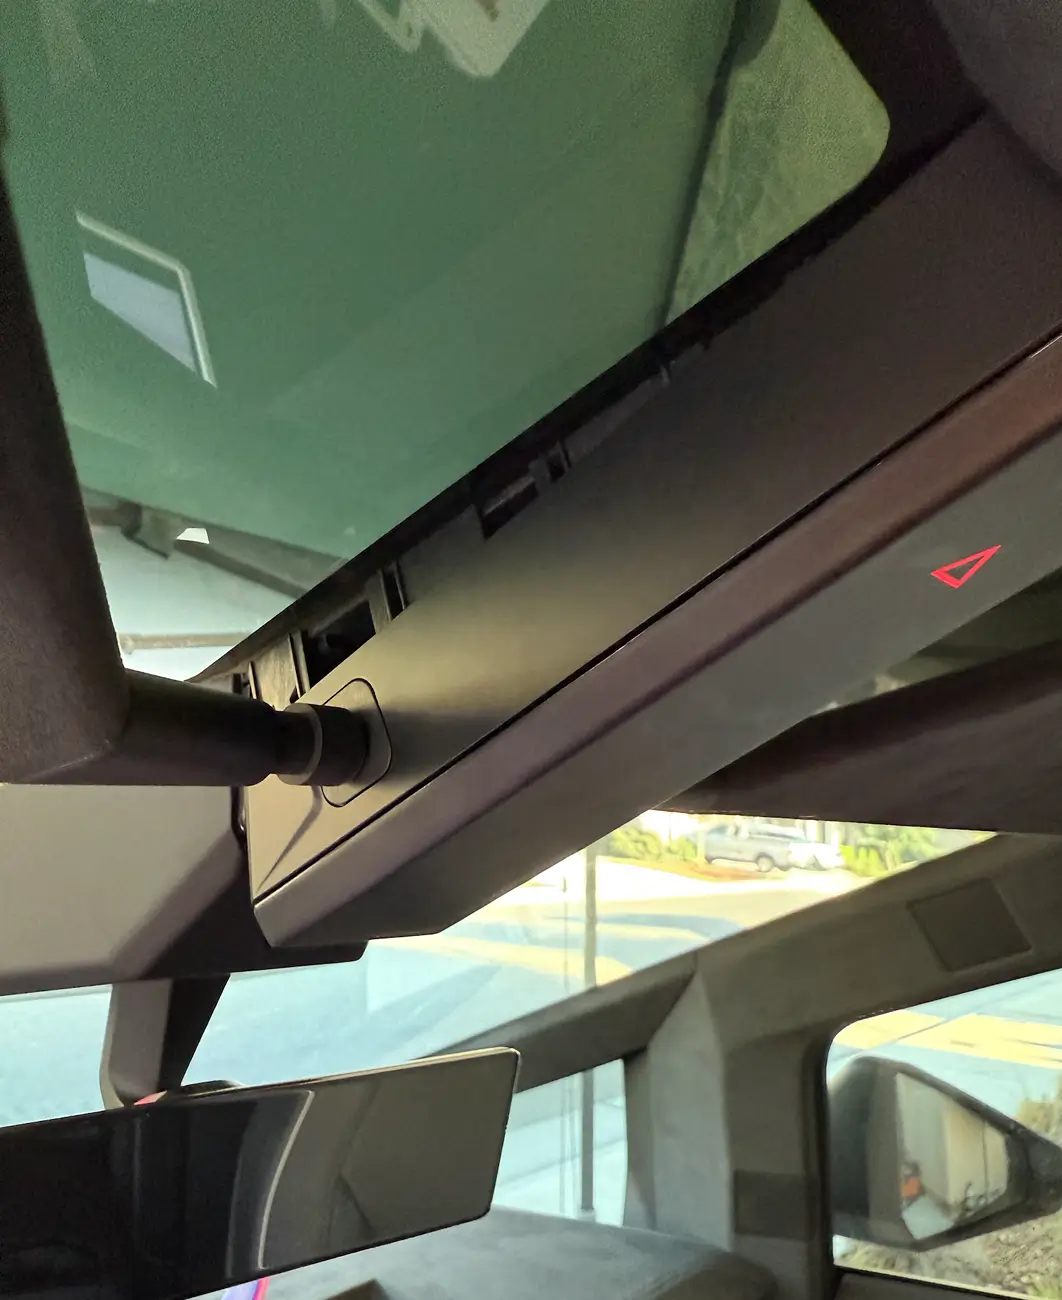
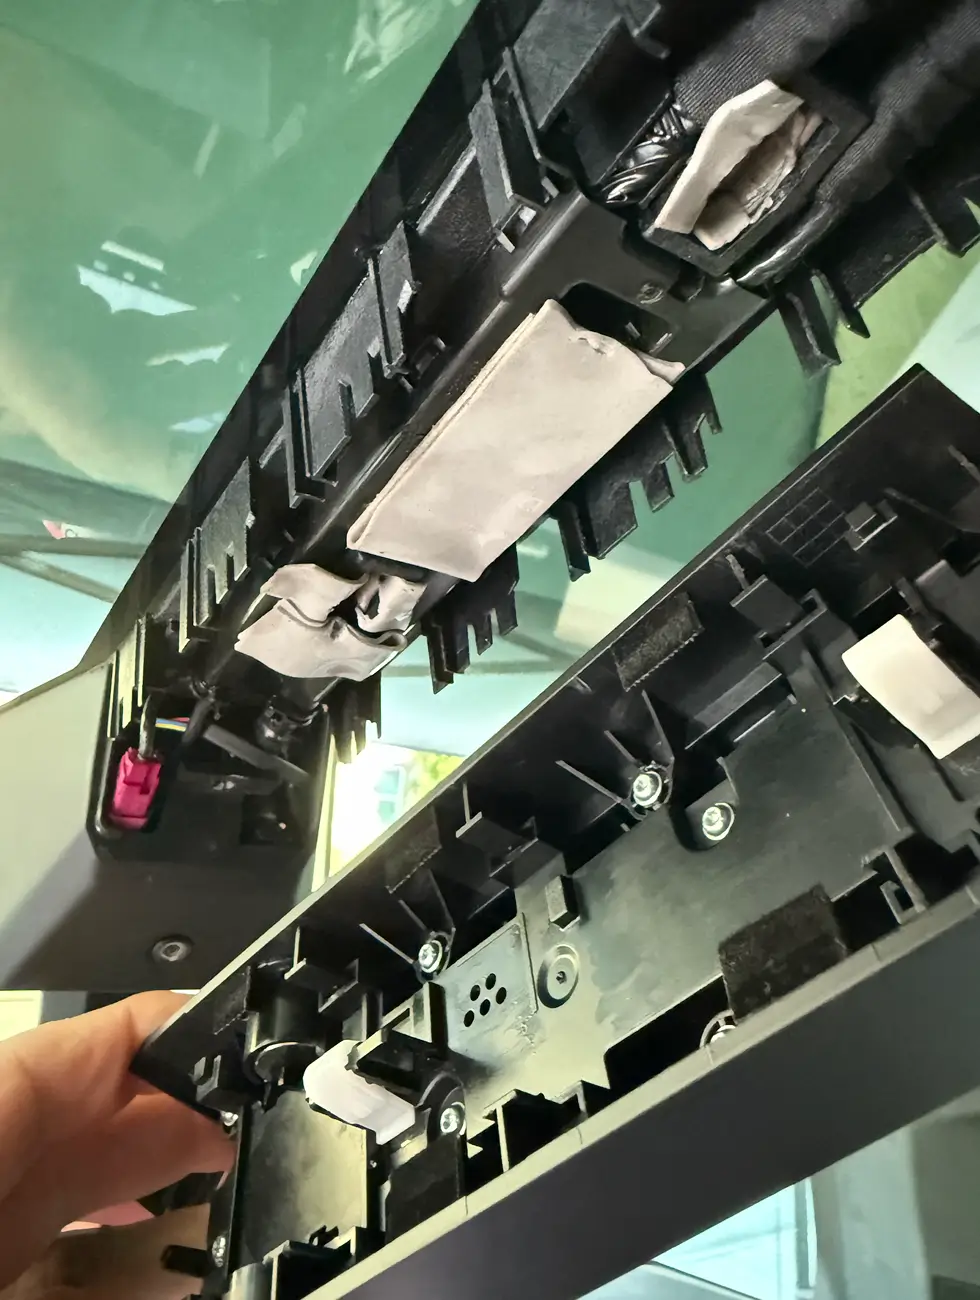
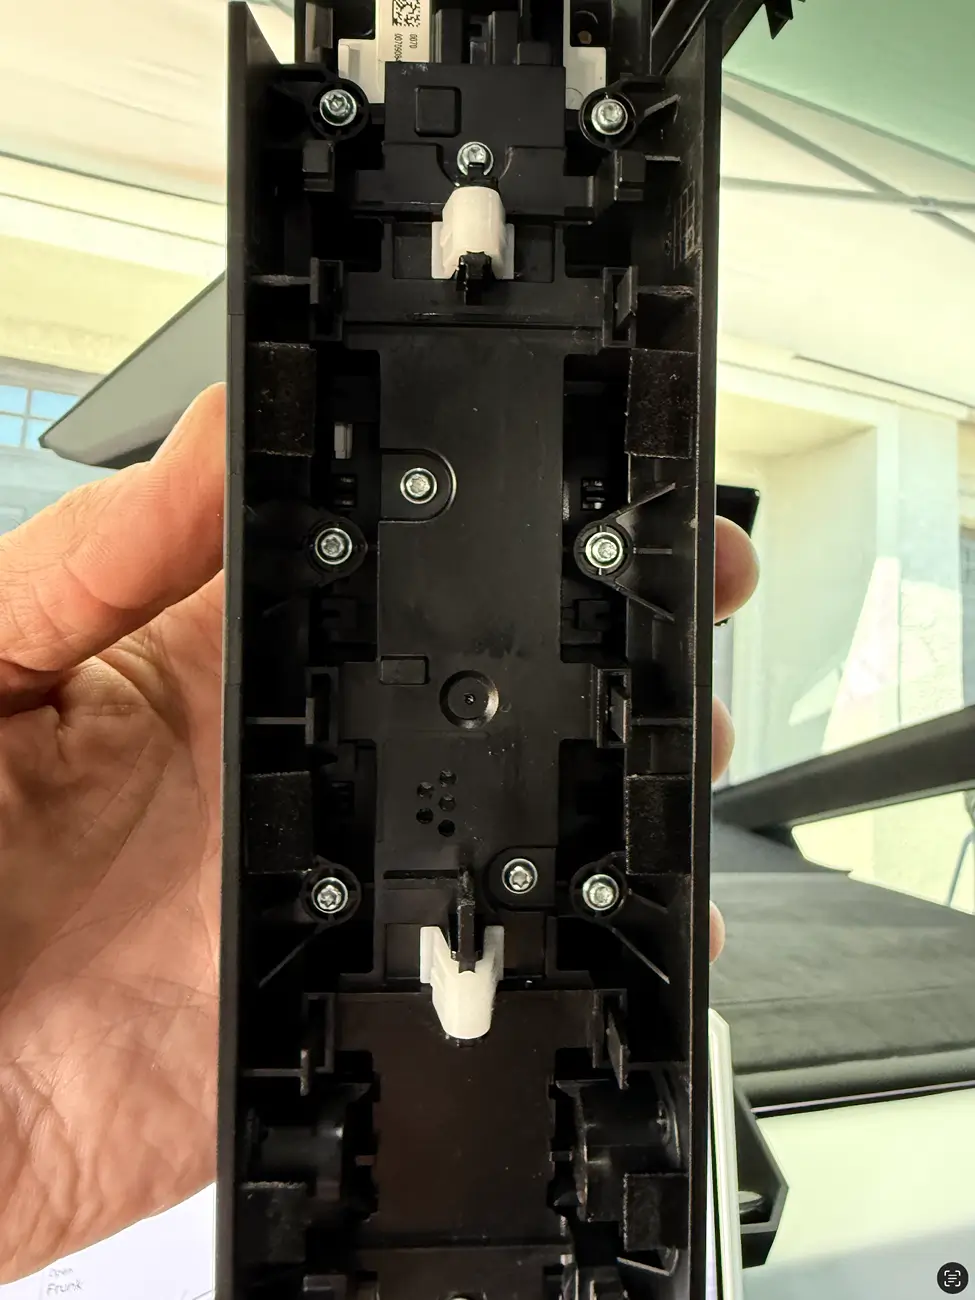
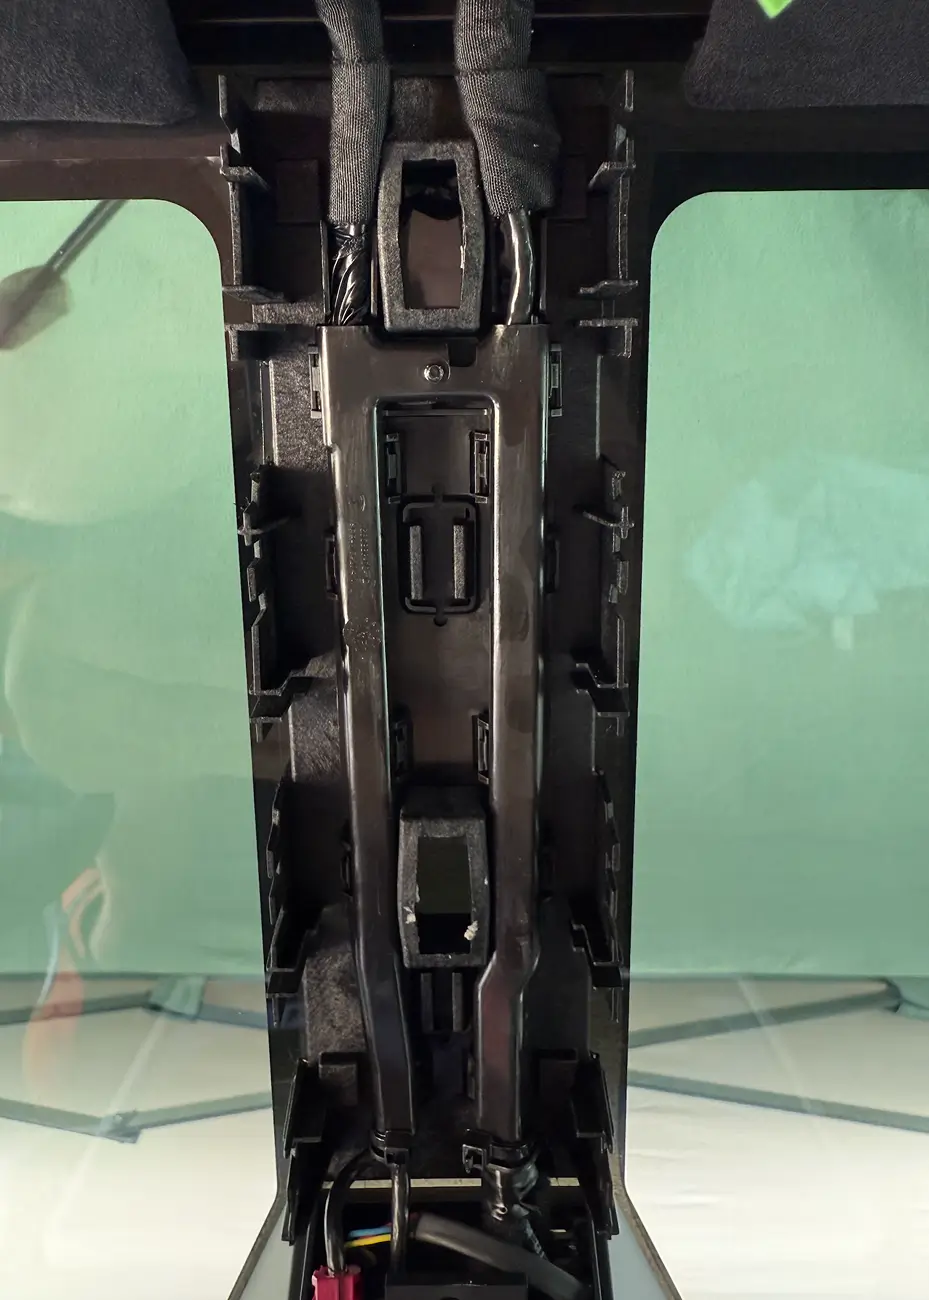
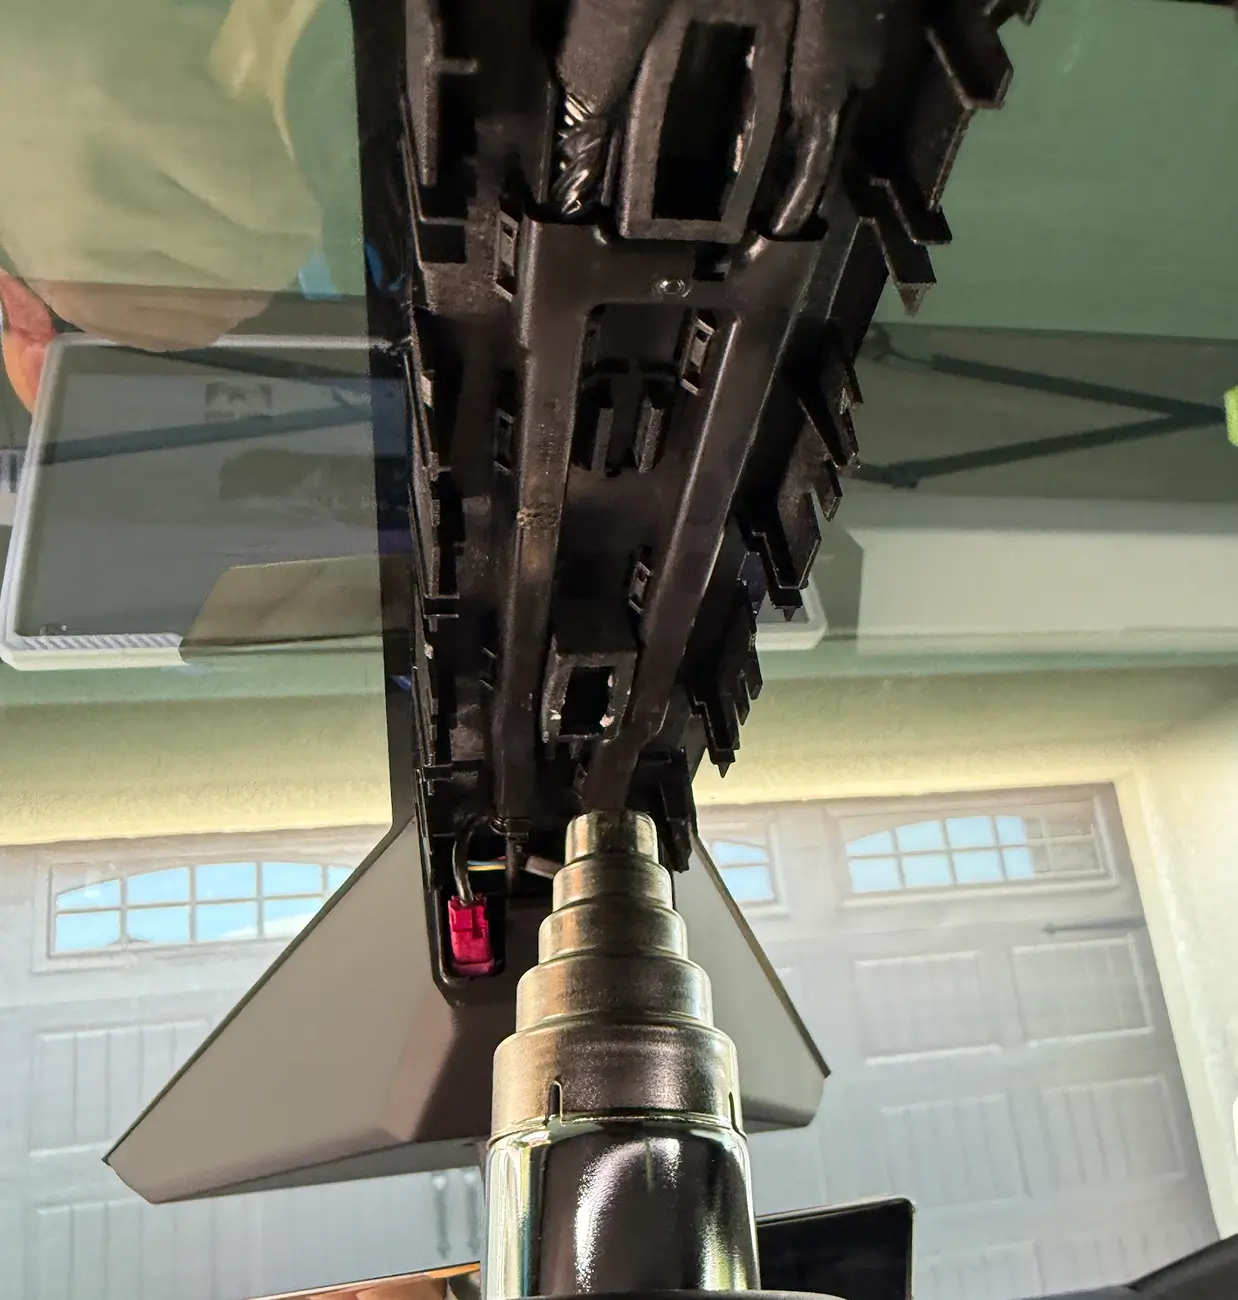
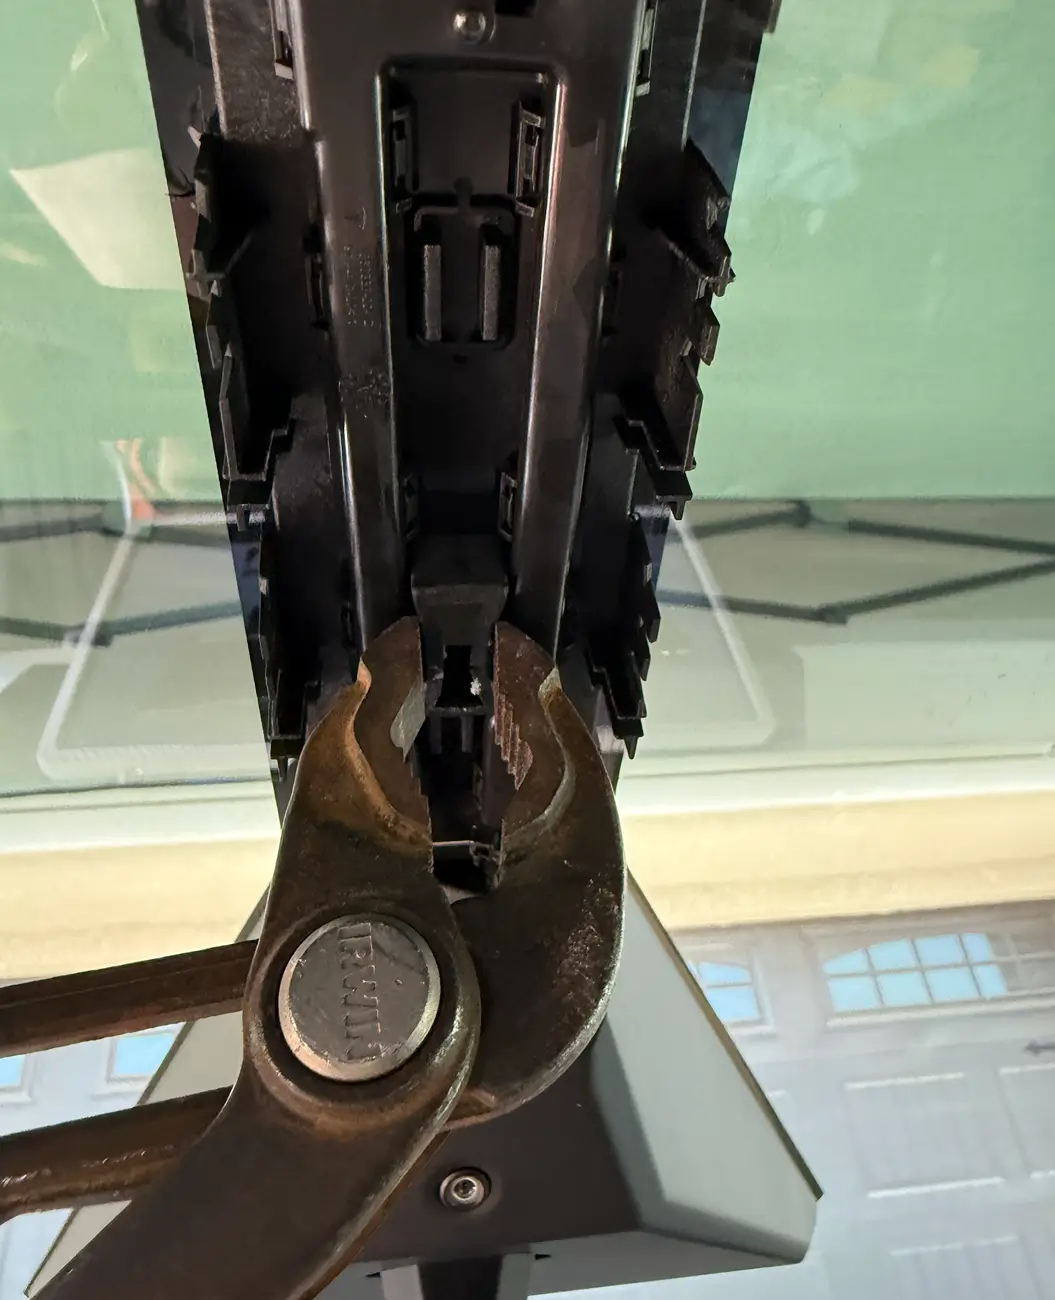
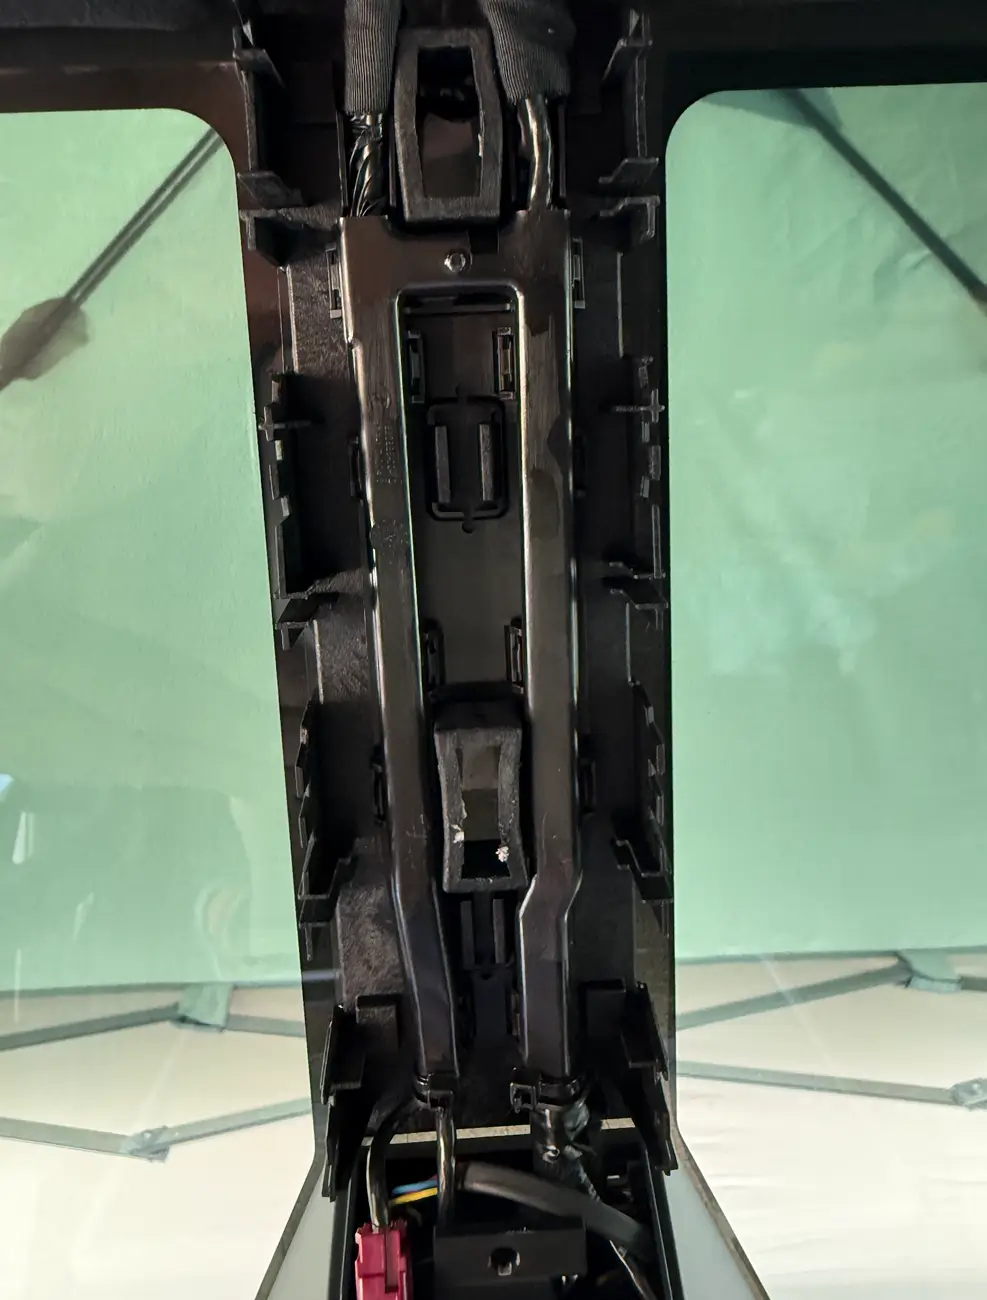
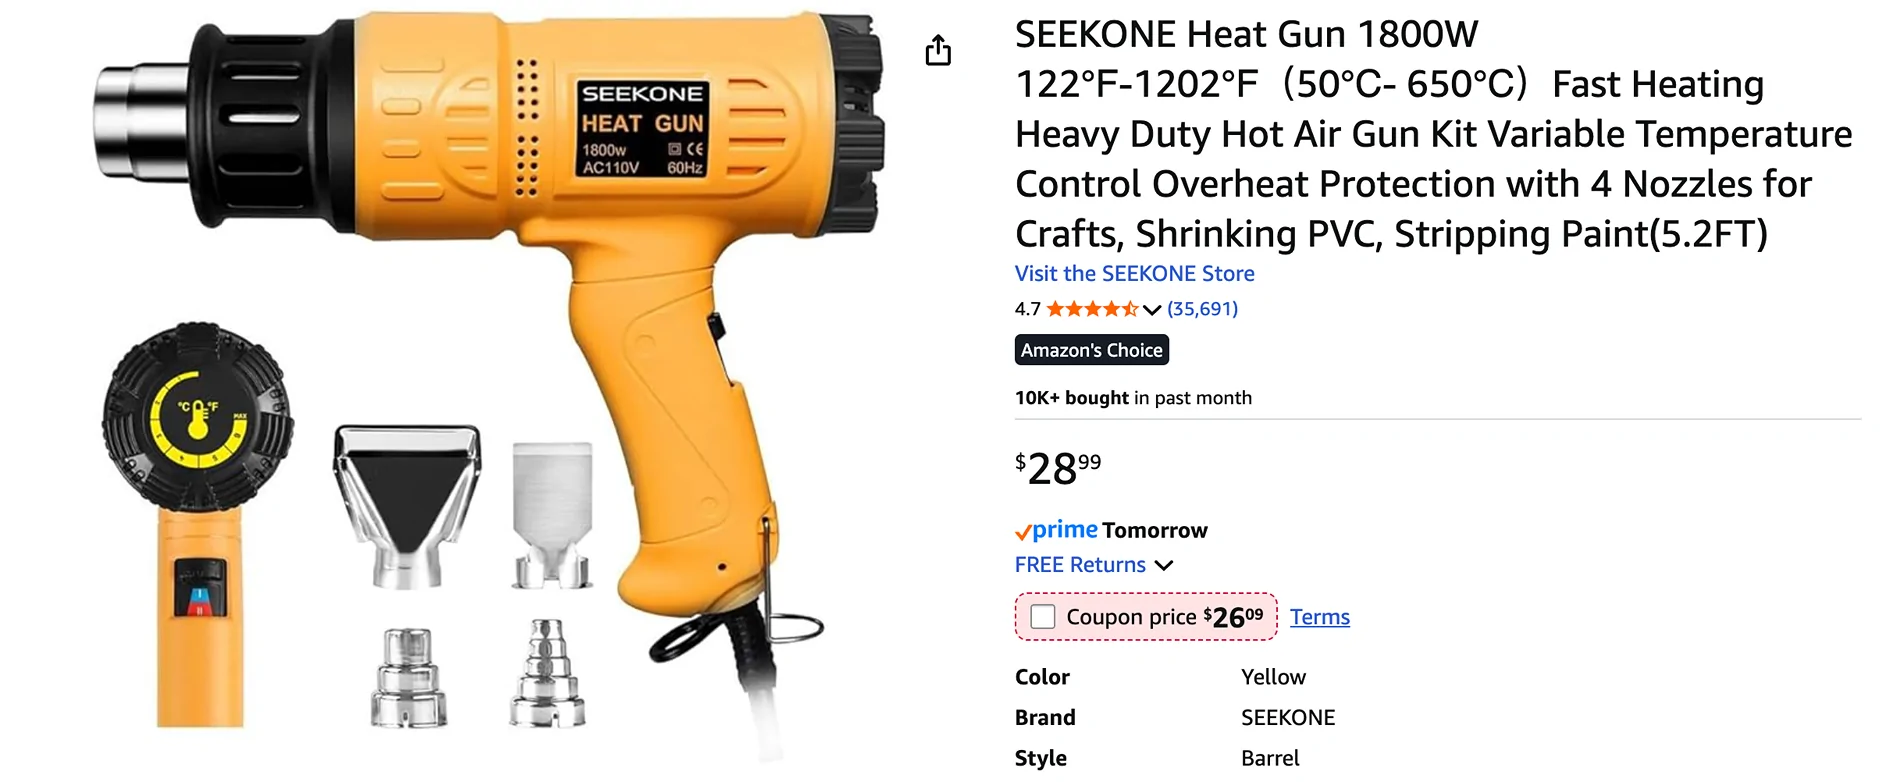
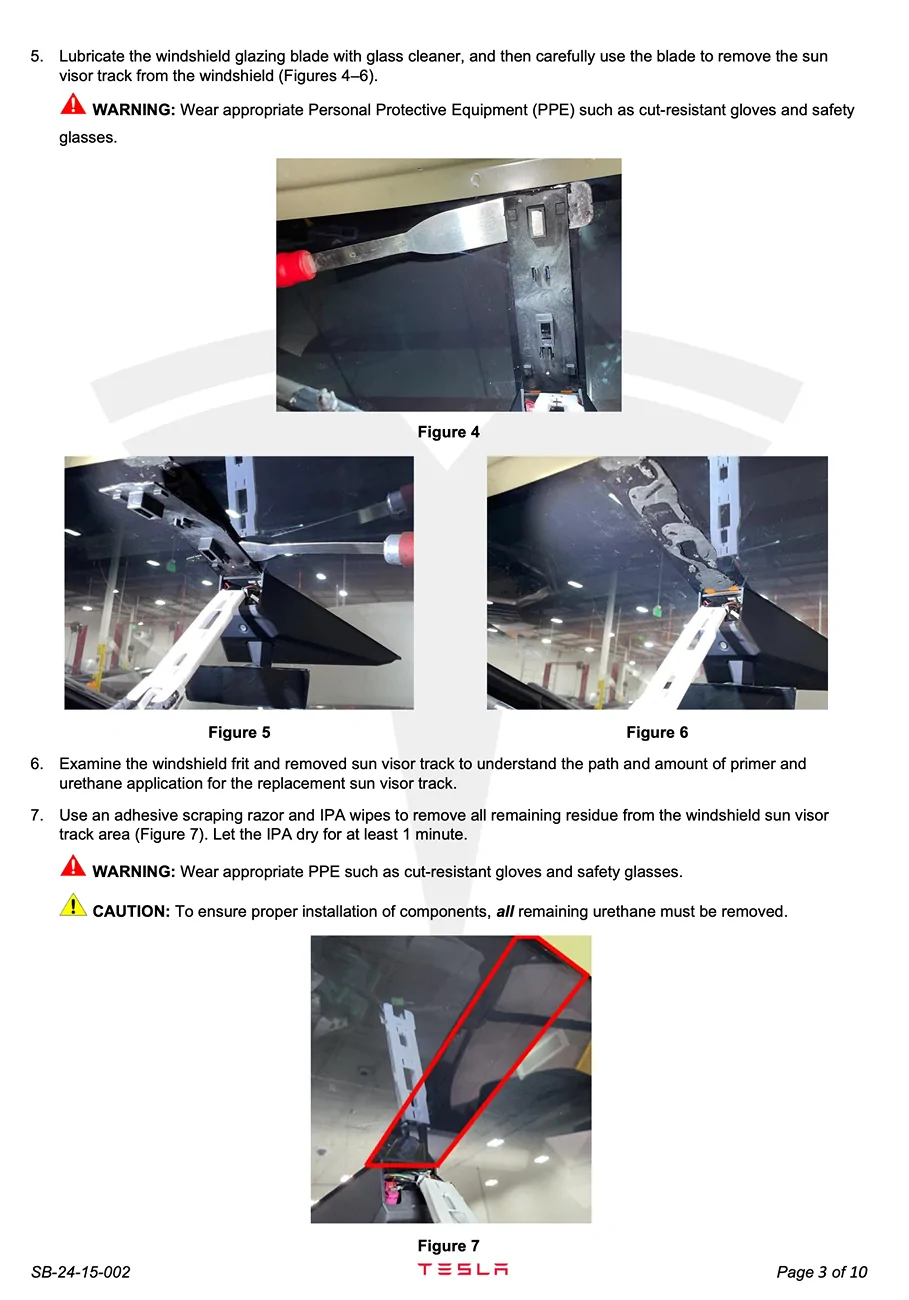
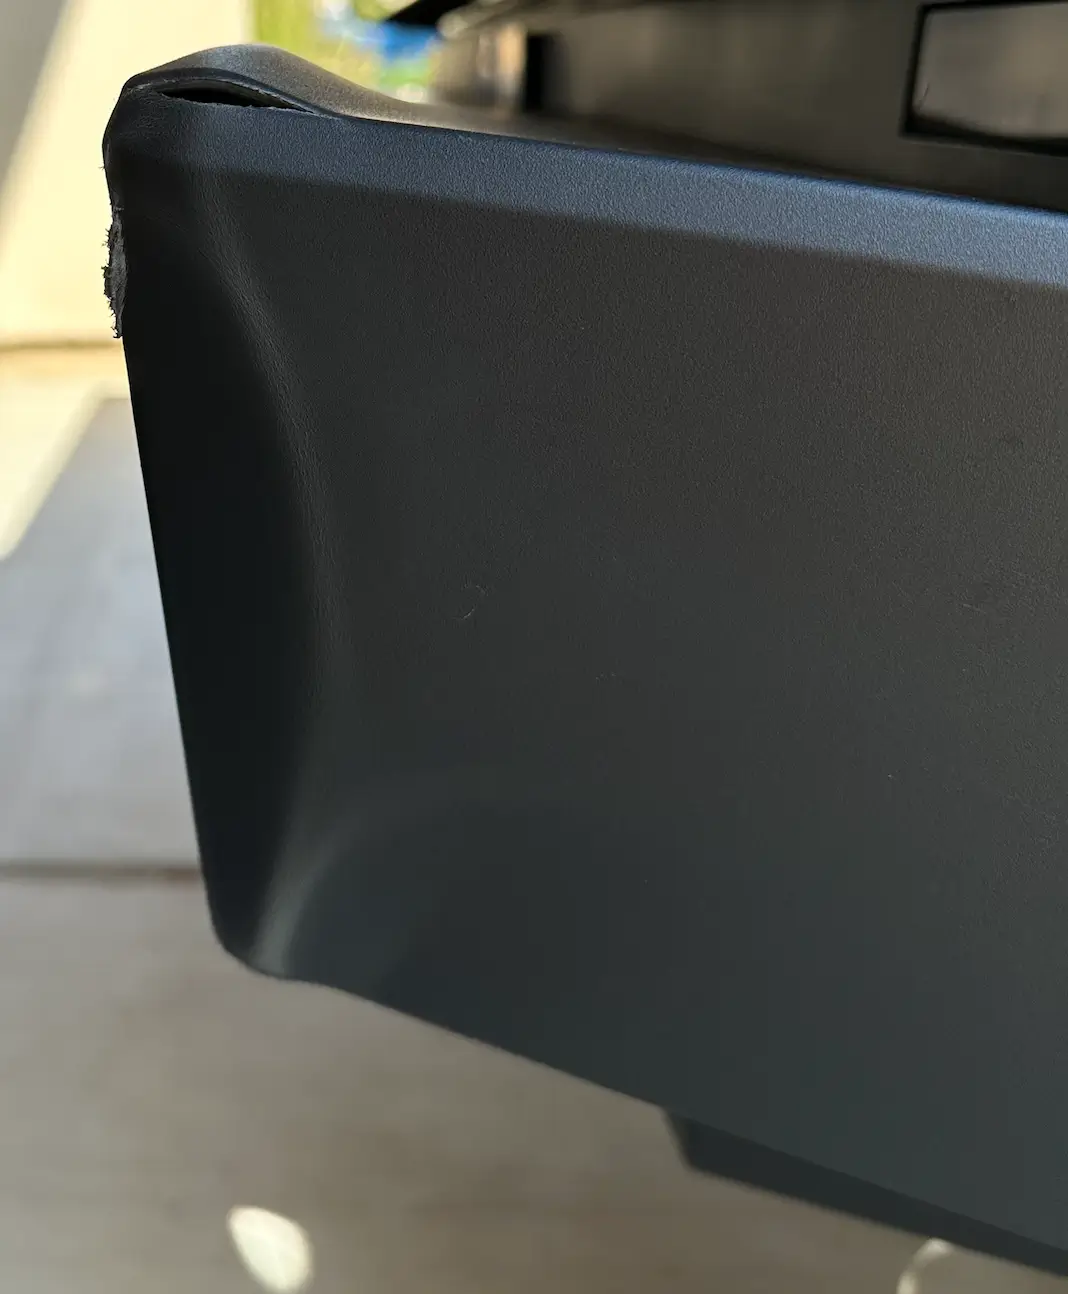
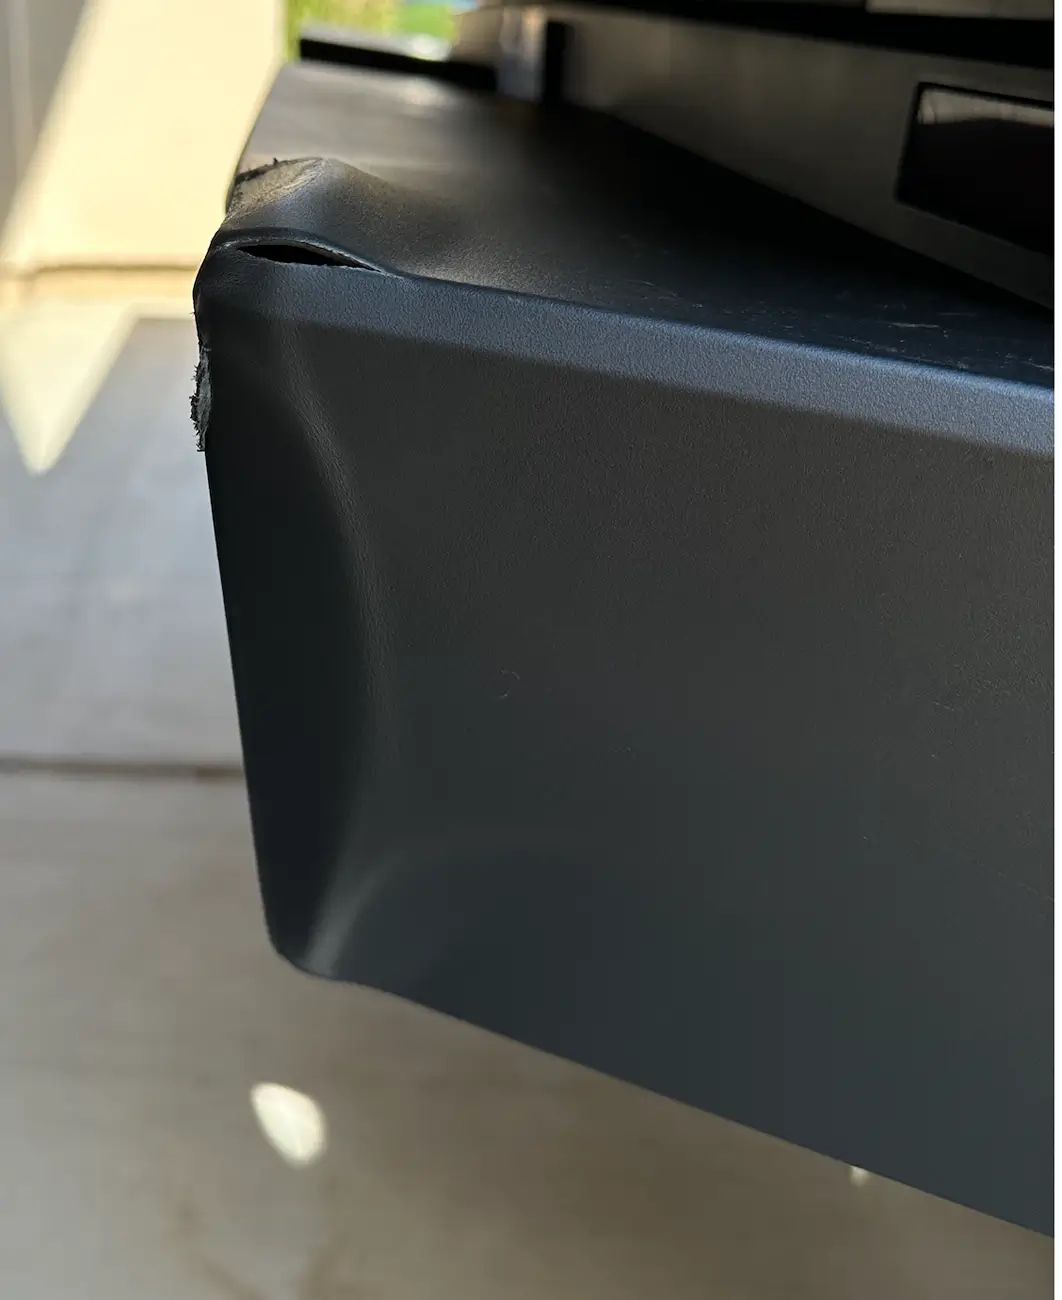
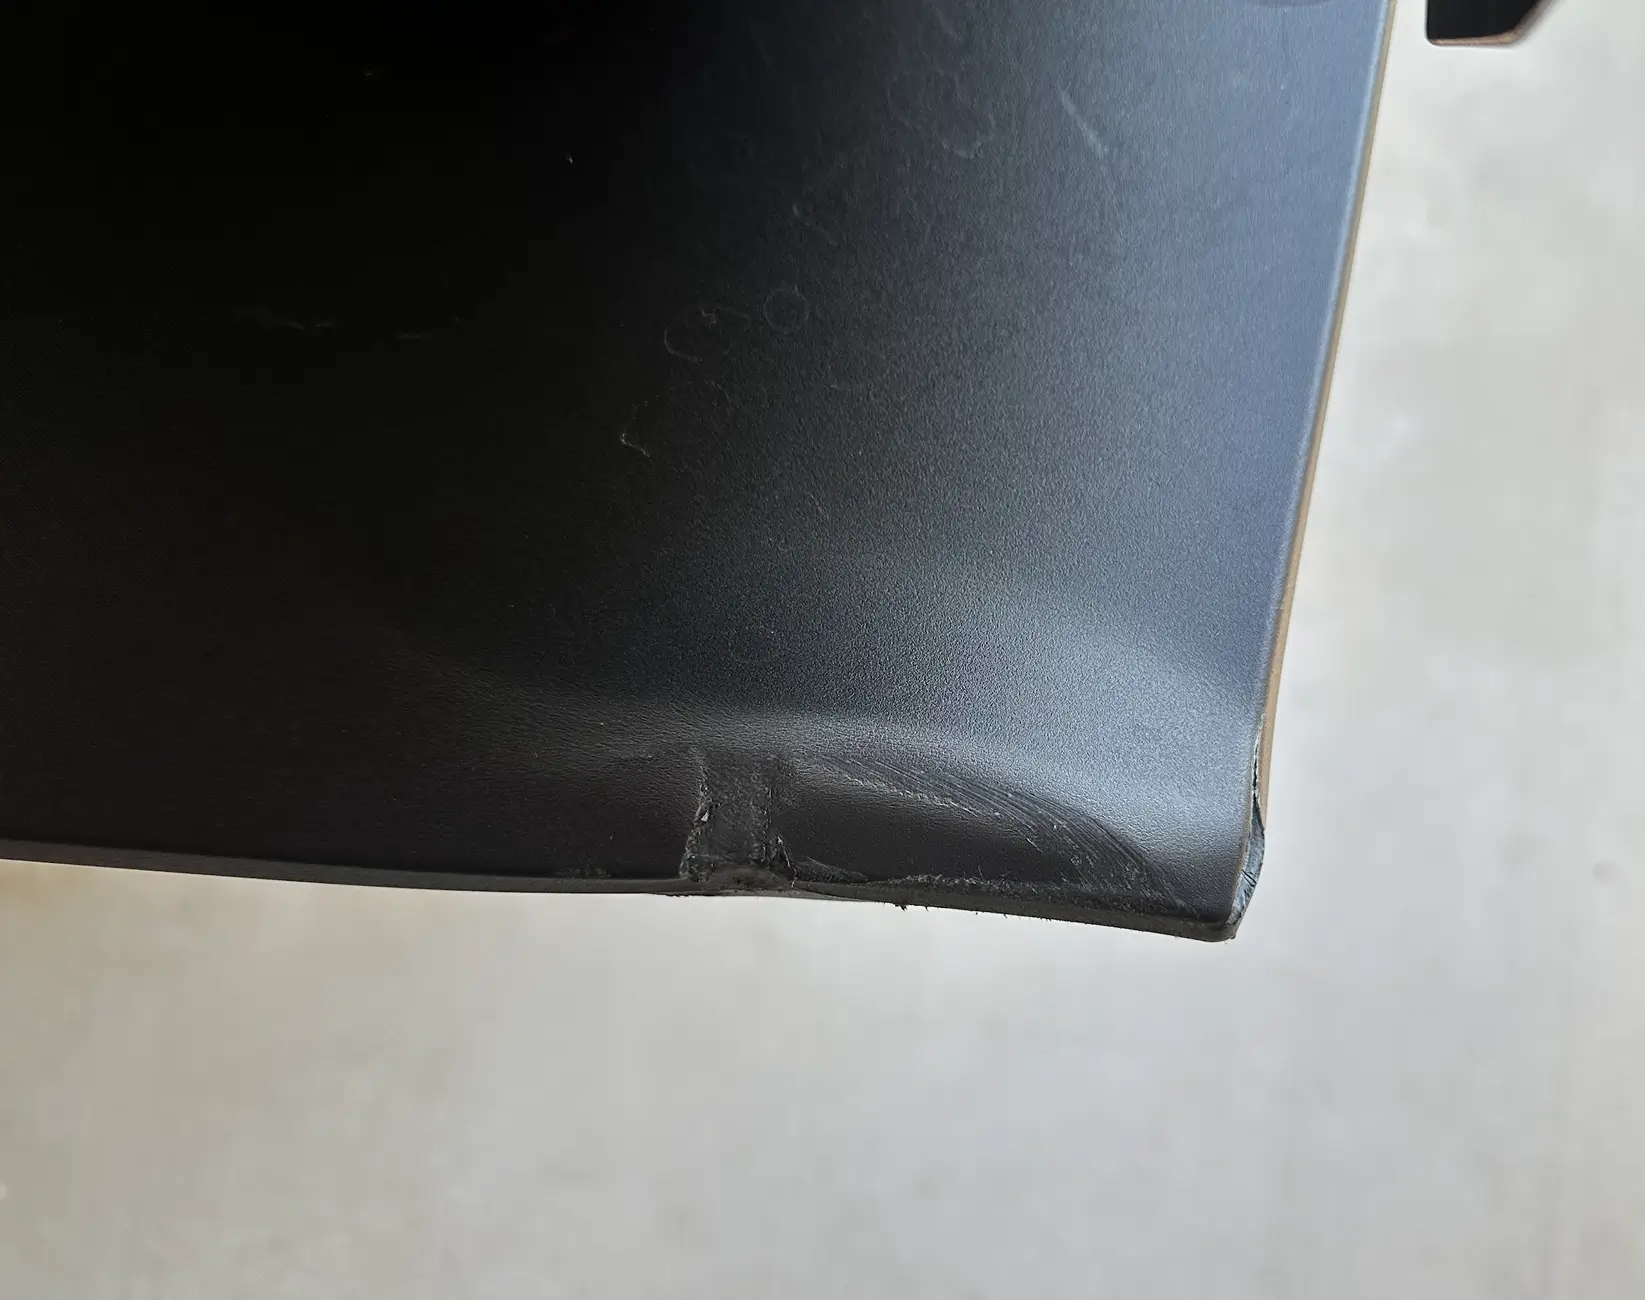
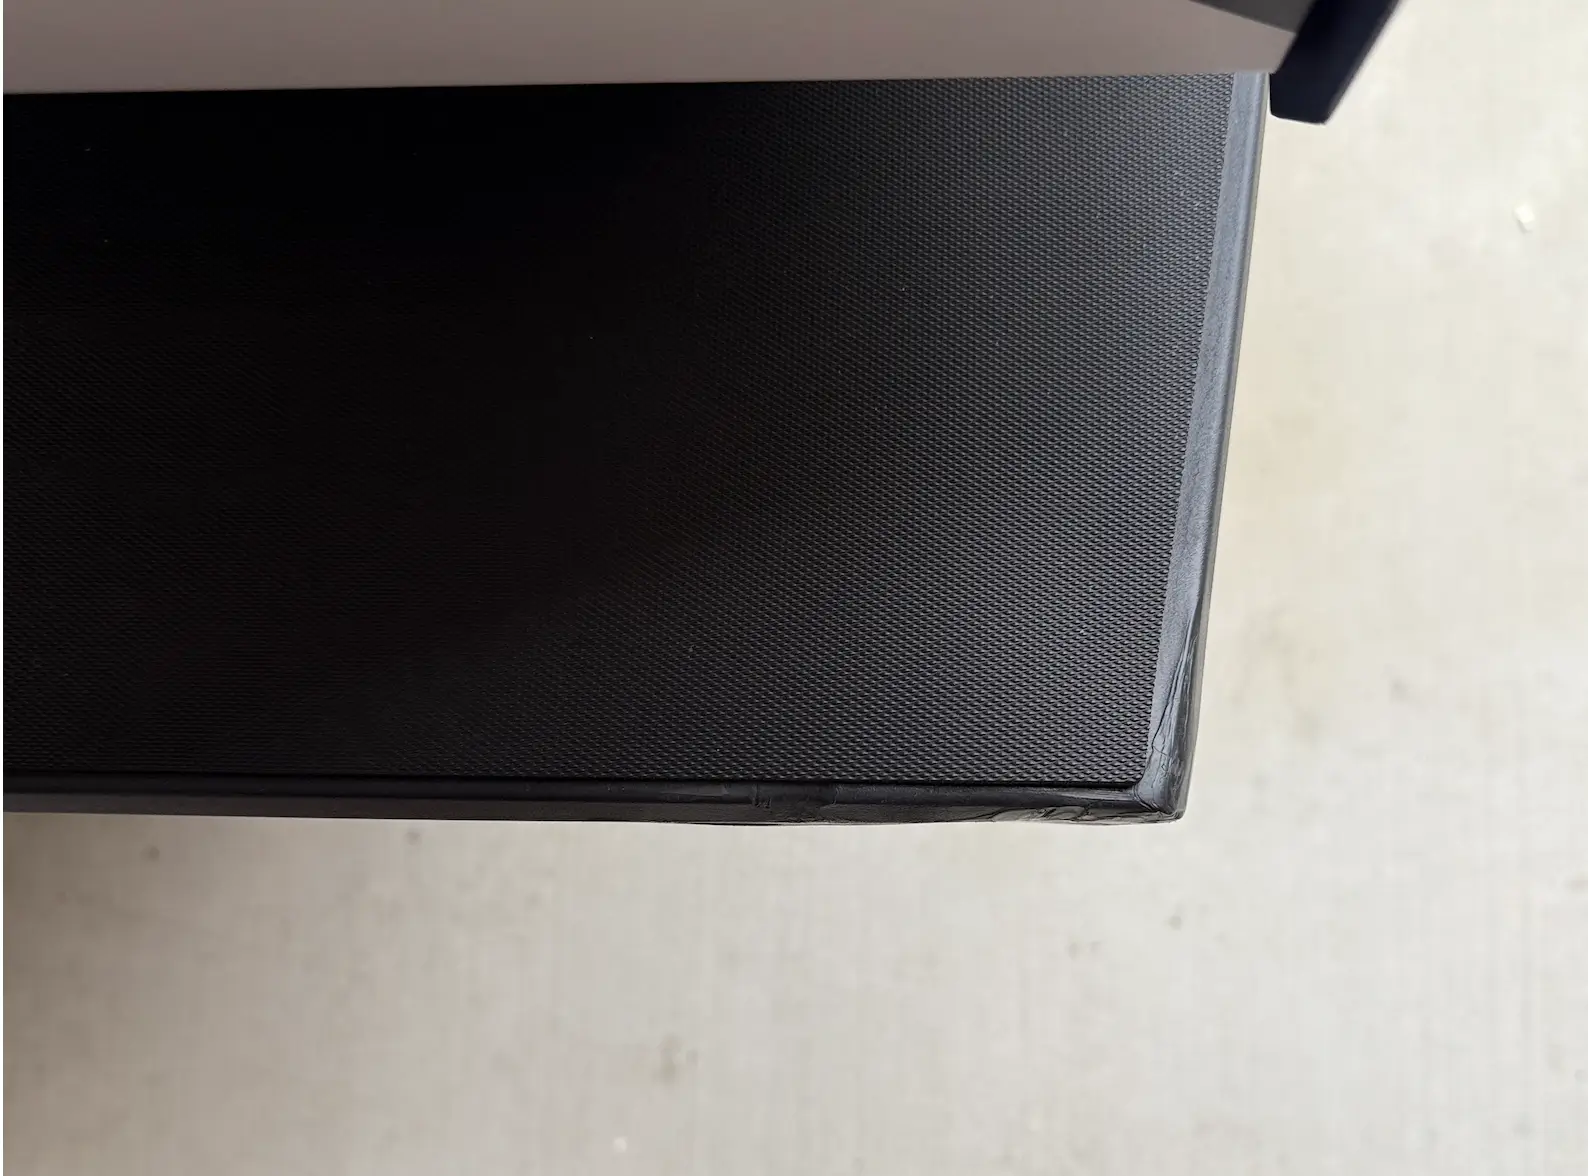
You should provide feedback on the Overhead Console Assembly procedure with this fix. Make them put in the Service Manual!And I figured it out. I simply heated the female receptical where the clip connects with a heat gun, squeezed it with some pliers, and now the connection is solid as a rock.
Sponsored
Last edited:
 :
:


 There's always more than one way to skin a cat, as they say
