jf64k
Well-known member
- Joined
- Dec 12, 2023
- Threads
- 34
- Messages
- 1,227
- Reaction score
- 1,989
- Location
- Los Angeles
- Vehicles
- 2020 MYLR (Lola), 2024 FS AWD (Deckard 263-54)
I used the @aeroguy solution for the vault divider issue:
https://www.cybertruckownersclub.co...rgo-divider-fitment-issues.19577/#post-354666
Worked perfect.
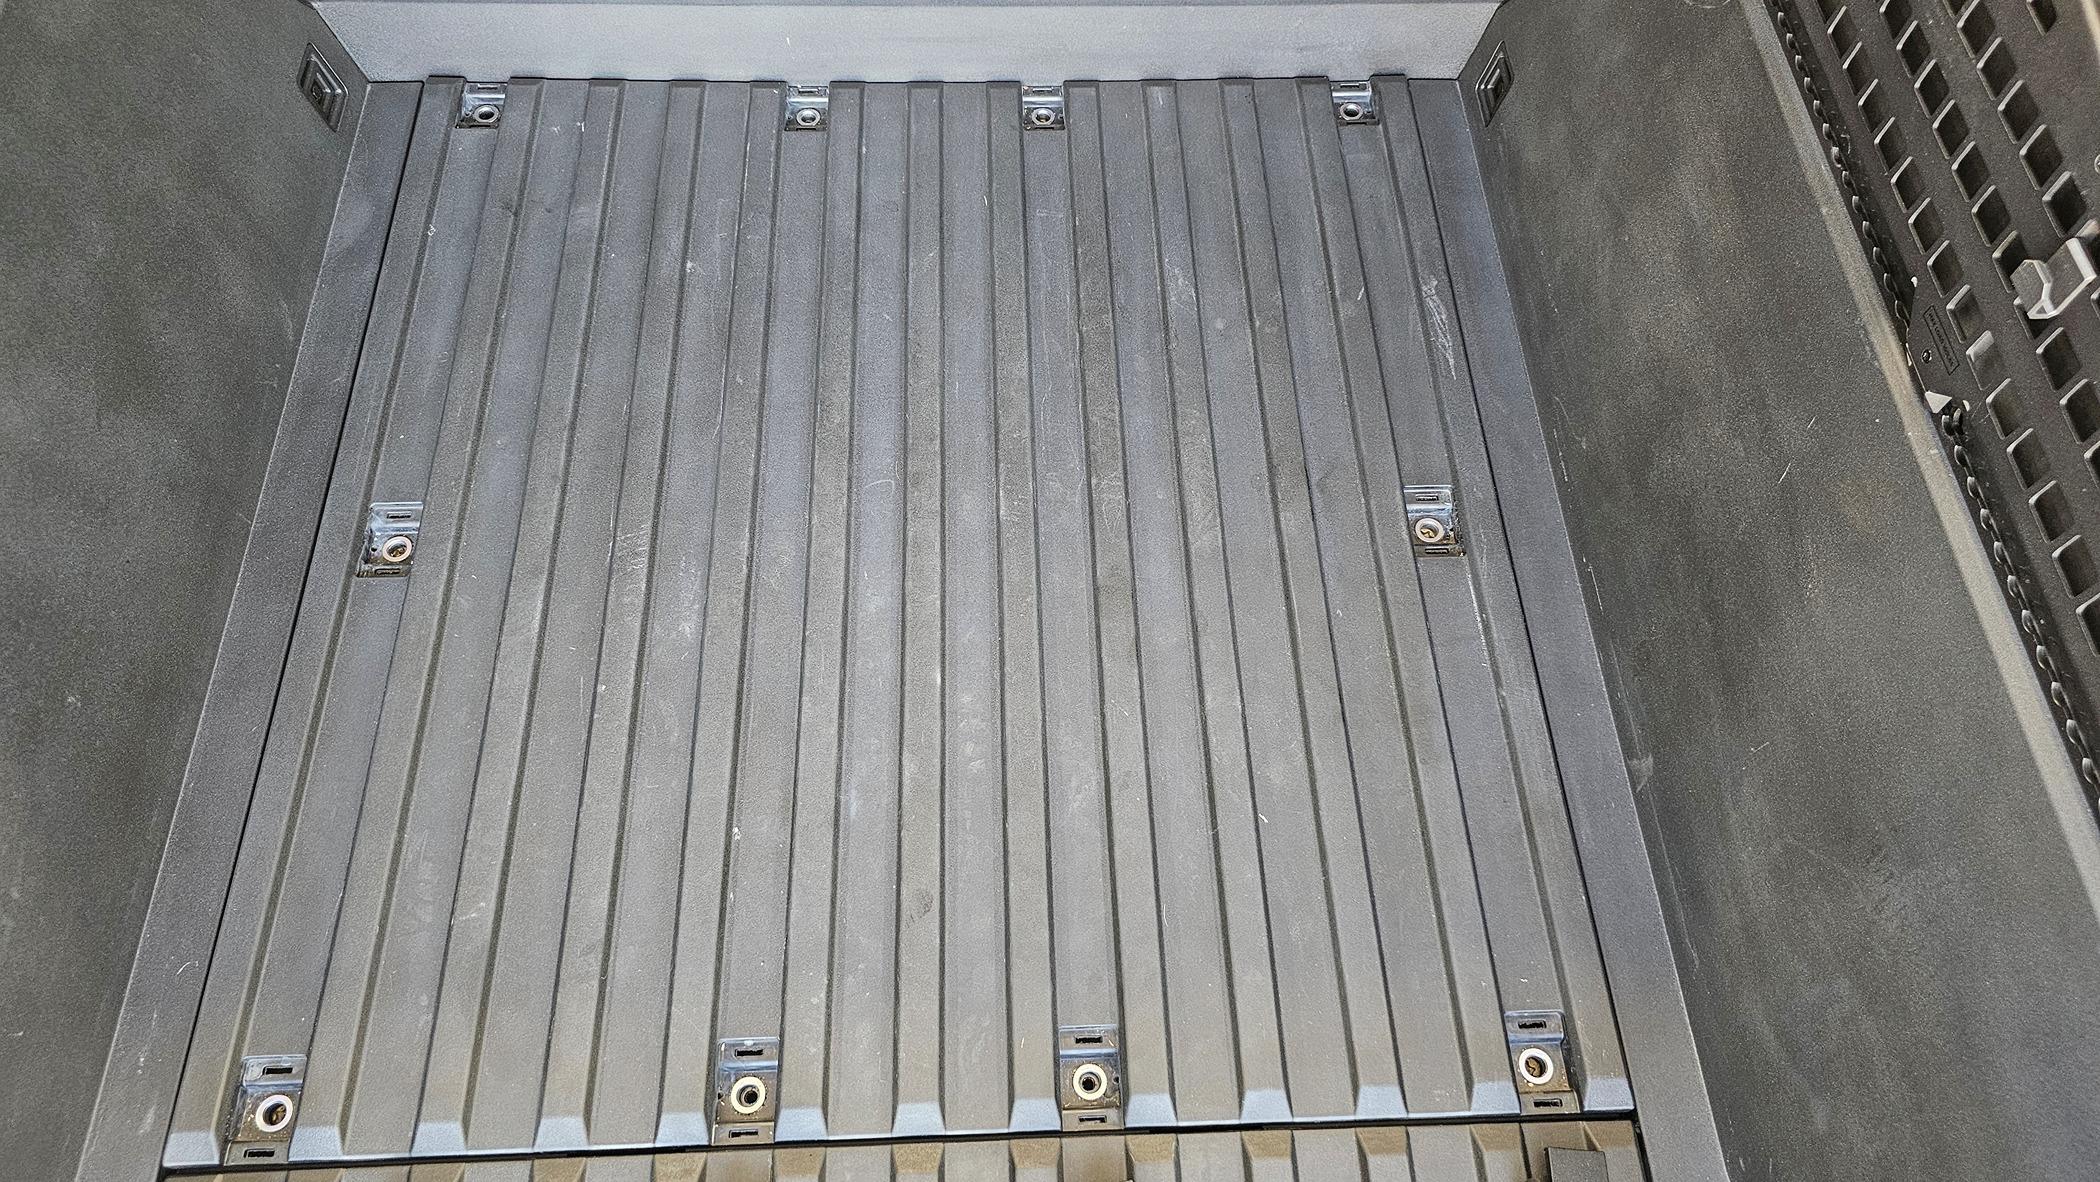
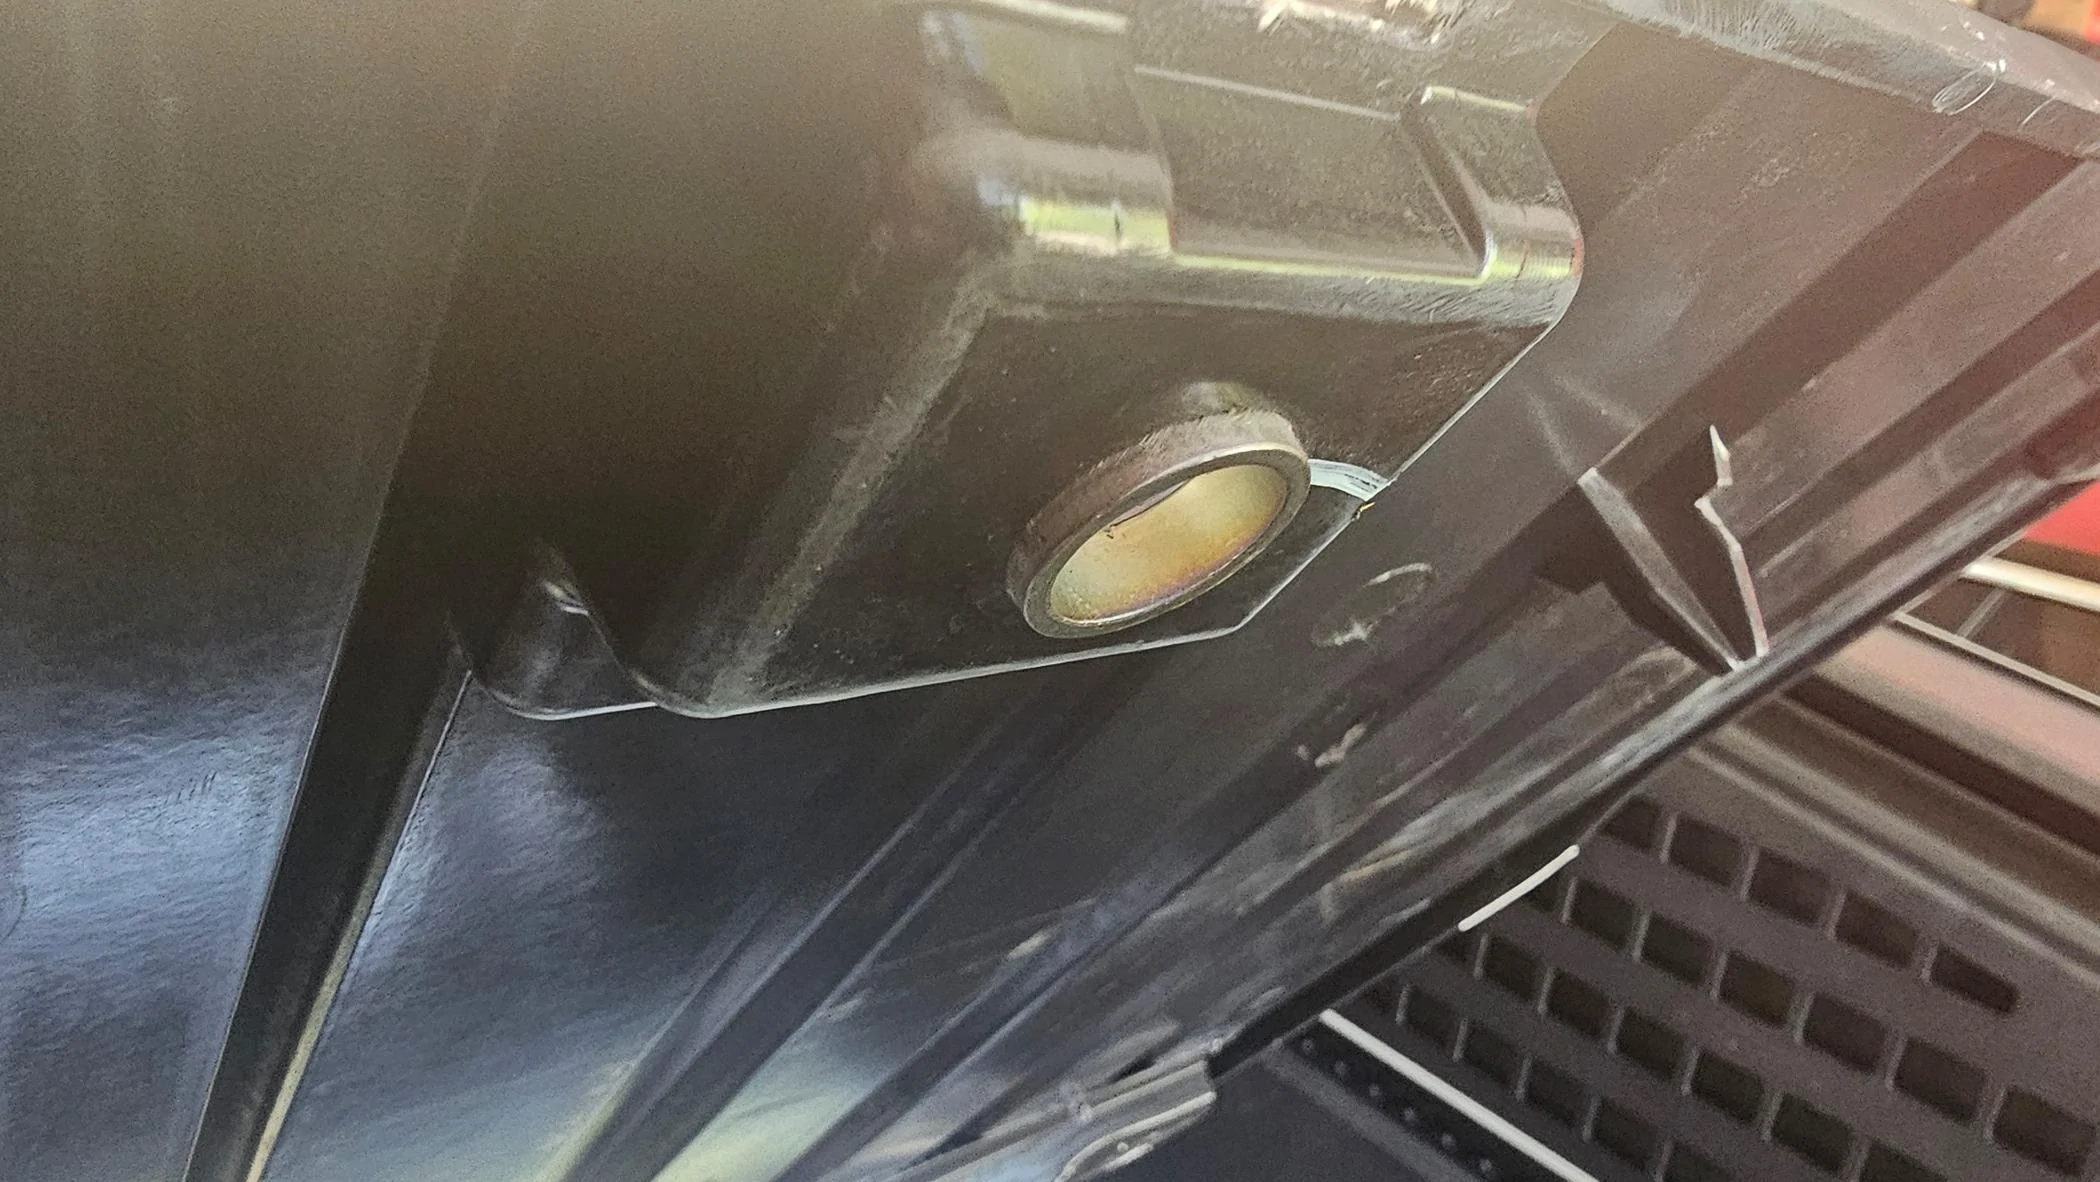
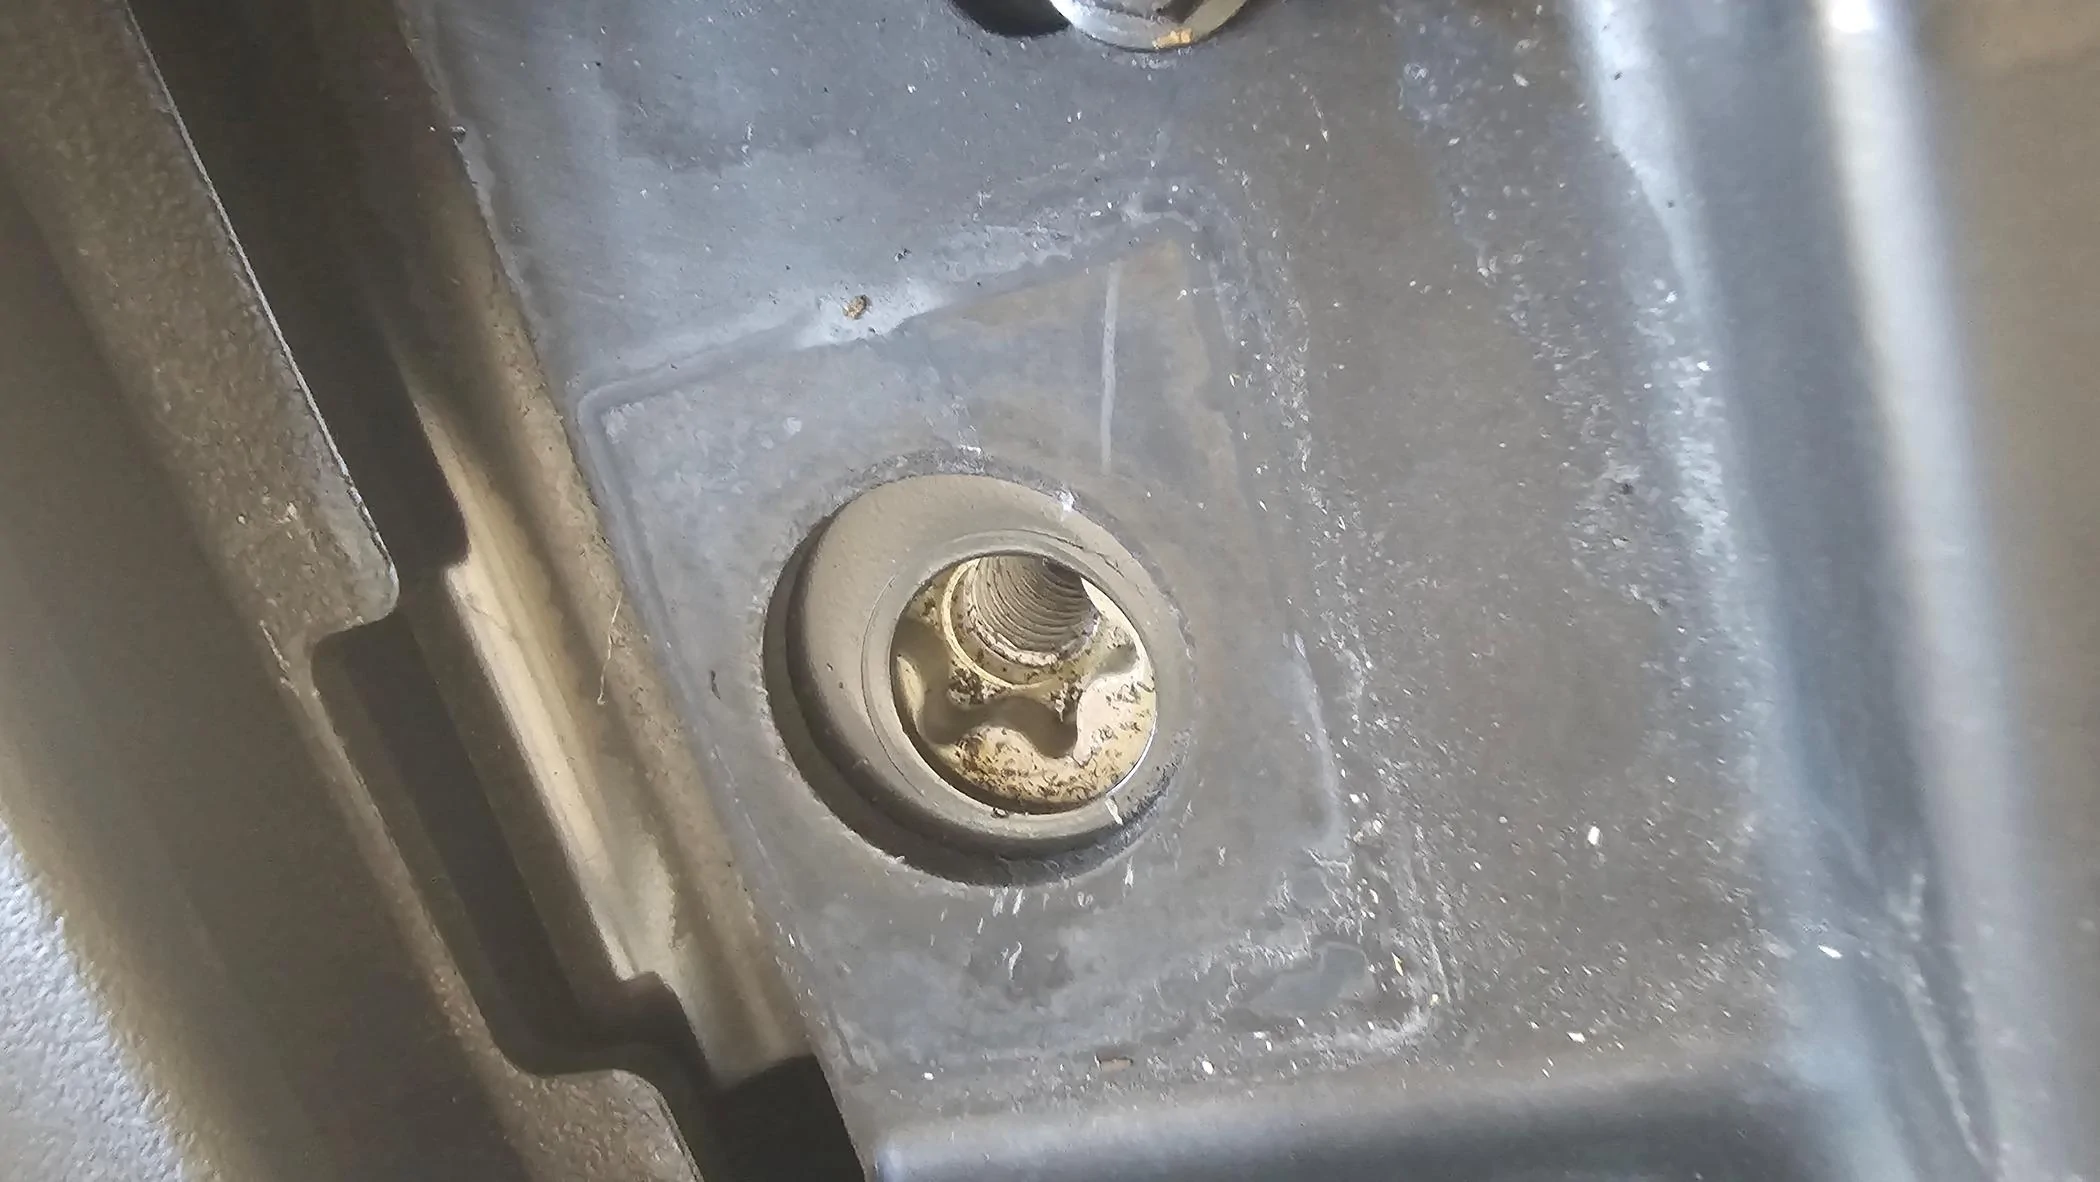
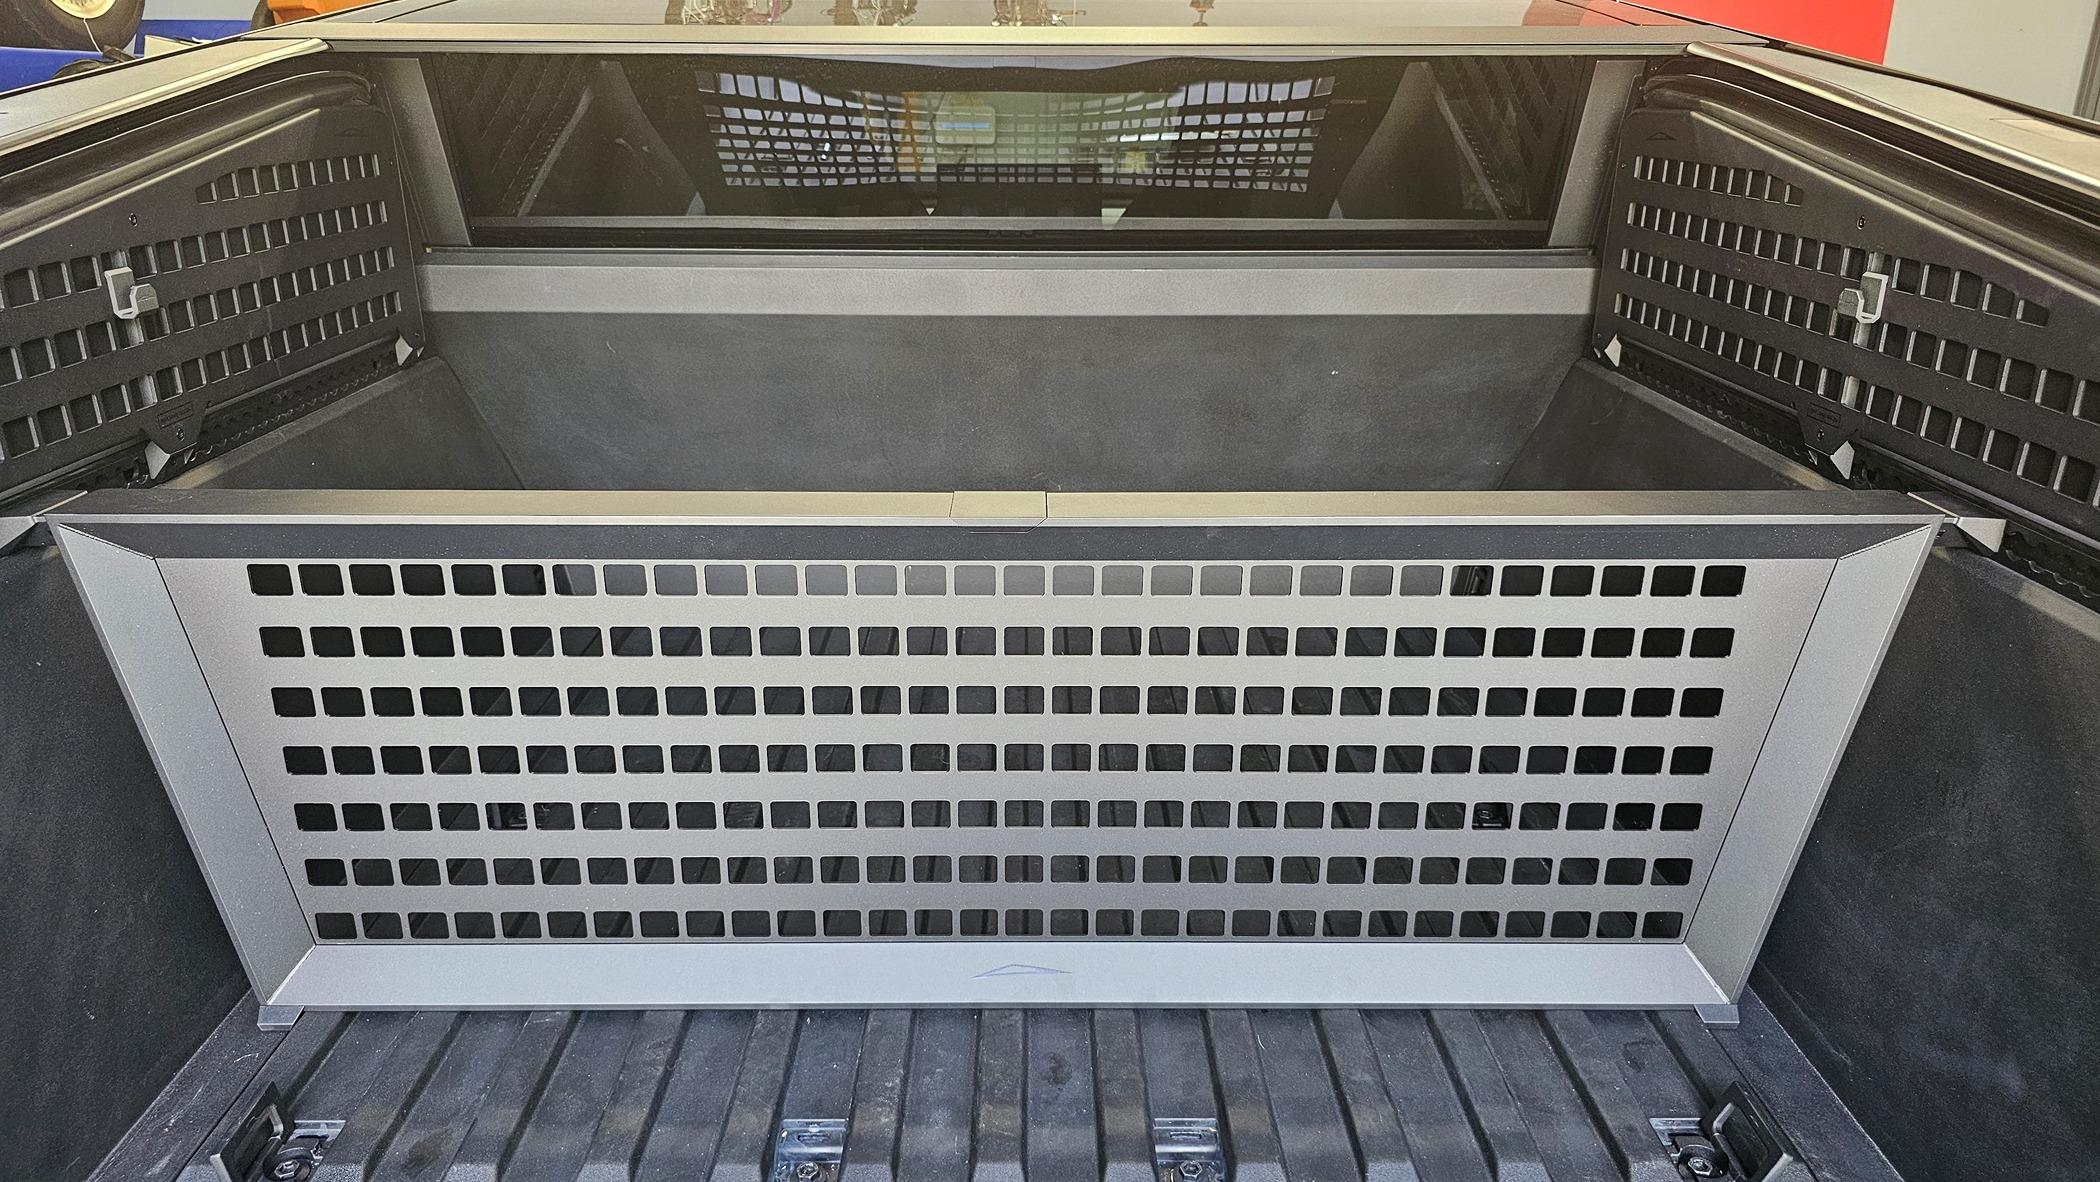
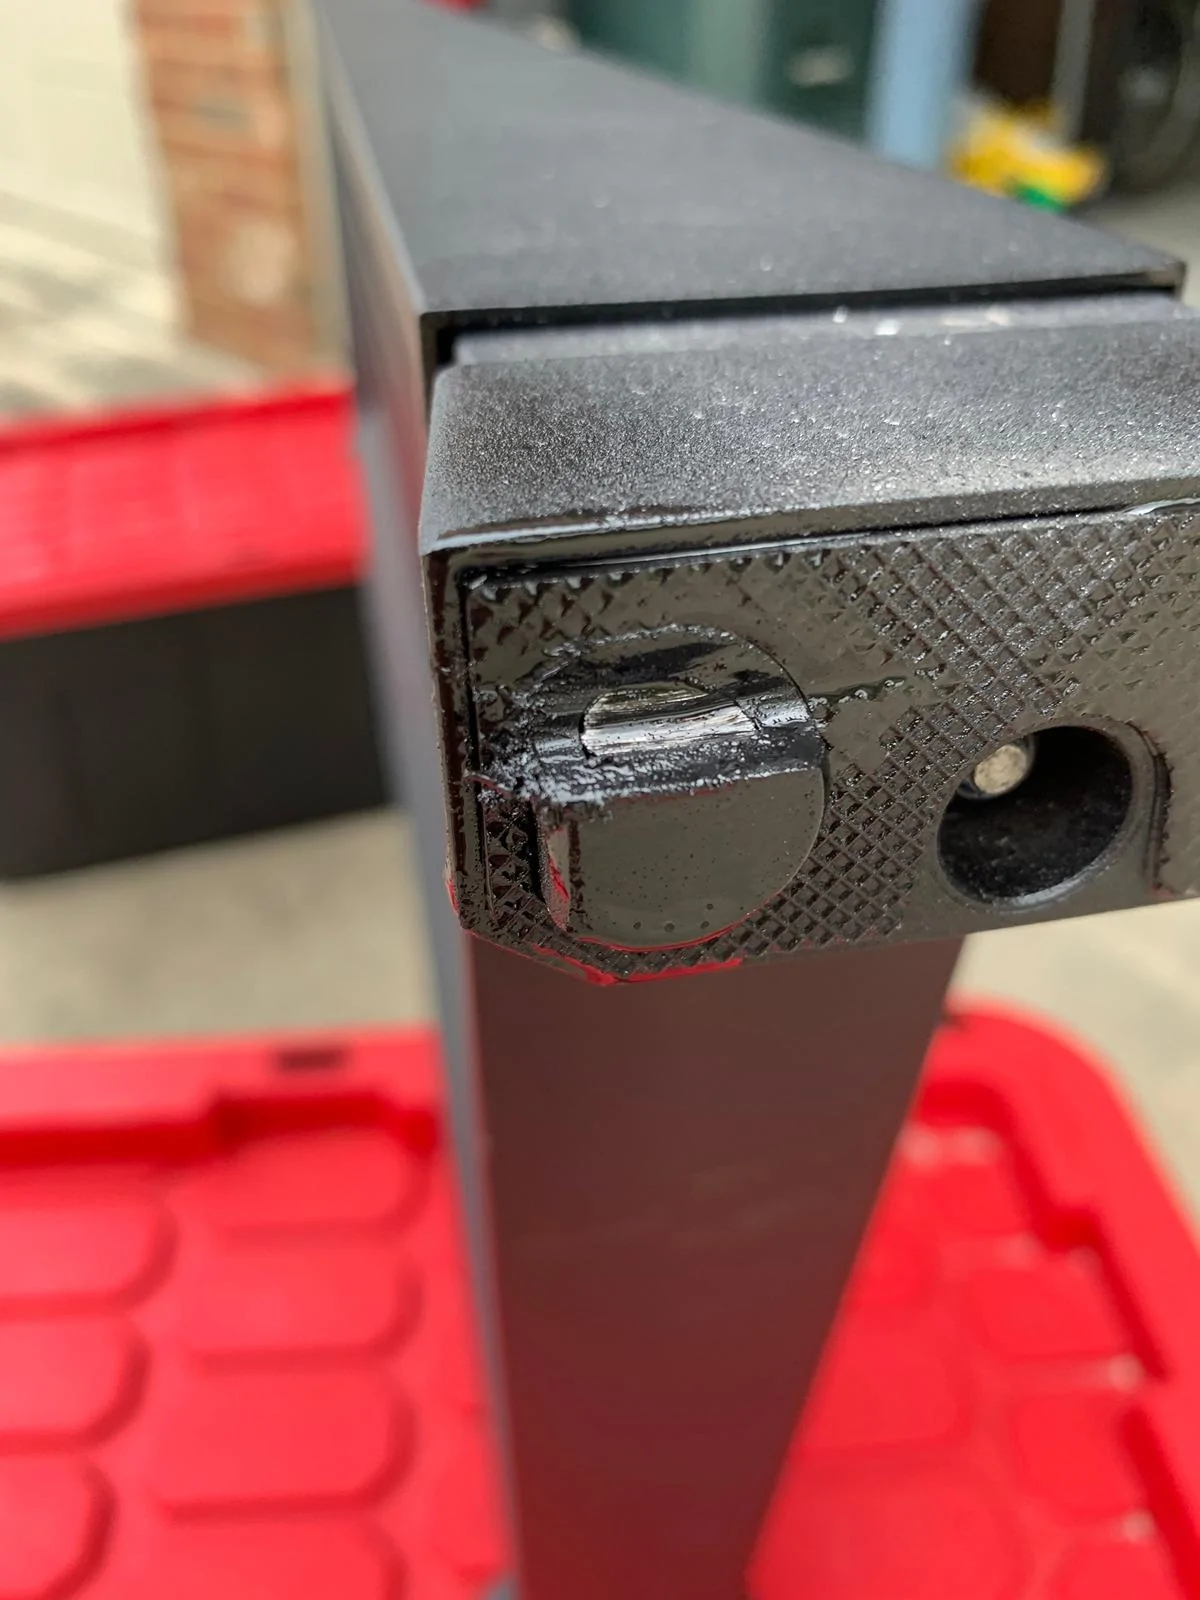
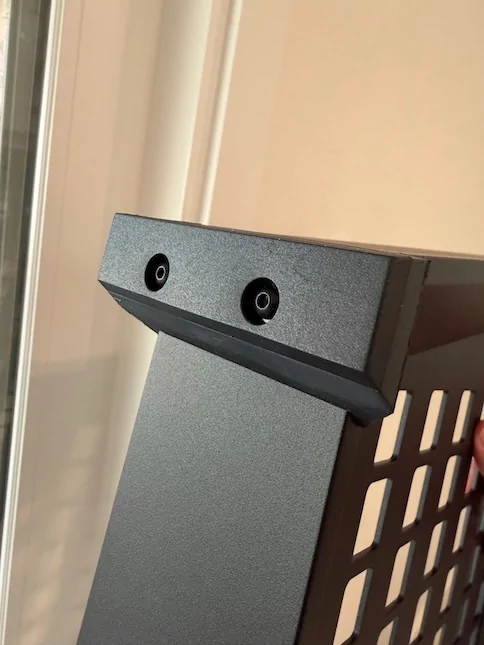
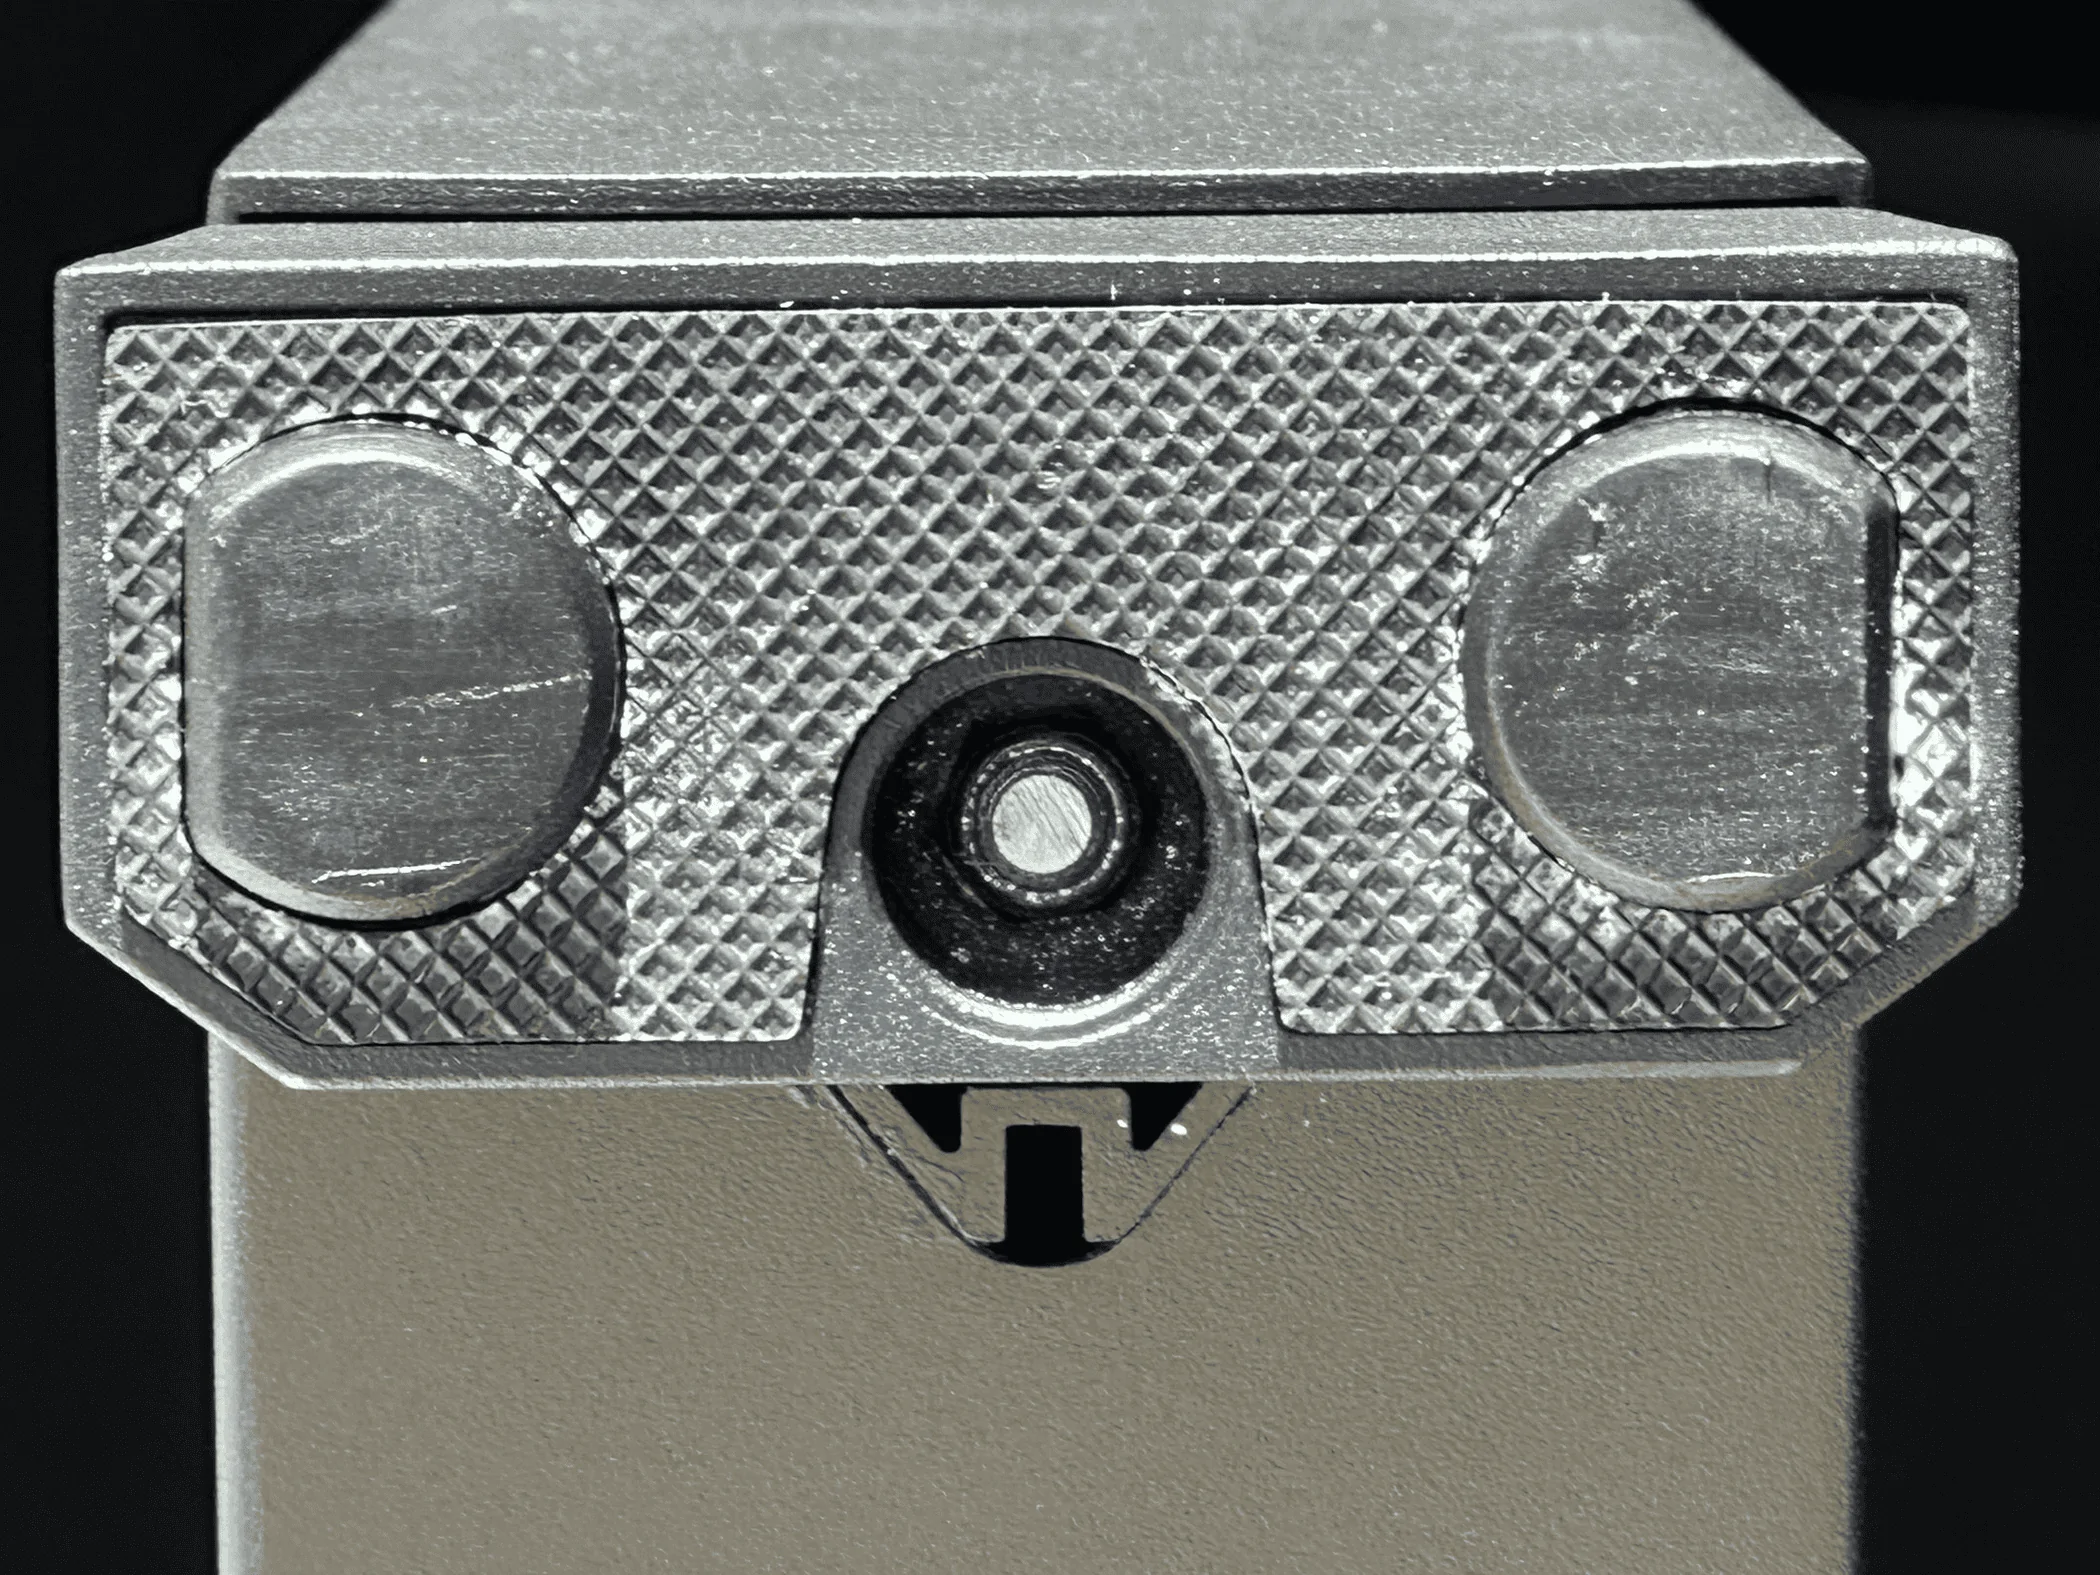
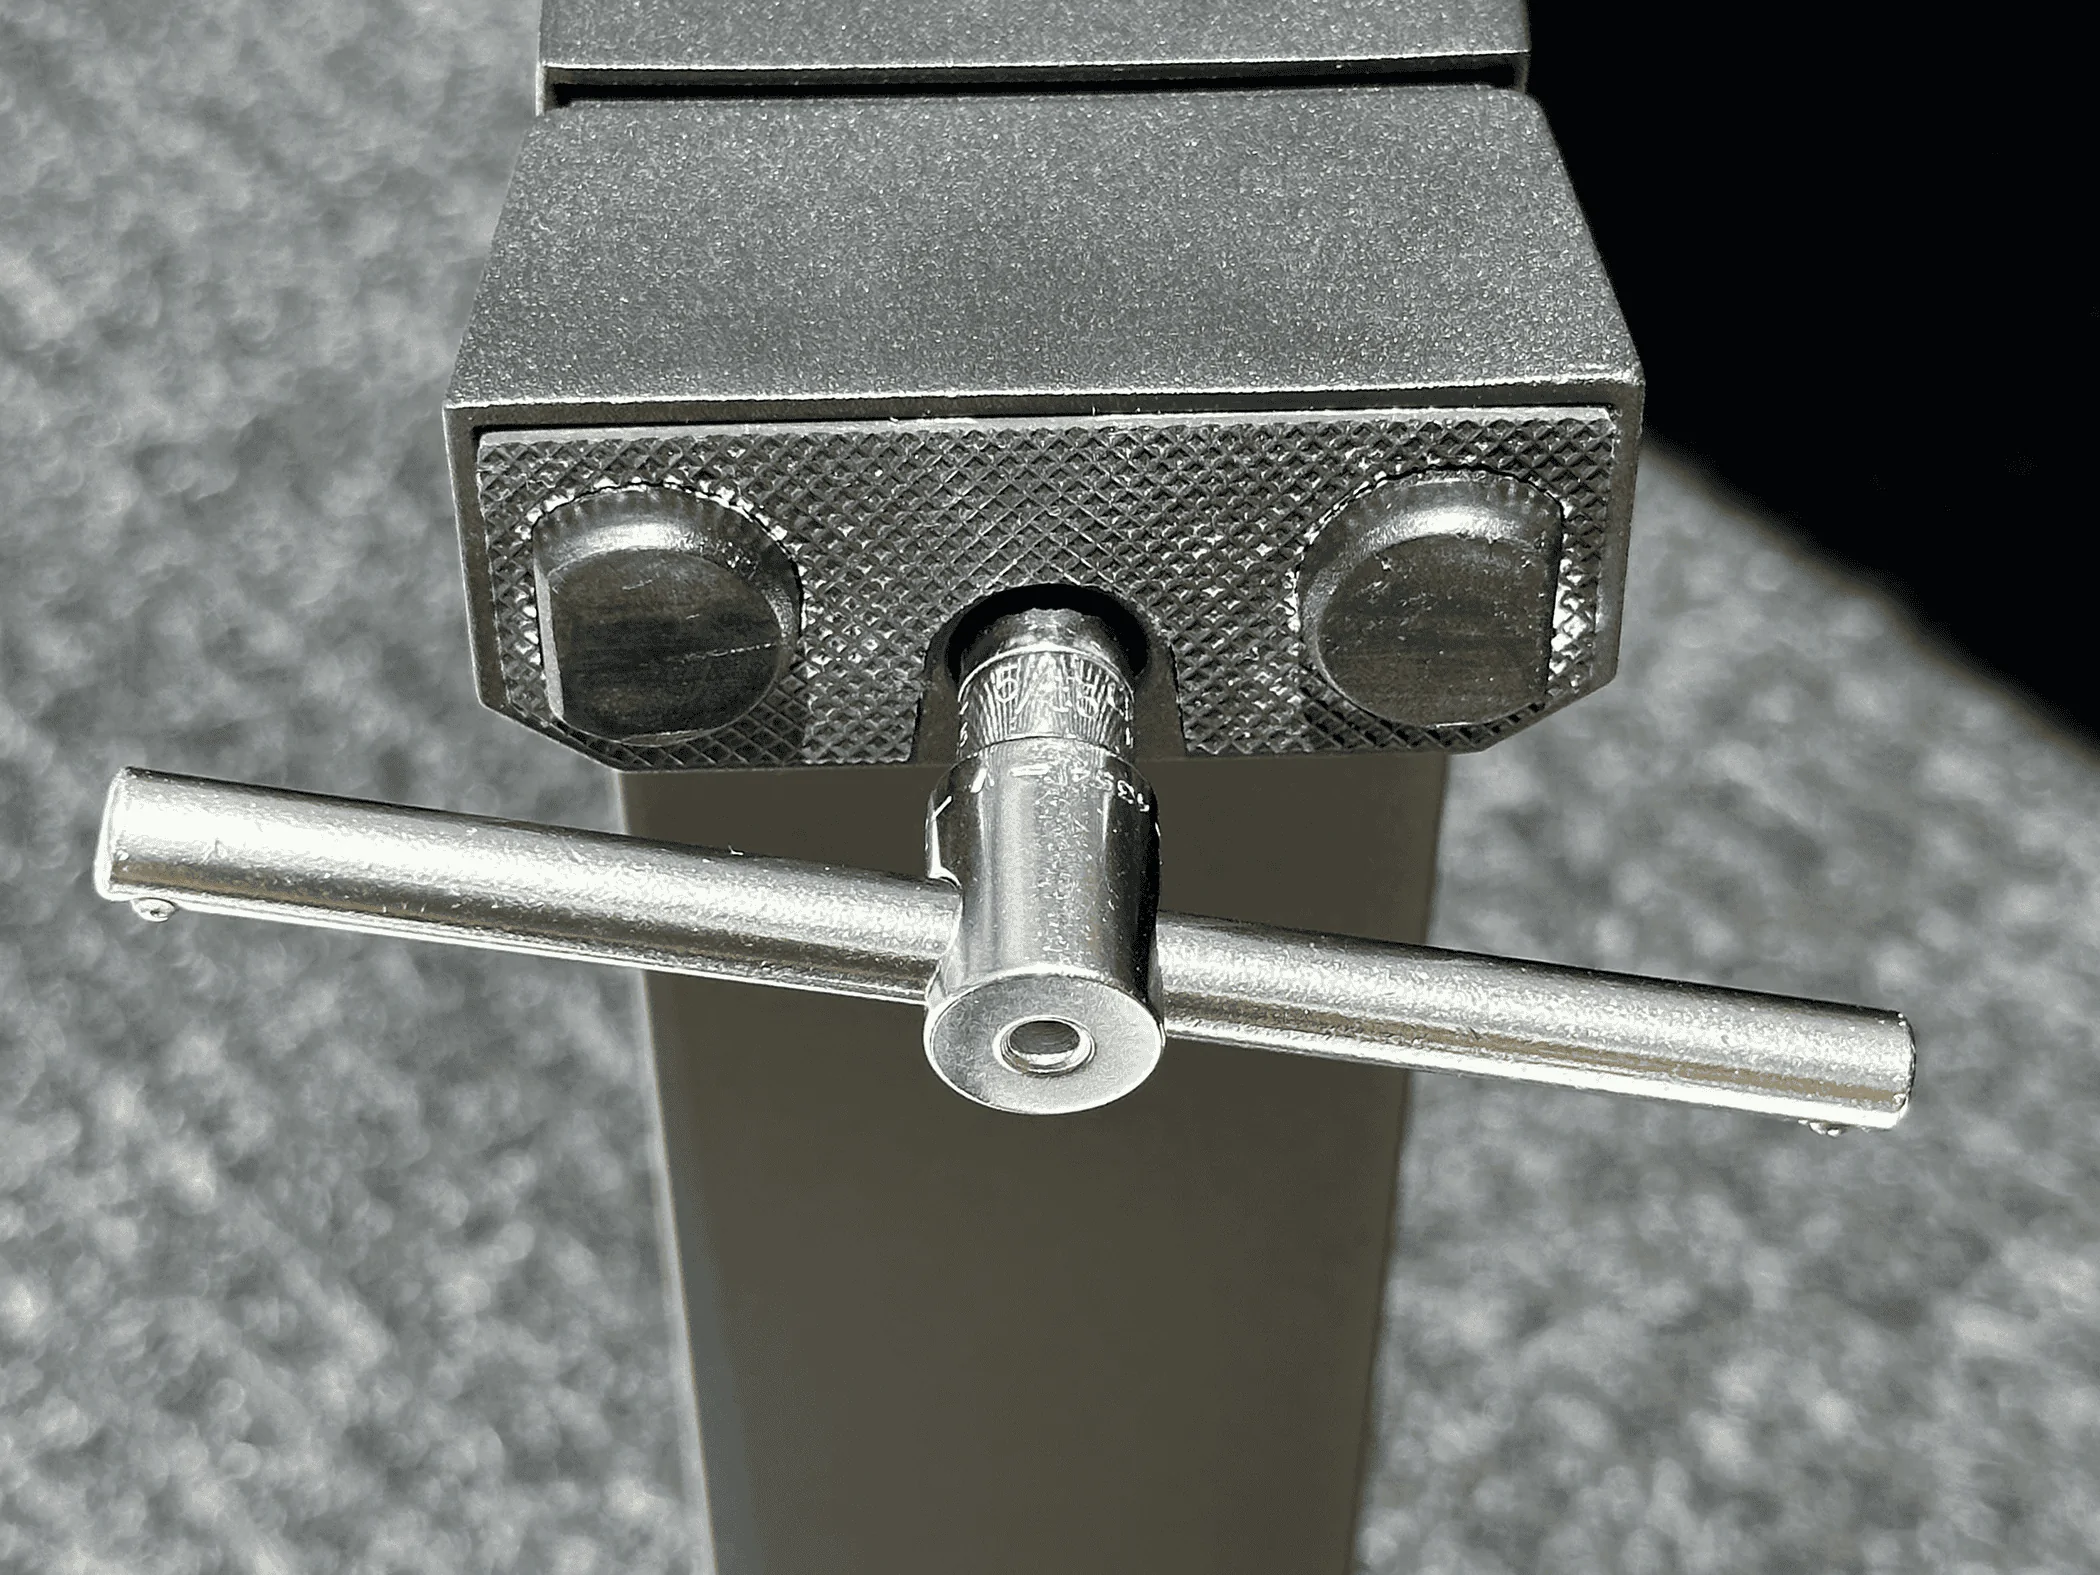
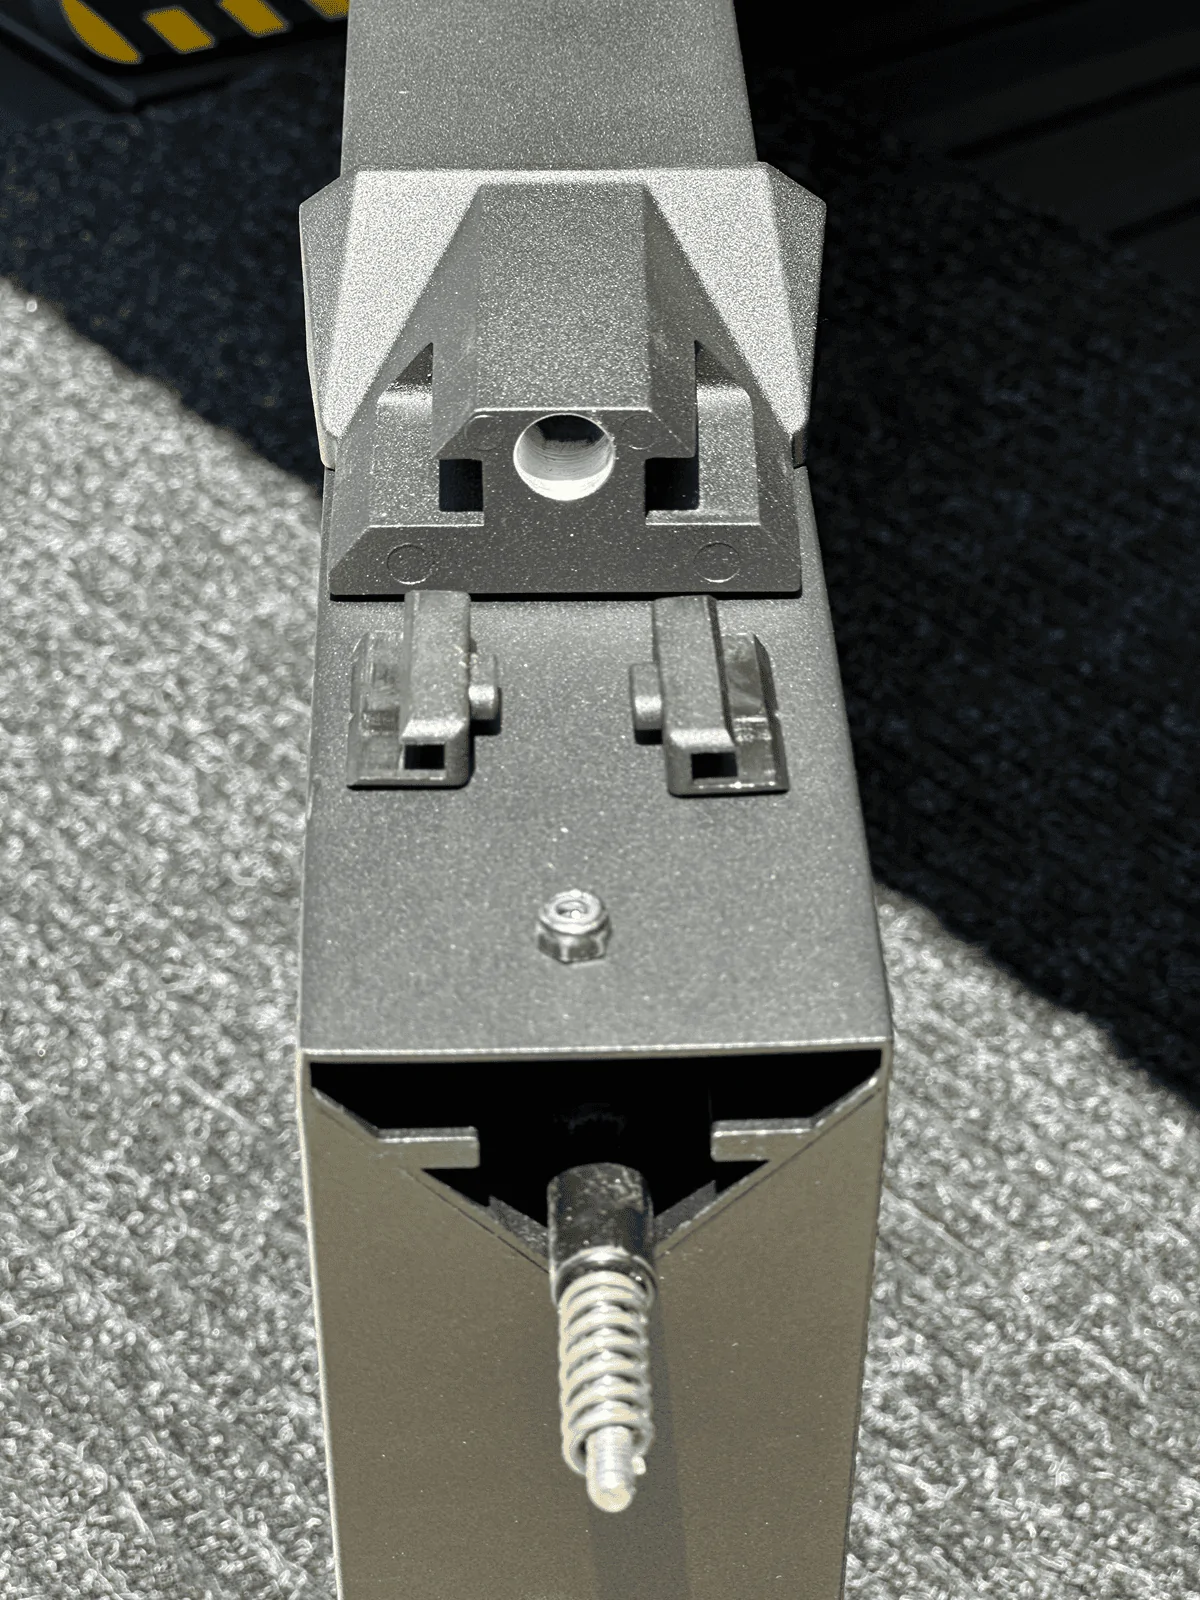
I had the divider installed in it’s tightest spot, loosened the six (6) bolts on either side (four [4] on the L-tracks and the two [2] side panel d-rings). I then used a soft dead blow hammer to nudge everything a bit higher by gently smacking the divider “up”. Visually, the L-track looked to be in the same position, but I could immediately tell that it loosened up. It was so much easier to disengage.
After that, I tried the divider in the other spots. Fits and locks in perfectly now. I tightened the L-track bolts with the divider installed right next to them to keep things high and level.
Easy and quick!!
Thanks @aeroguy !!
https://www.cybertruckownersclub.co...rgo-divider-fitment-issues.19577/#post-354666
Worked perfect.
I had the divider installed in it’s tightest spot, loosened the six (6) bolts on either side (four [4] on the L-tracks and the two [2] side panel d-rings). I then used a soft dead blow hammer to nudge everything a bit higher by gently smacking the divider “up”. Visually, the L-track looked to be in the same position, but I could immediately tell that it loosened up. It was so much easier to disengage.
After that, I tried the divider in the other spots. Fits and locks in perfectly now. I tightened the L-track bolts with the divider installed right next to them to keep things high and level.
Easy and quick!!
Thanks @aeroguy !!
Sponsored
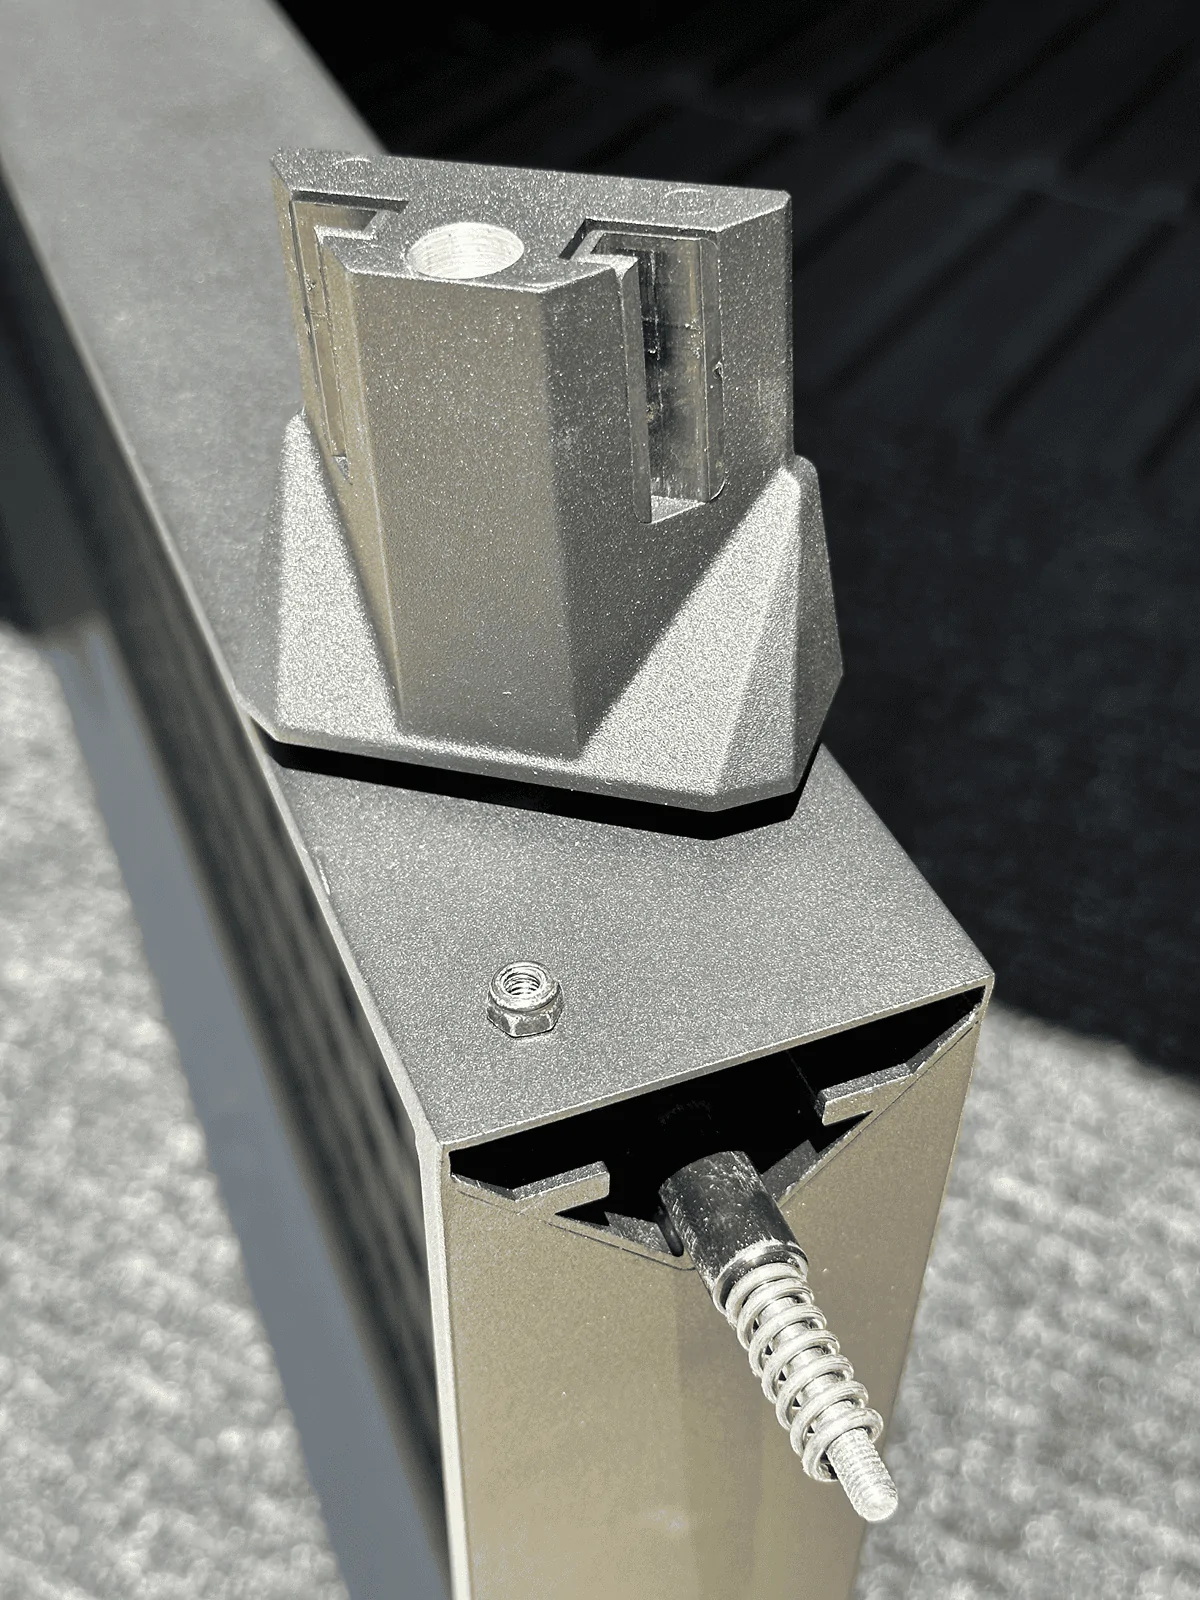
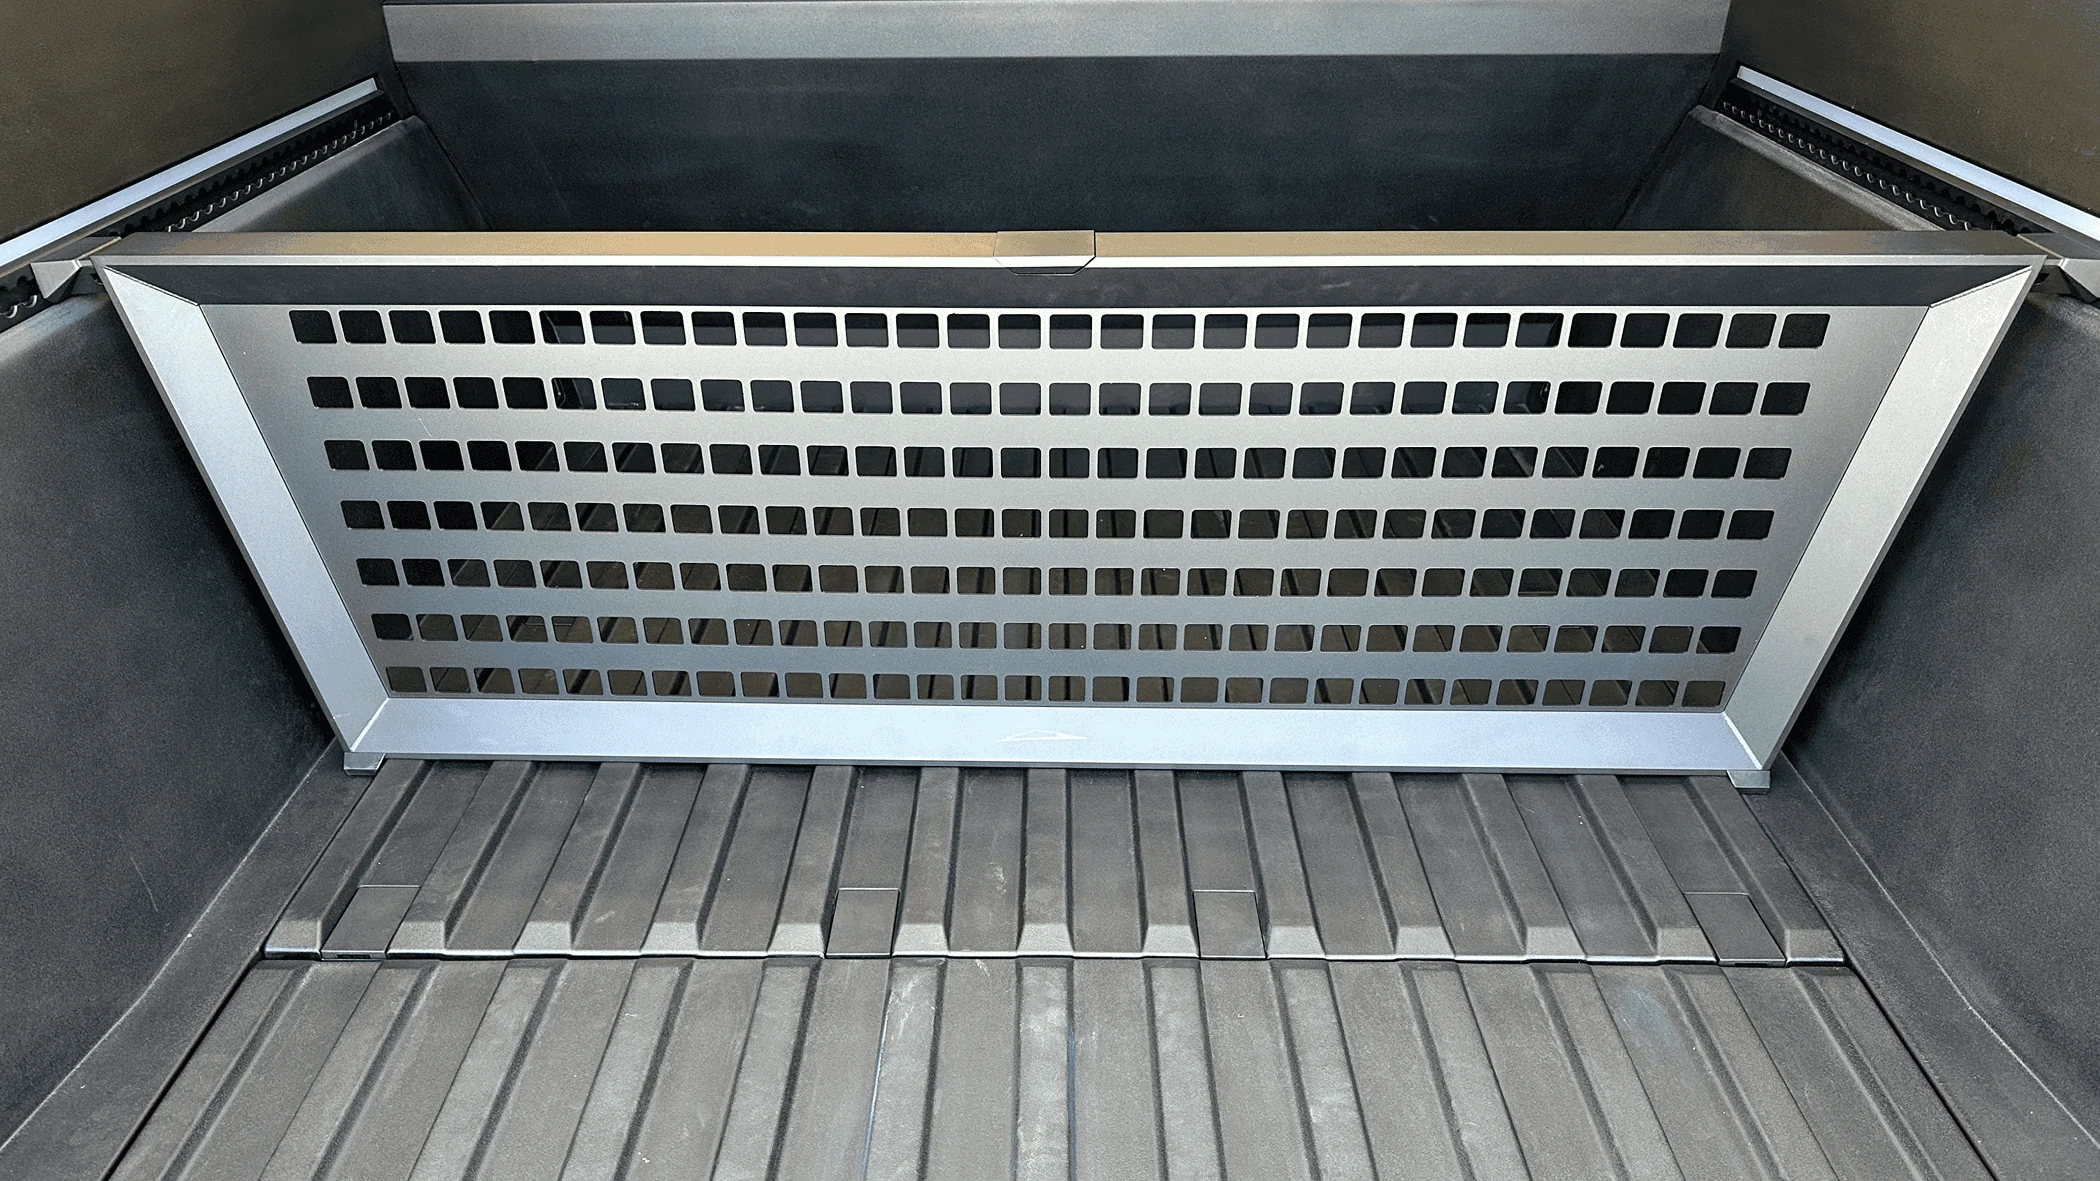
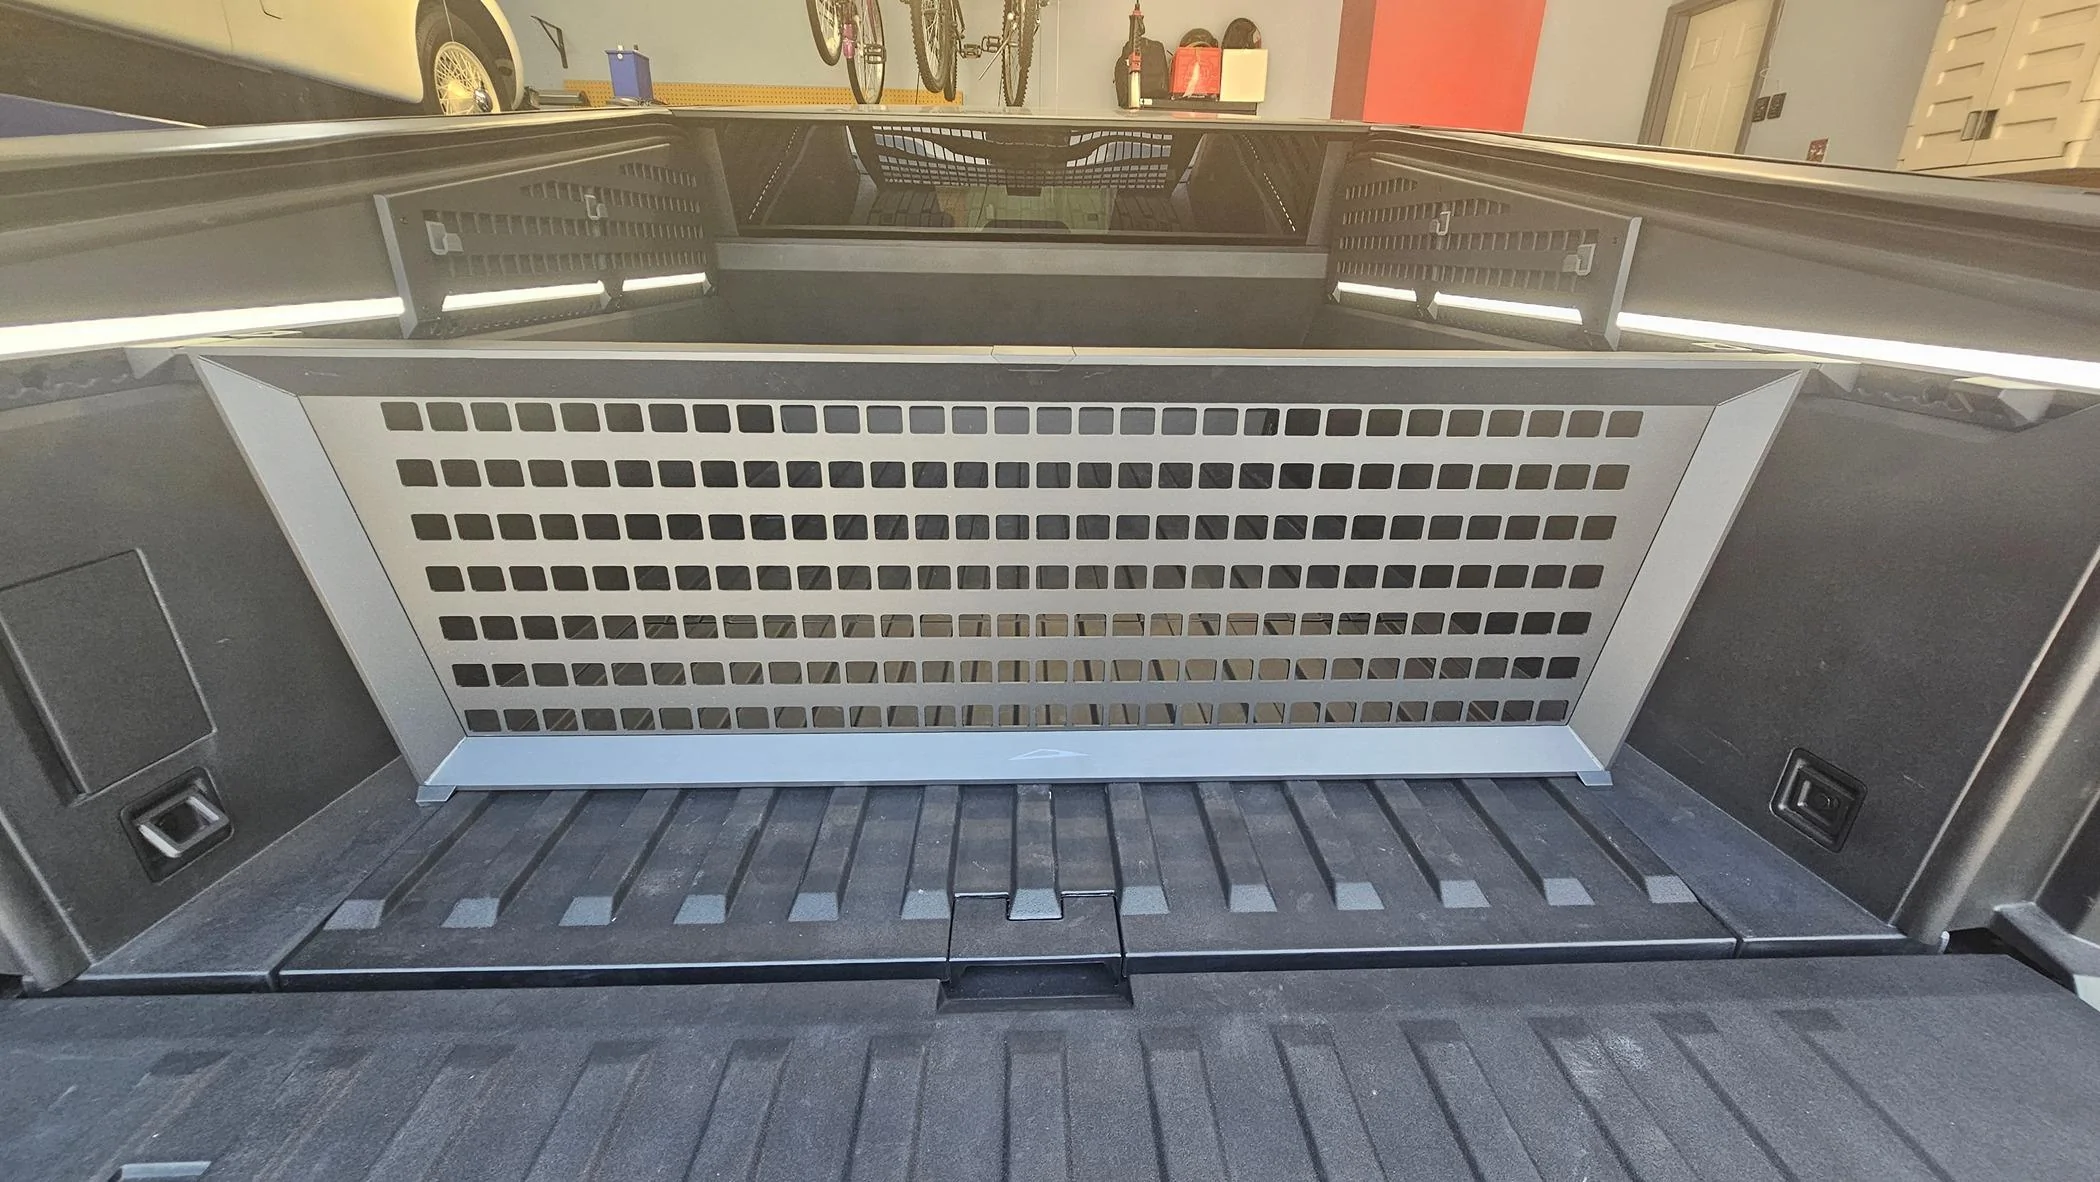
") I decided to dive into this today because by brand new vault divider just arrived from Tesla today. (Ordered last week so I assume it is a new one, new style, whatever). Arrived fine in the box and like others no instructions but how hard can it be right? I'd read about the problems here where it would fit in the back part of the bed but not in front of the lower cargo hatch. Well when I tried mine, I was getting much the same result. I could make it fit but geez it was really tight and didn't fit as easily as it did in the rear section. So let's see some pics in get into what I did.
I decided to dive into this today because by brand new vault divider just arrived from Tesla today. (Ordered last week so I assume it is a new one, new style, whatever). Arrived fine in the box and like others no instructions but how hard can it be right? I'd read about the problems here where it would fit in the back part of the bed but not in front of the lower cargo hatch. Well when I tried mine, I was getting much the same result. I could make it fit but geez it was really tight and didn't fit as easily as it did in the rear section. So let's see some pics in get into what I did.