BengalBoy
Well-known member
- First Name
- Mark
- Joined
- Apr 6, 2020
- Threads
- 18
- Messages
- 622
- Reaction score
- 826
- Location
- Alabama
- Vehicles
- Dodge Viper GTS and 1995 Ford Bronco XLT
- Occupation
- Attorney
- Thread starter
- #1
Took delivery on my CyberTruck on 4/20 and after a week of almost daily washing, I've began my project of polishing and application of ProTectaClear metal sealer. Currently, people touching it the following day after a wash (I cannot escape the celebrity of my Space Car), and leaving their fingerprint smudges is exasperating my OCD to the point that anyone getting near it is met with my cries of admonition, "Don't touch my CyberTruck!" Obviously, I don't enjoy being an asshole to little kids, but, their oily little hand prints down the side of "OO7" after a couple hours of detailing by me really challenges my impulse control. Solution? The "CyberTruck Kit" of ProTectaClear by EverBright metal sealers. This is my story of a do-it-yourself application and the issues, solutions and results of my project as I begin, progress and finish.
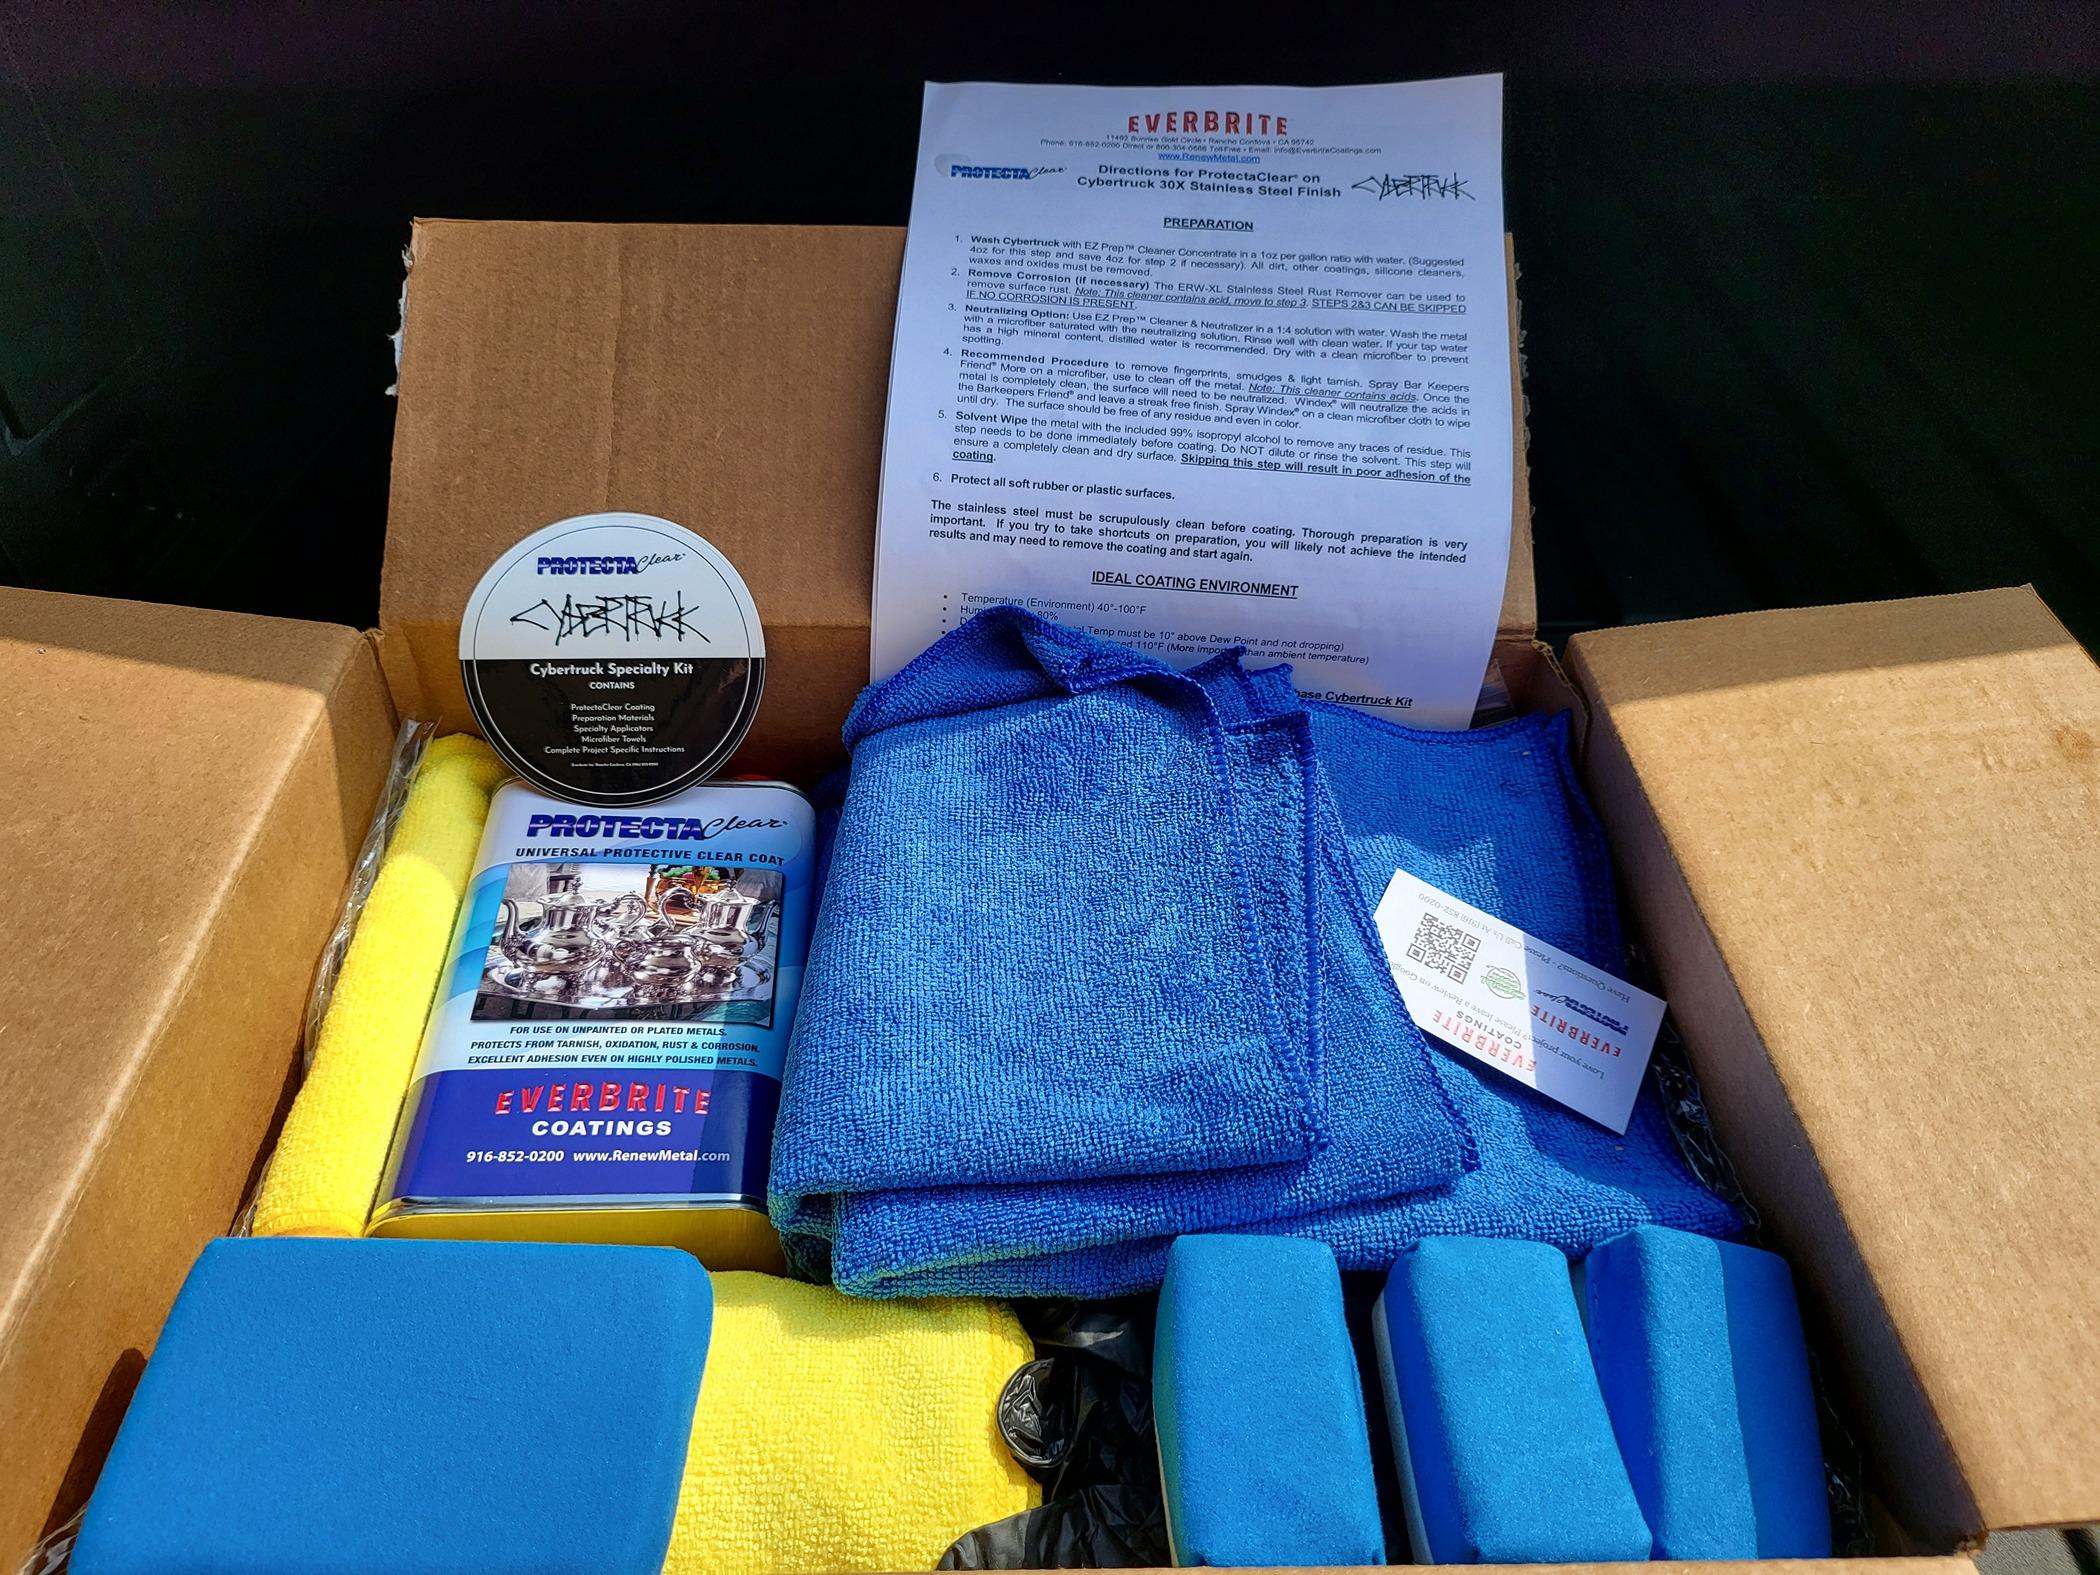
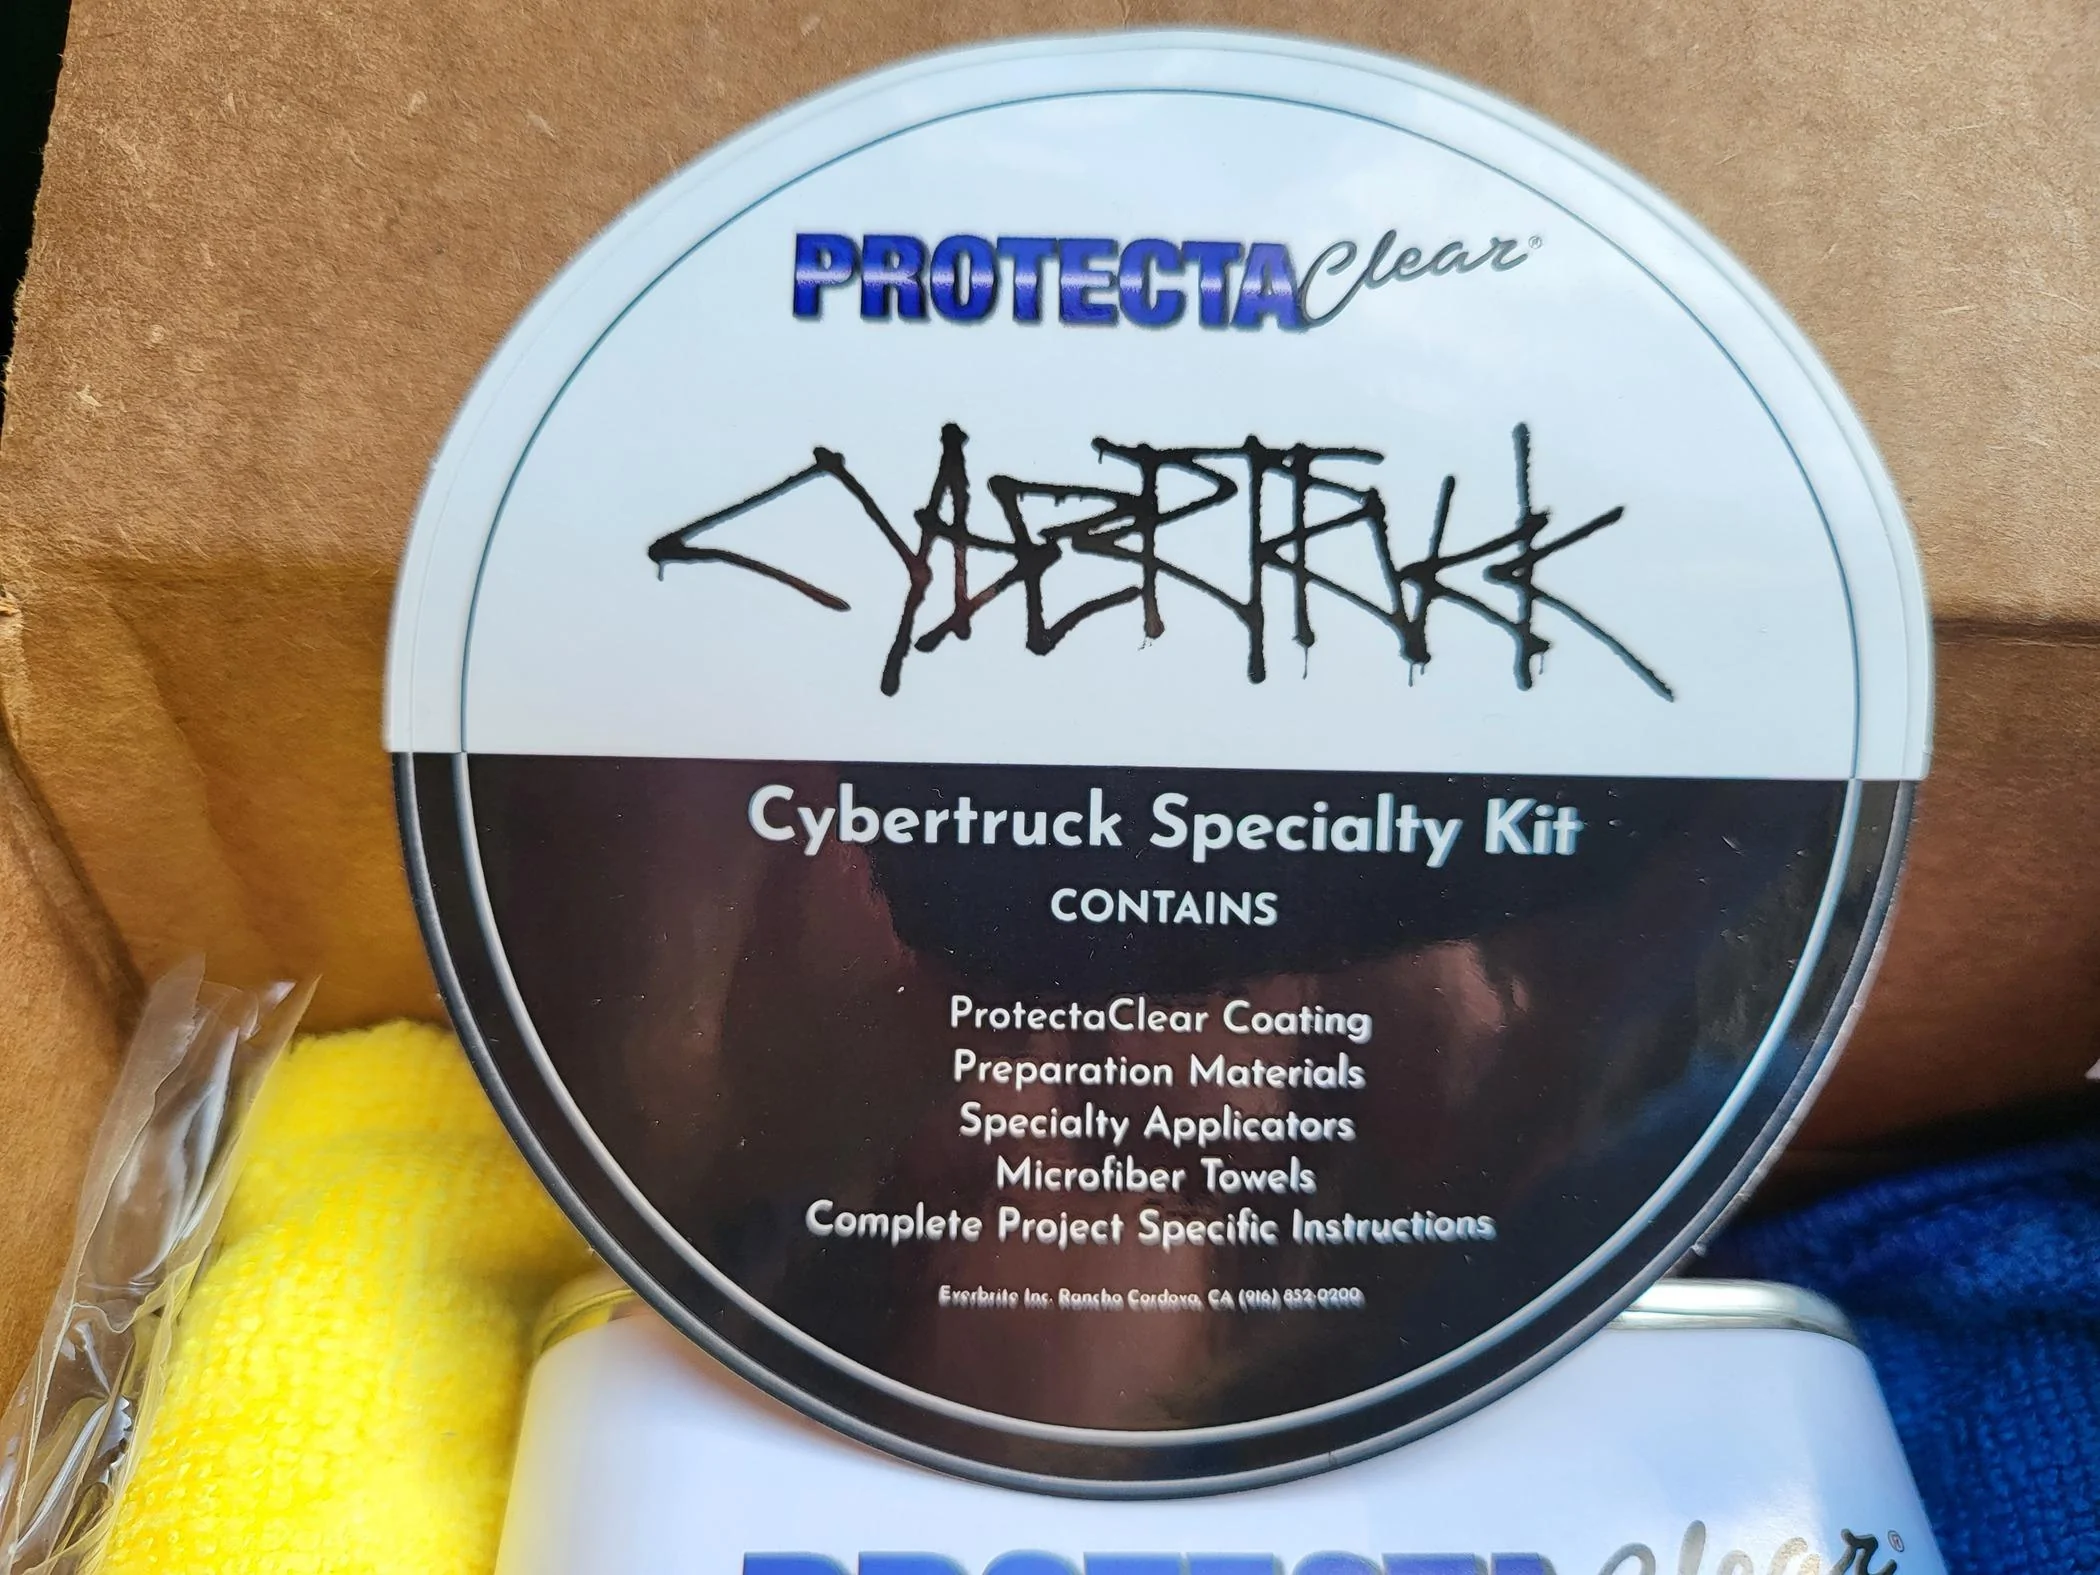
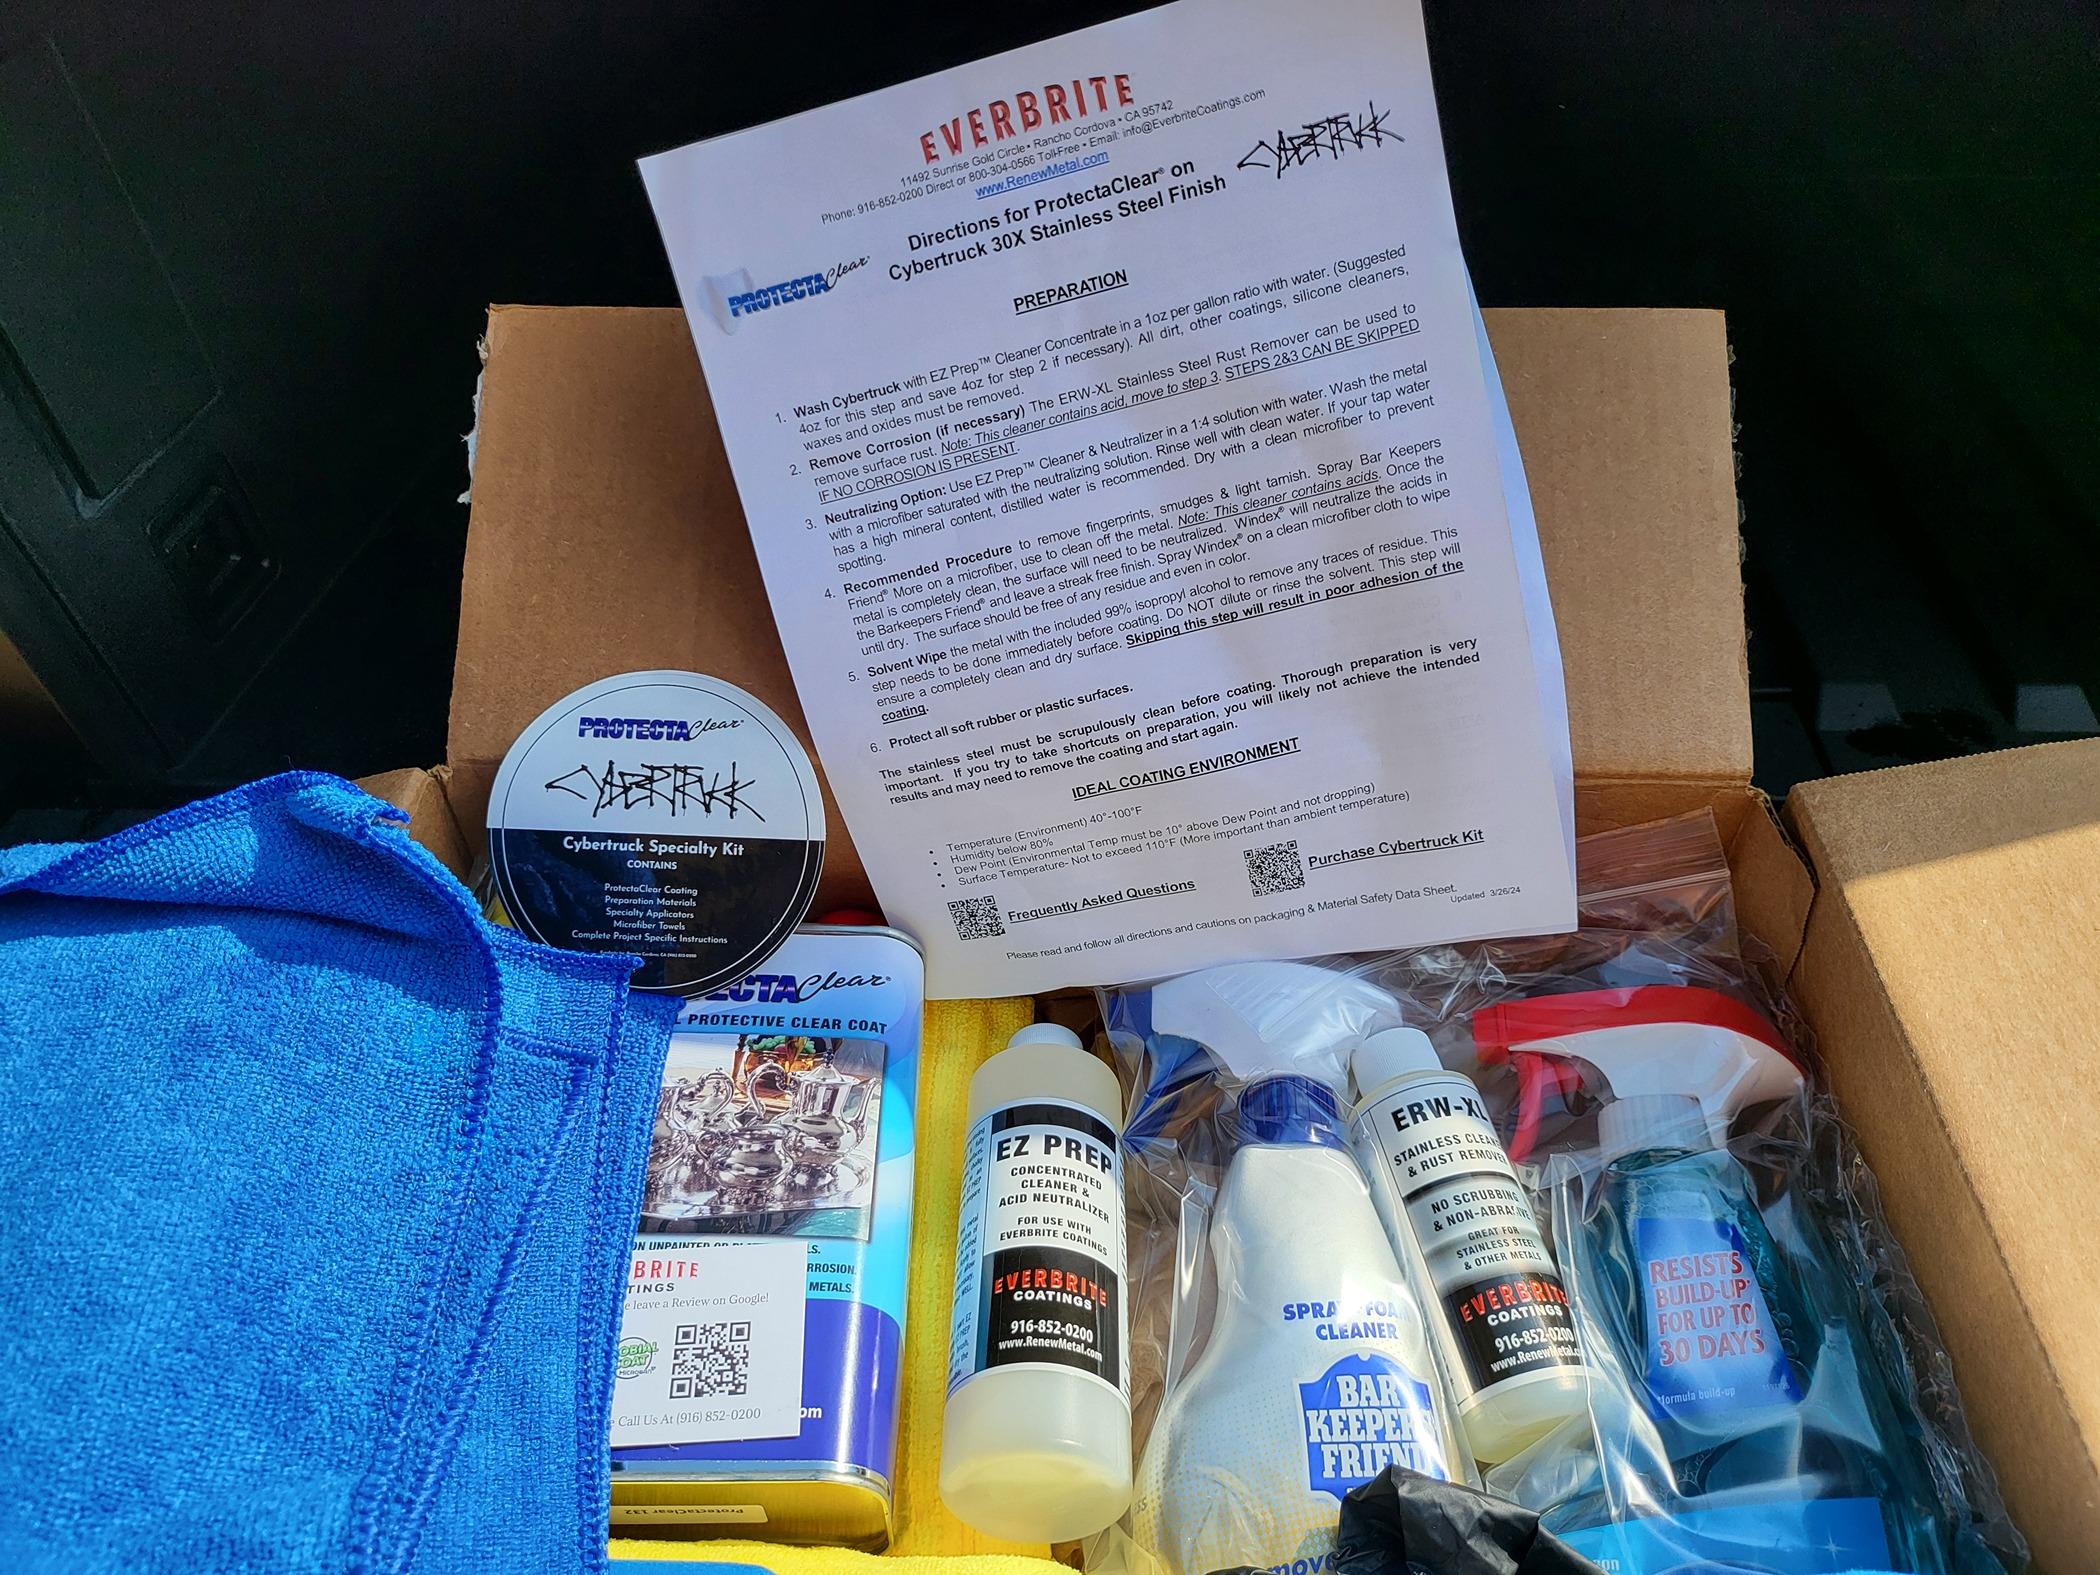
To begin, I ordered my kit after receiving my VIN# for "OO7" from EverBright. Shipping was fast to Alabama and product support is excellent. Lots of follow-up about receiving my kit and offers of help in applying it.

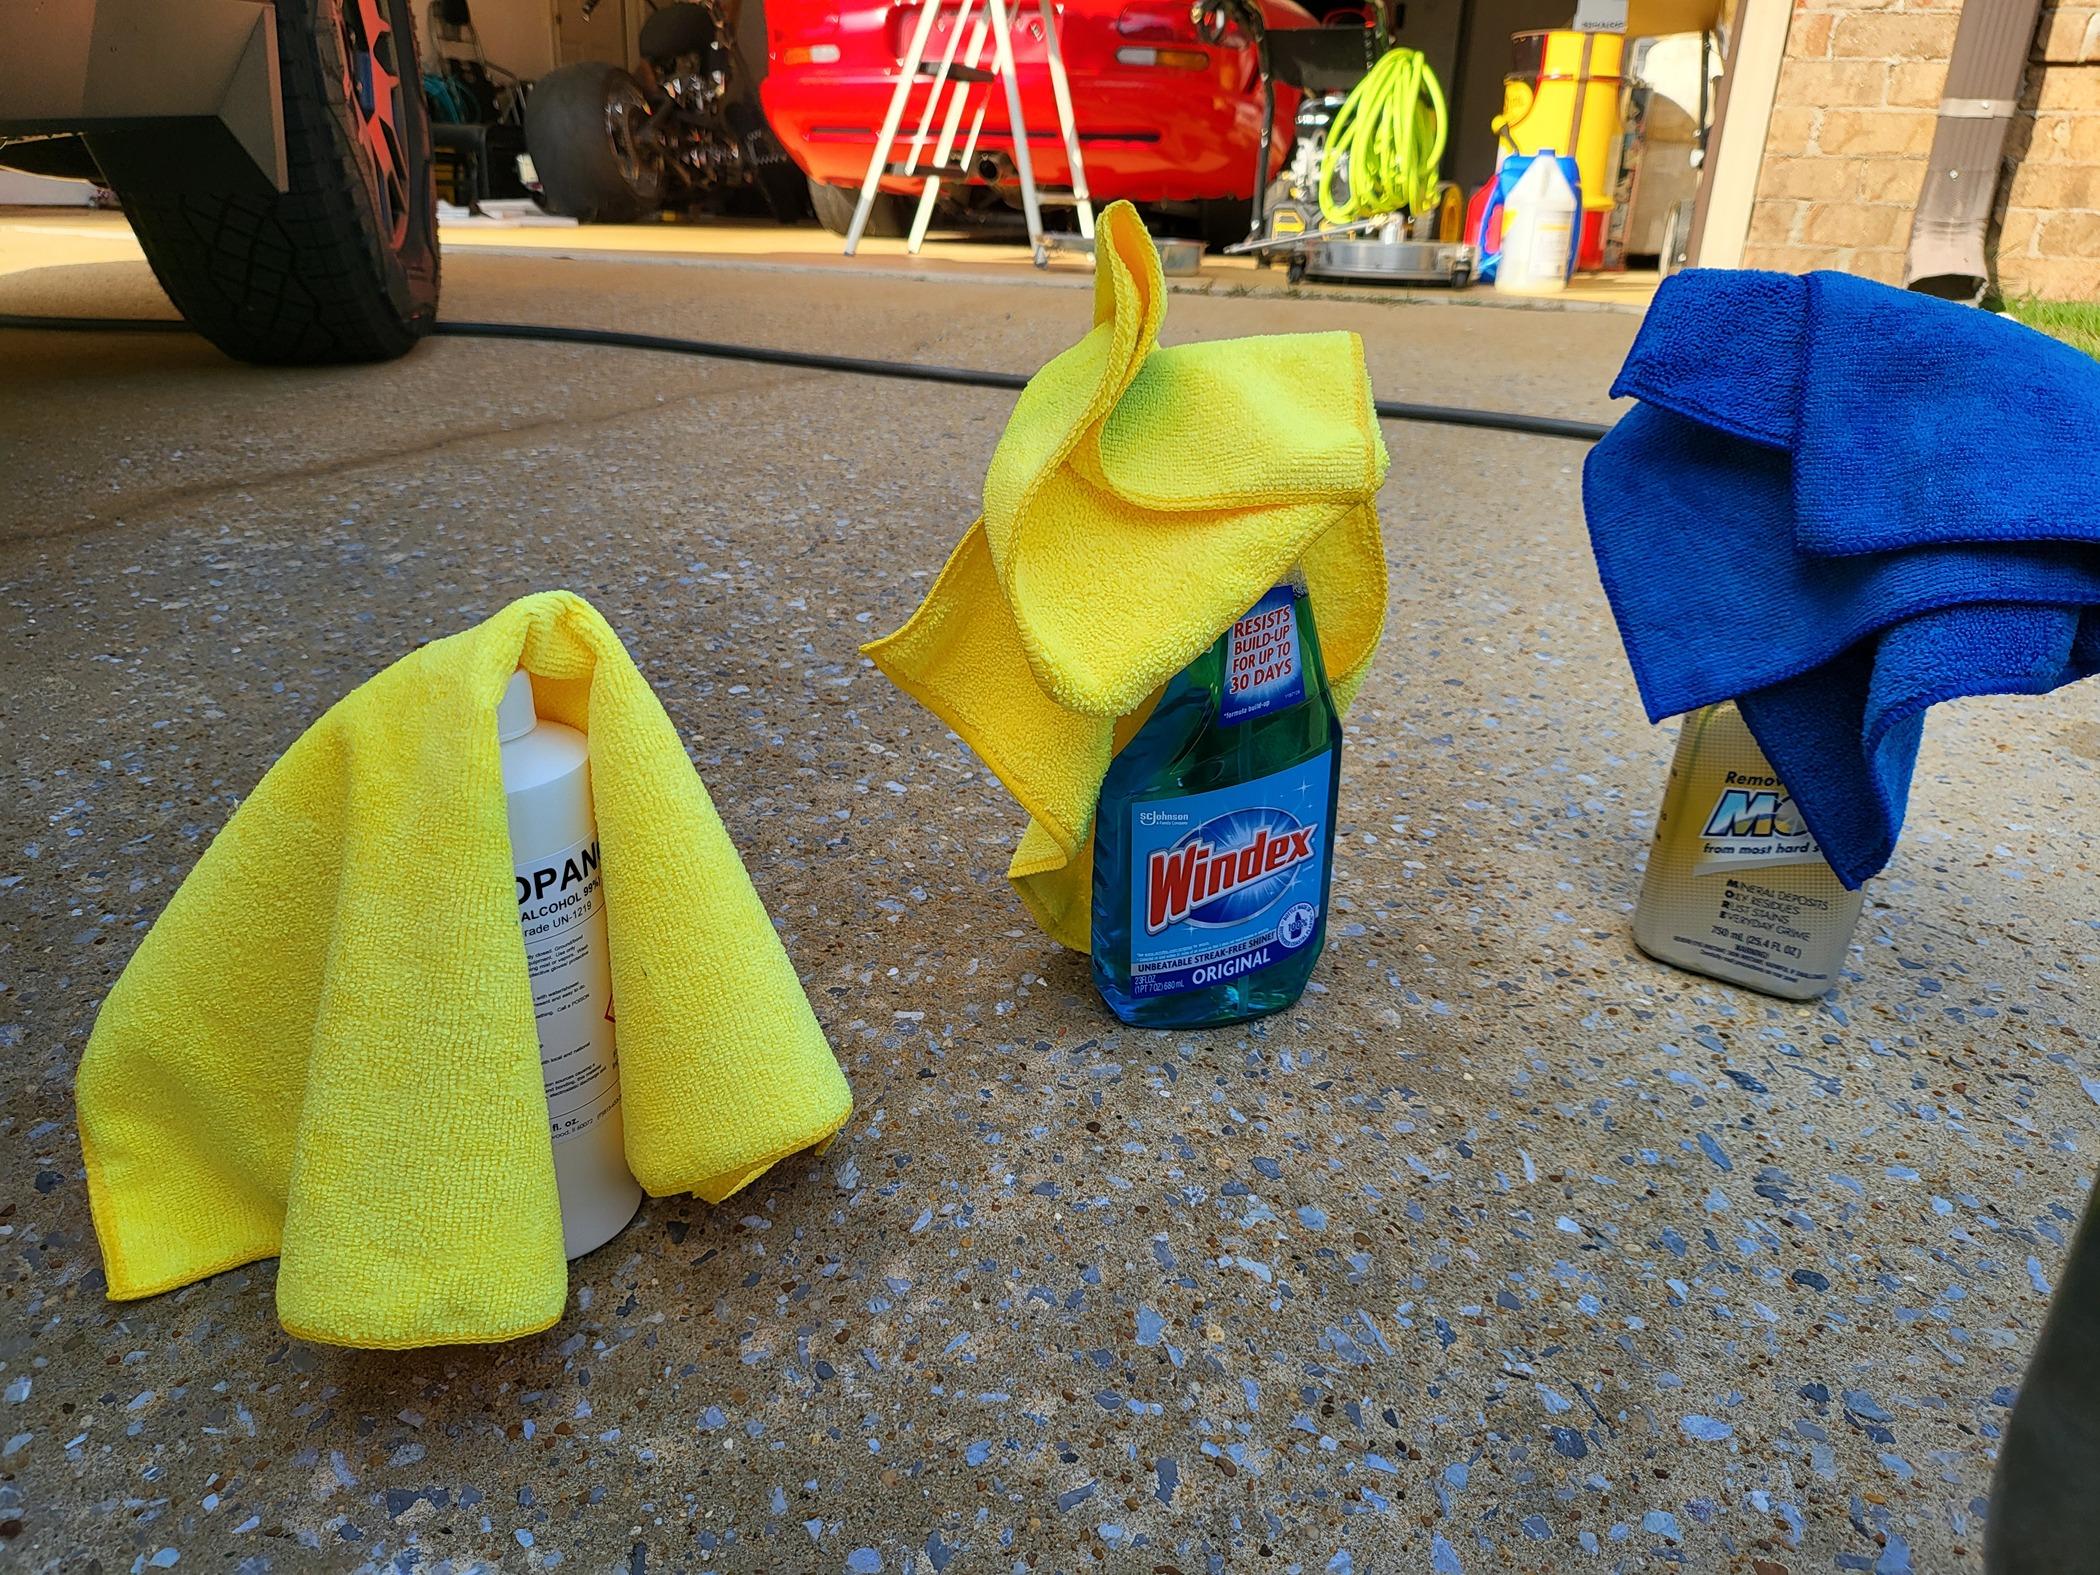
Now, I'm gonna stop right here and tell you to ignore the rubbing alcohol as a cleaner. Put it in your medical kit for cuts and scratches. It does not work well at all in my experience. Questioning the size of the bottle, I picked up a quart of denatured alcohol from Ace Hardware for $8. I cant explain why, but, the denatured alcohol strips the residue of the Bar Keepers Friend and Windex off very easily while the included 99% isopropyl alcohol just smears it around on the stainless steel.
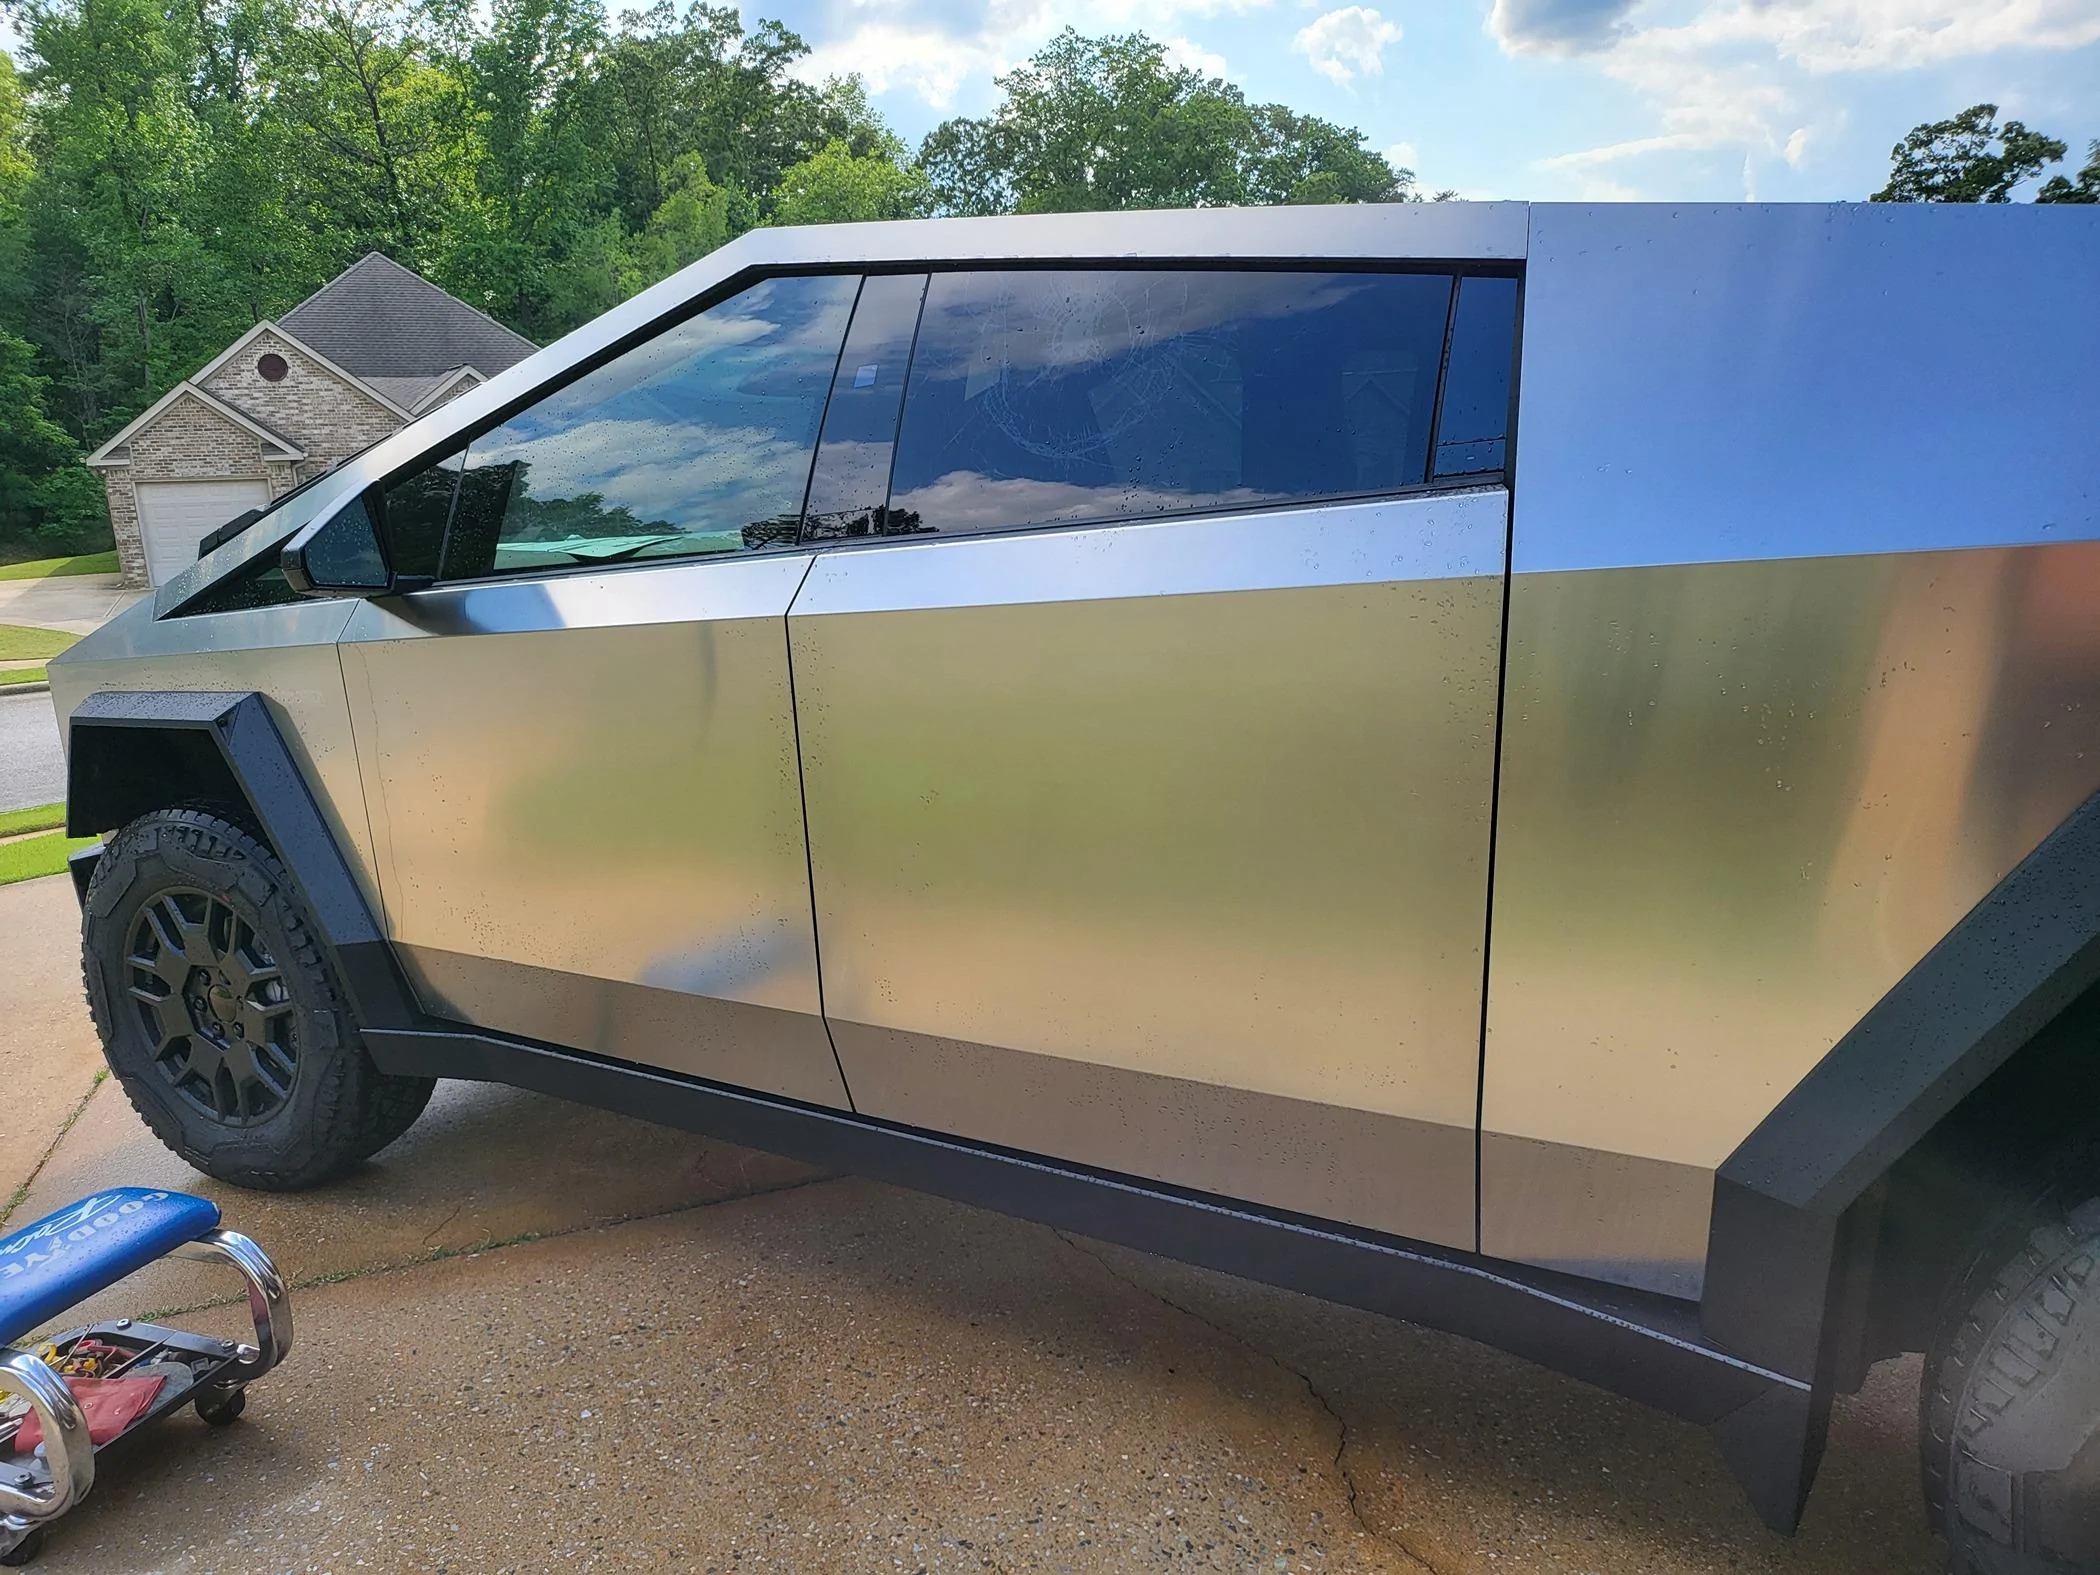
After cleaning "OO7" with Dawn Dishwashing soap, he's sparkly and ready for my ProTectaClear Kit to be applied.
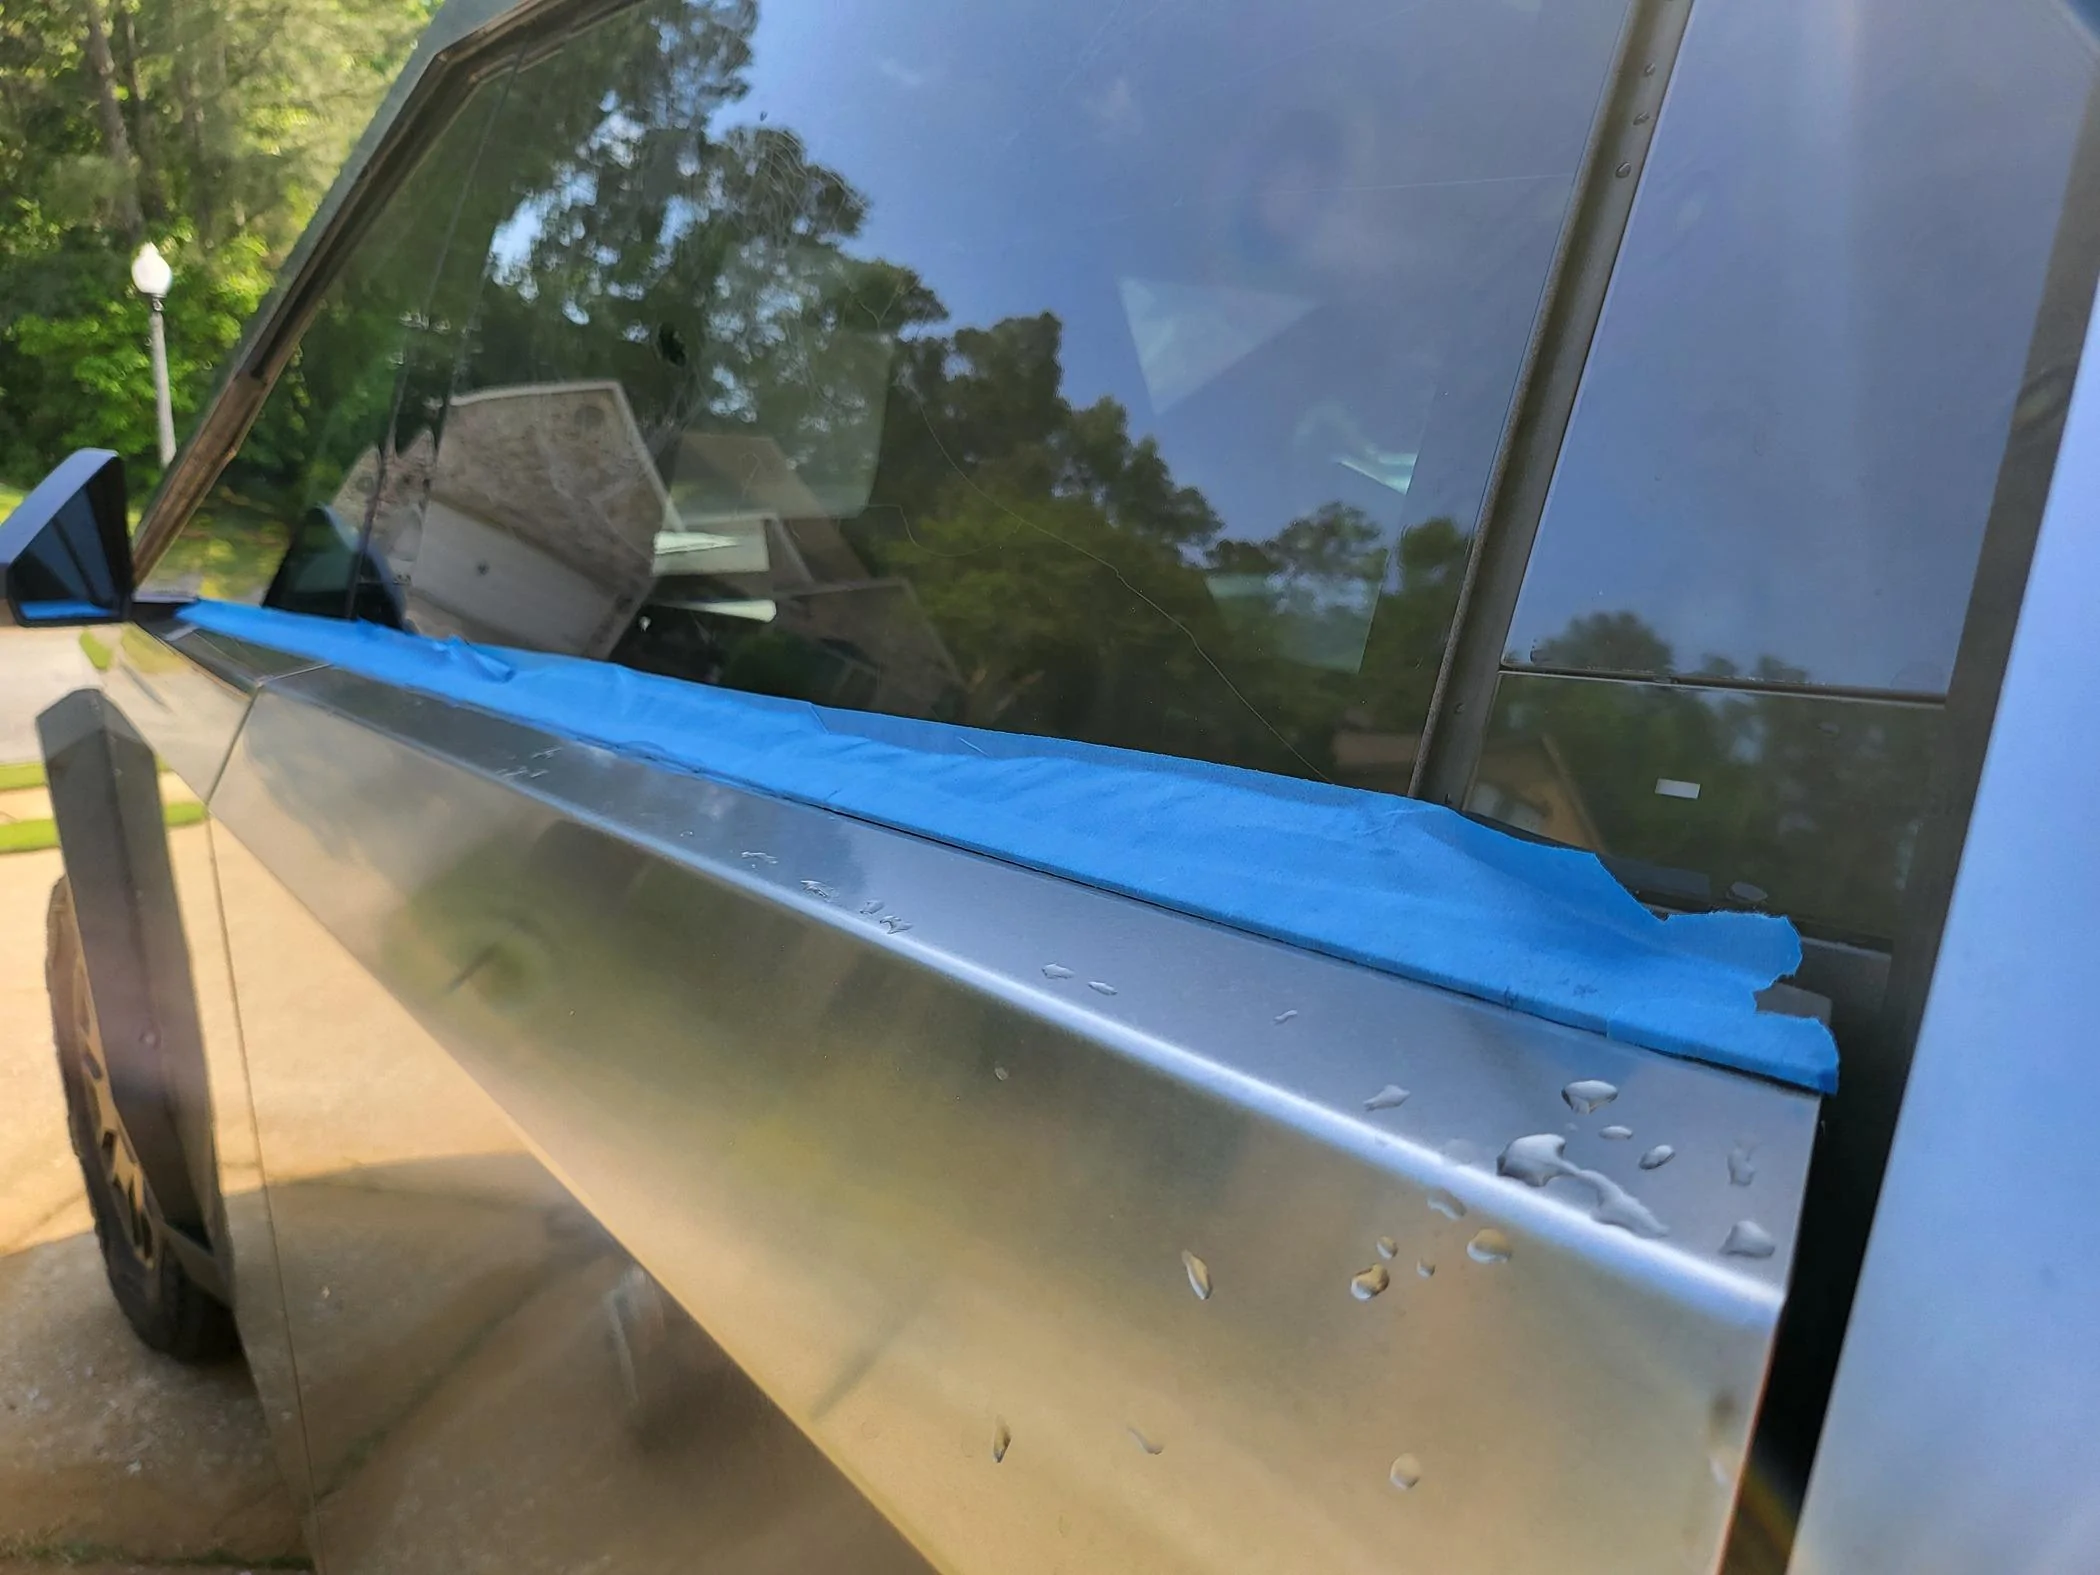
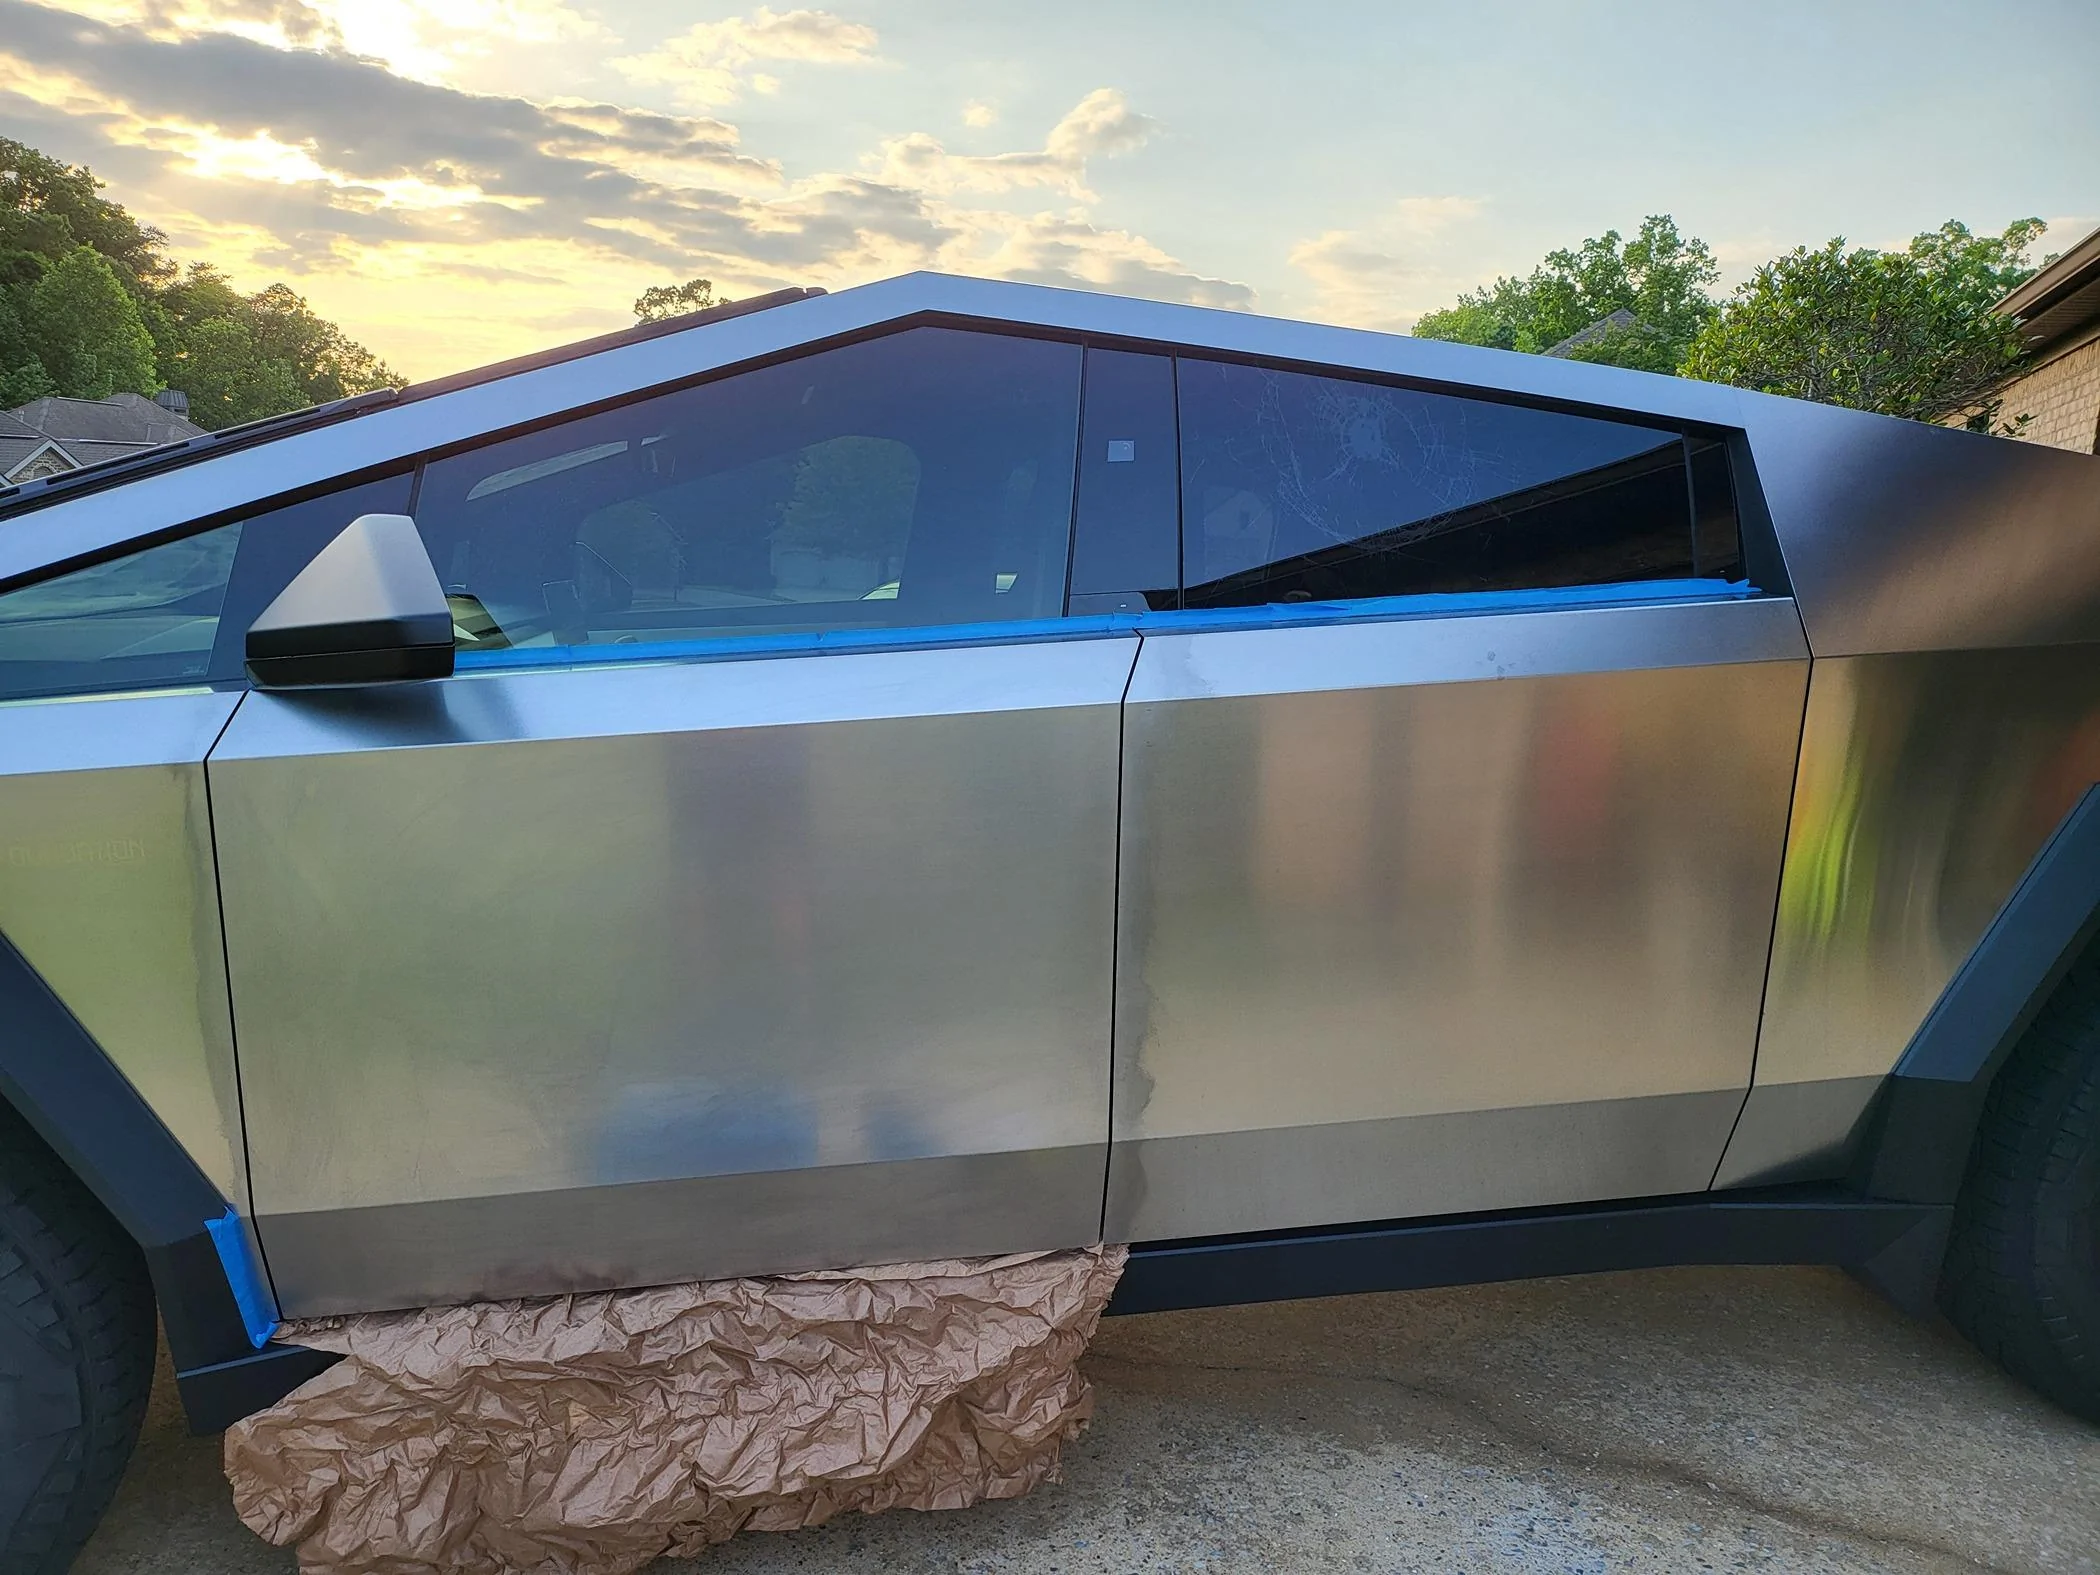
I begin with my driver's side door. Let me say, I'm very particular about the polishing. It's got to look perfect to my eye and so I spent about 30 minutes prepping the door with painters tape over the rubber and plastic bits.
Beginning, I apply the Bar Keepers Friend with the included micro fiber towel and rub. This immediately tells me 2 things; it's going to take some time and "OO7" is covered in some kind of waxy residue. (I believe the Tesla Service Center used a buffer and metal polish to prep "OO7" for delivery.)
I can now see after one pass that my shiny CyberTruck could be much,much shinier. However, crappy residue and streaks are every where. No way I'm going to seal it in this condition with the ProTectaClear formula. More polishing is required.
I'm beginning to have my doubts about the process. The BKF polishes, the Windex smears it around, and the included isopropyl alcohol smears it some more. I cannot get a "clean" door. I've decided to focus on the driver's door first with my polishing.
I'm figuring out this project is going to take me a few days working in stages. I will try to polish the driver's side to my satisfaction before applying the ProTectaClear formula. Then, move to the hood and front of "OO7" working around the truck.
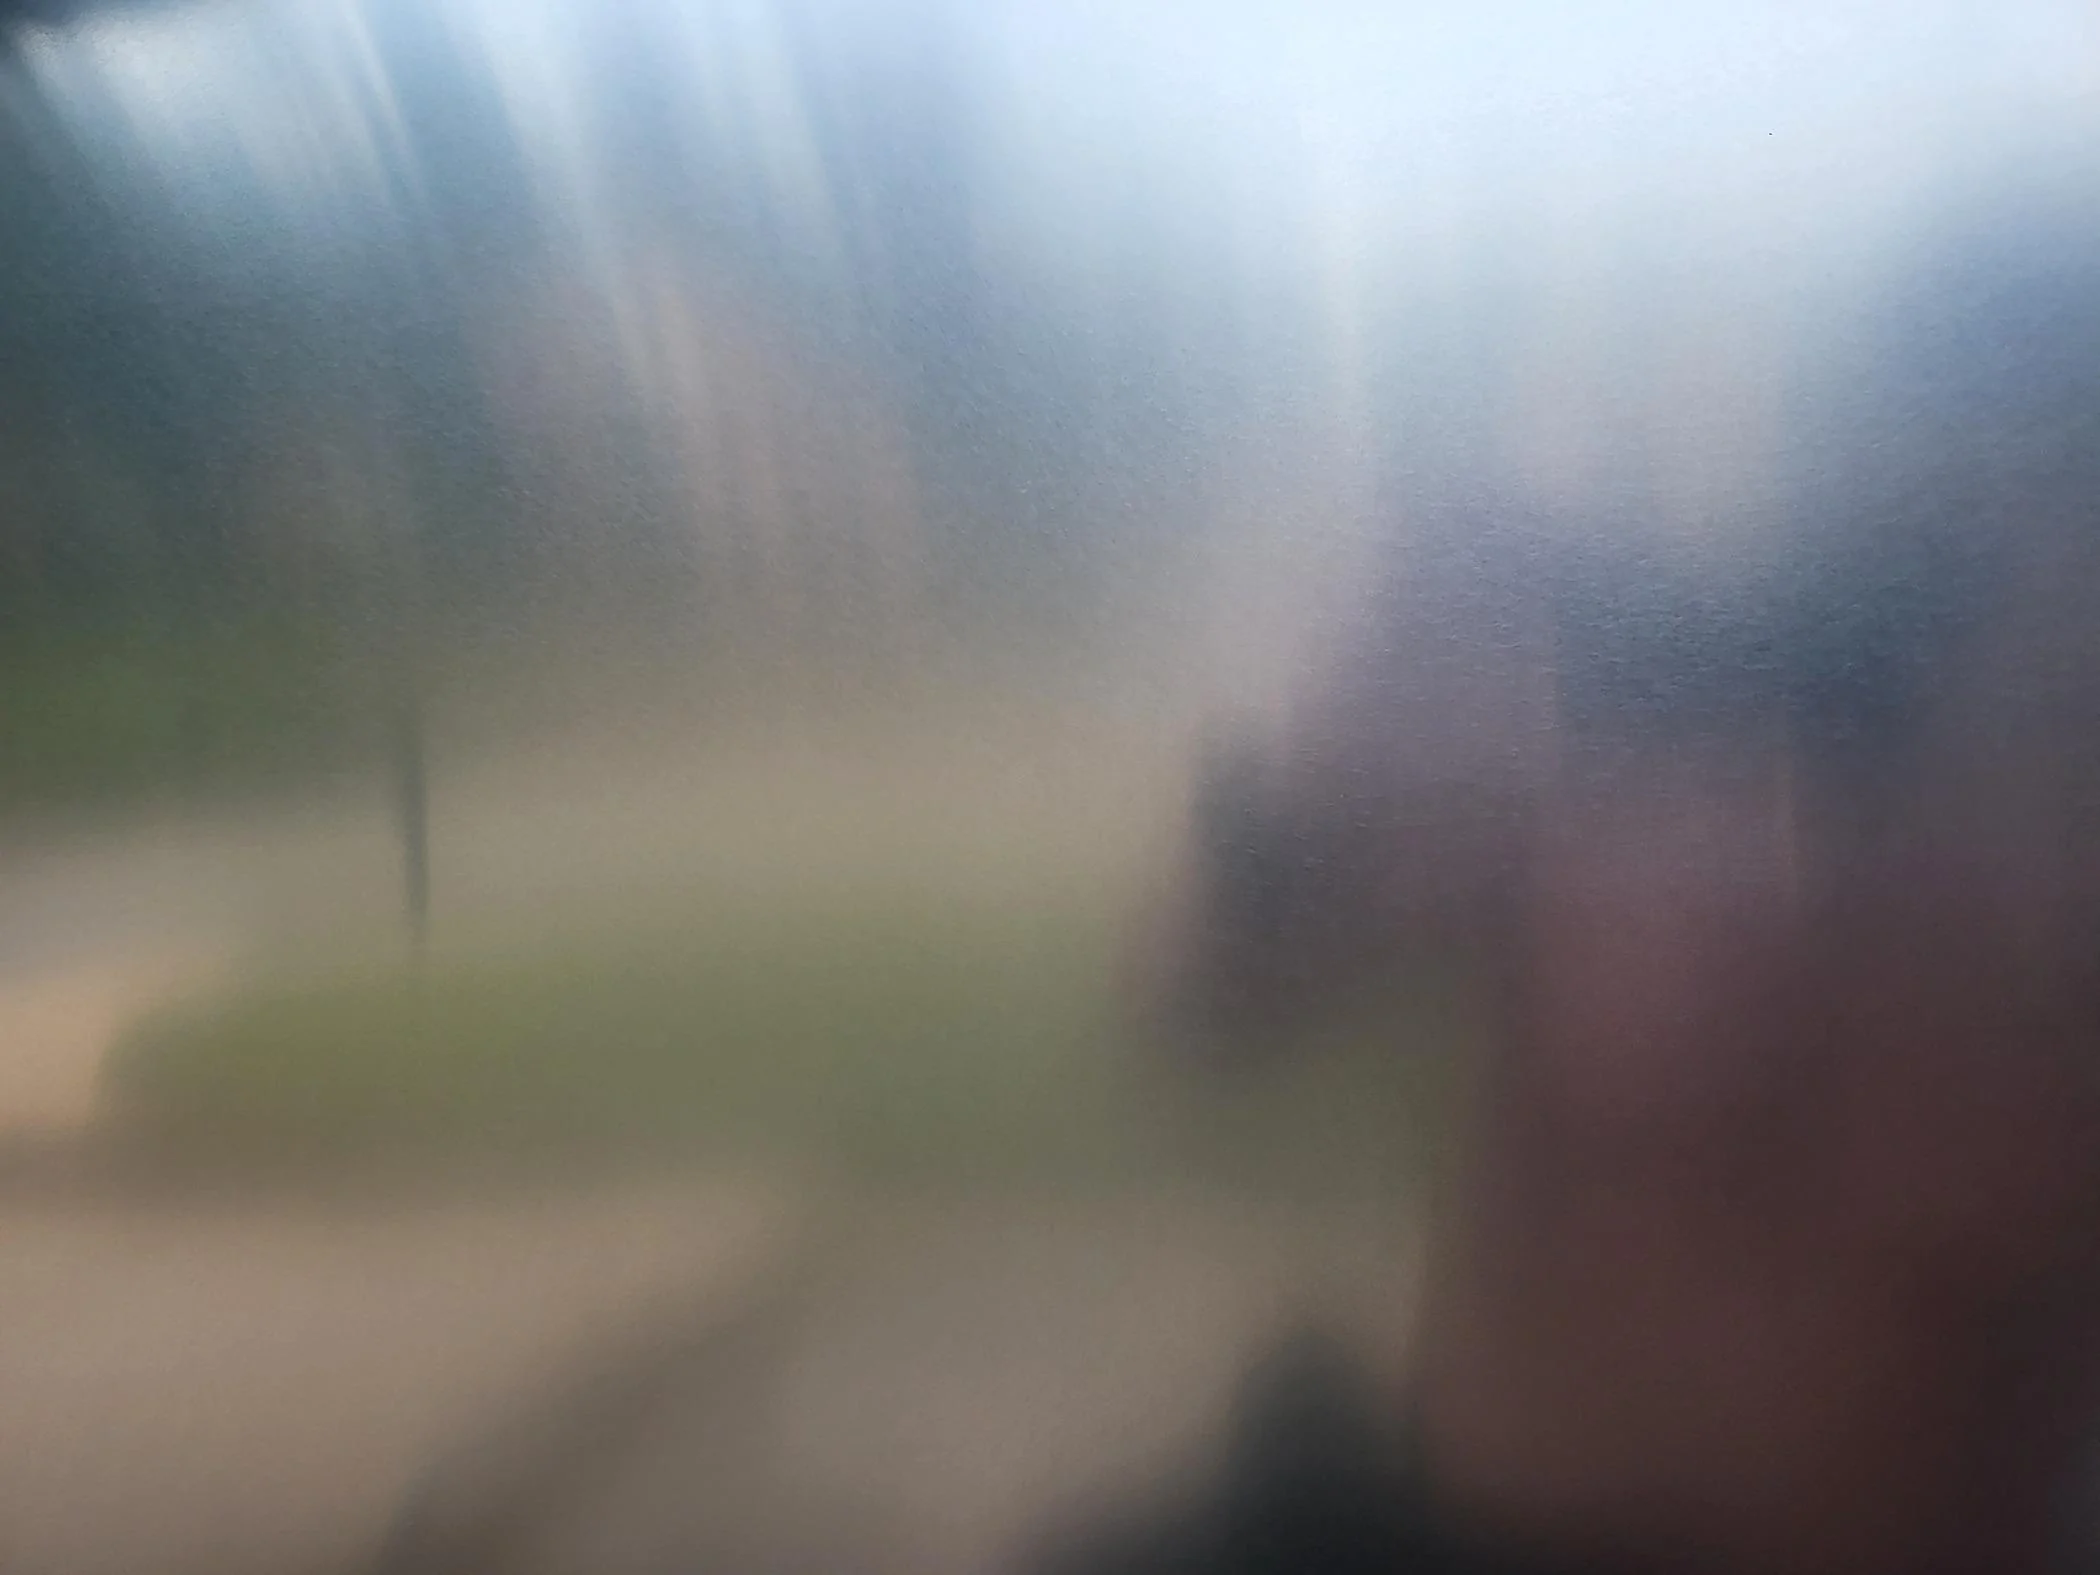
It's beginning to look "silver" in coloration as compared to a more "burnished" finish. Still, I cannot get the door clean after wiping it down with the included isopropyl alcohol.
I decide to try the denatured alcohol I purchased to see if it makes a difference? It does!
I also experiment using BKF for Stainless Steel, but, it does not seem to work as well as the included BKF original formula.
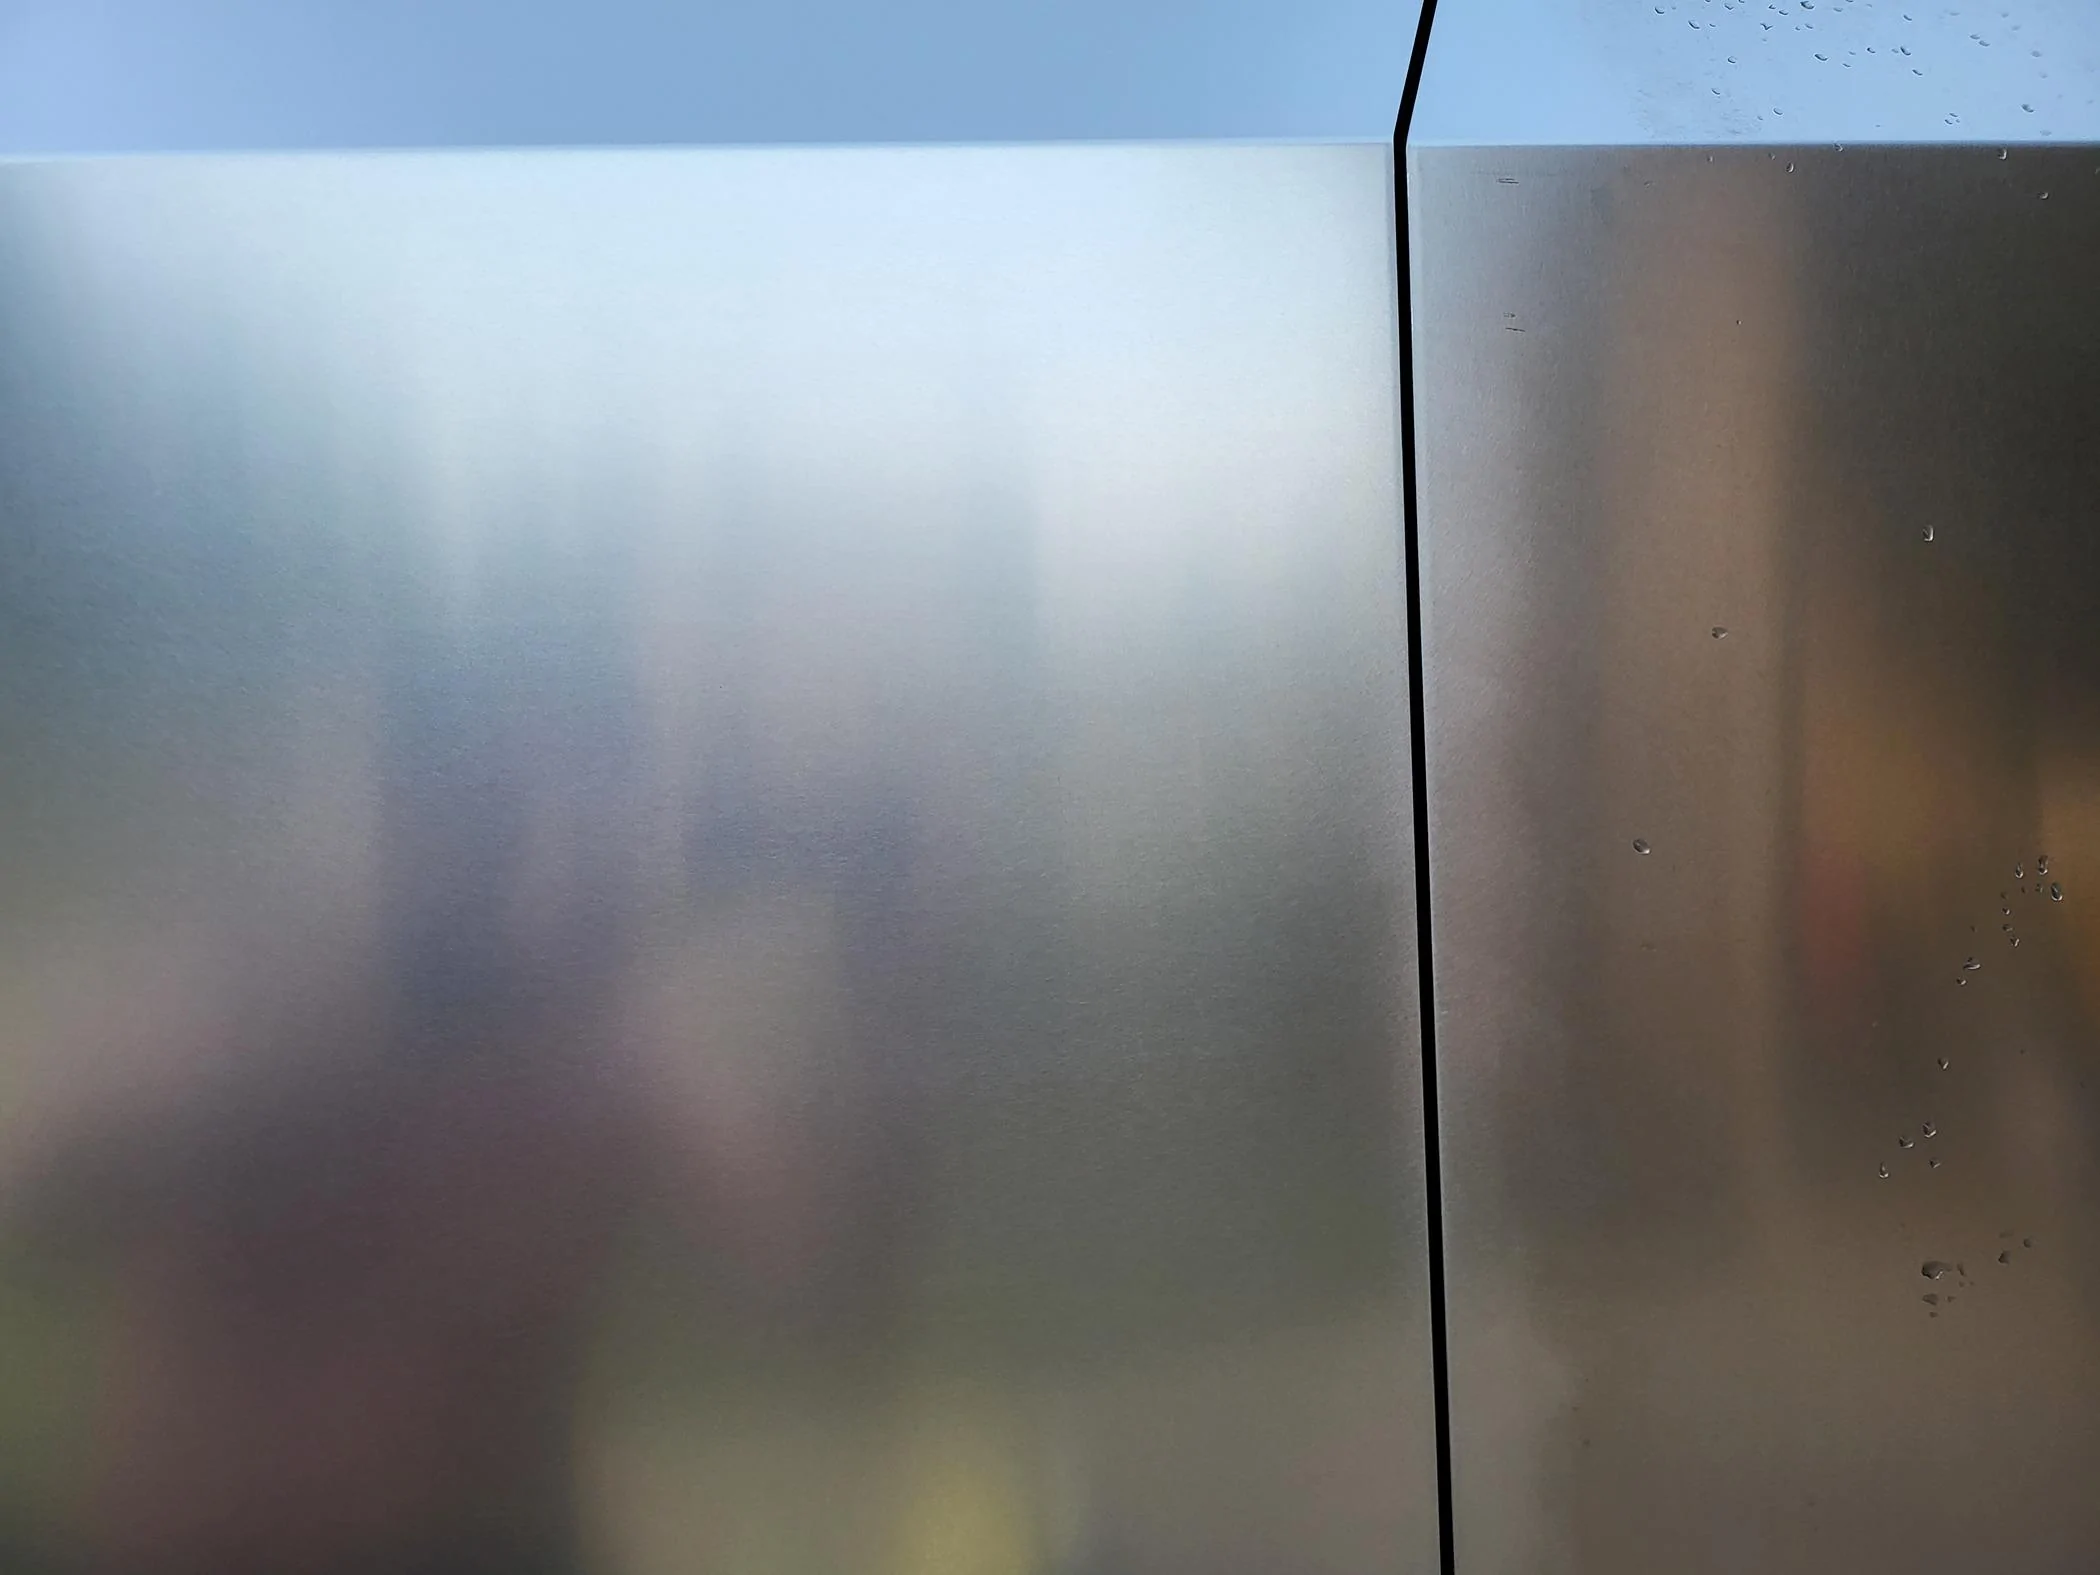
I'm getting closer to the shiny silver look I'm going for. At this point I'm 2 hours in and I haven't even finished my driver's door. But, I'm excited to see that when I'm finished "OO7" is going to look like a Silver Bullet moving down the highway.
Finally, I call it a day. The driver's door is looking really good and I'm learning the techniques for polishing and cleaning off the waxy residue on the truck. Tomorrow I'll try to get the side polishing finished and begin applying the ProTectaClear formula.
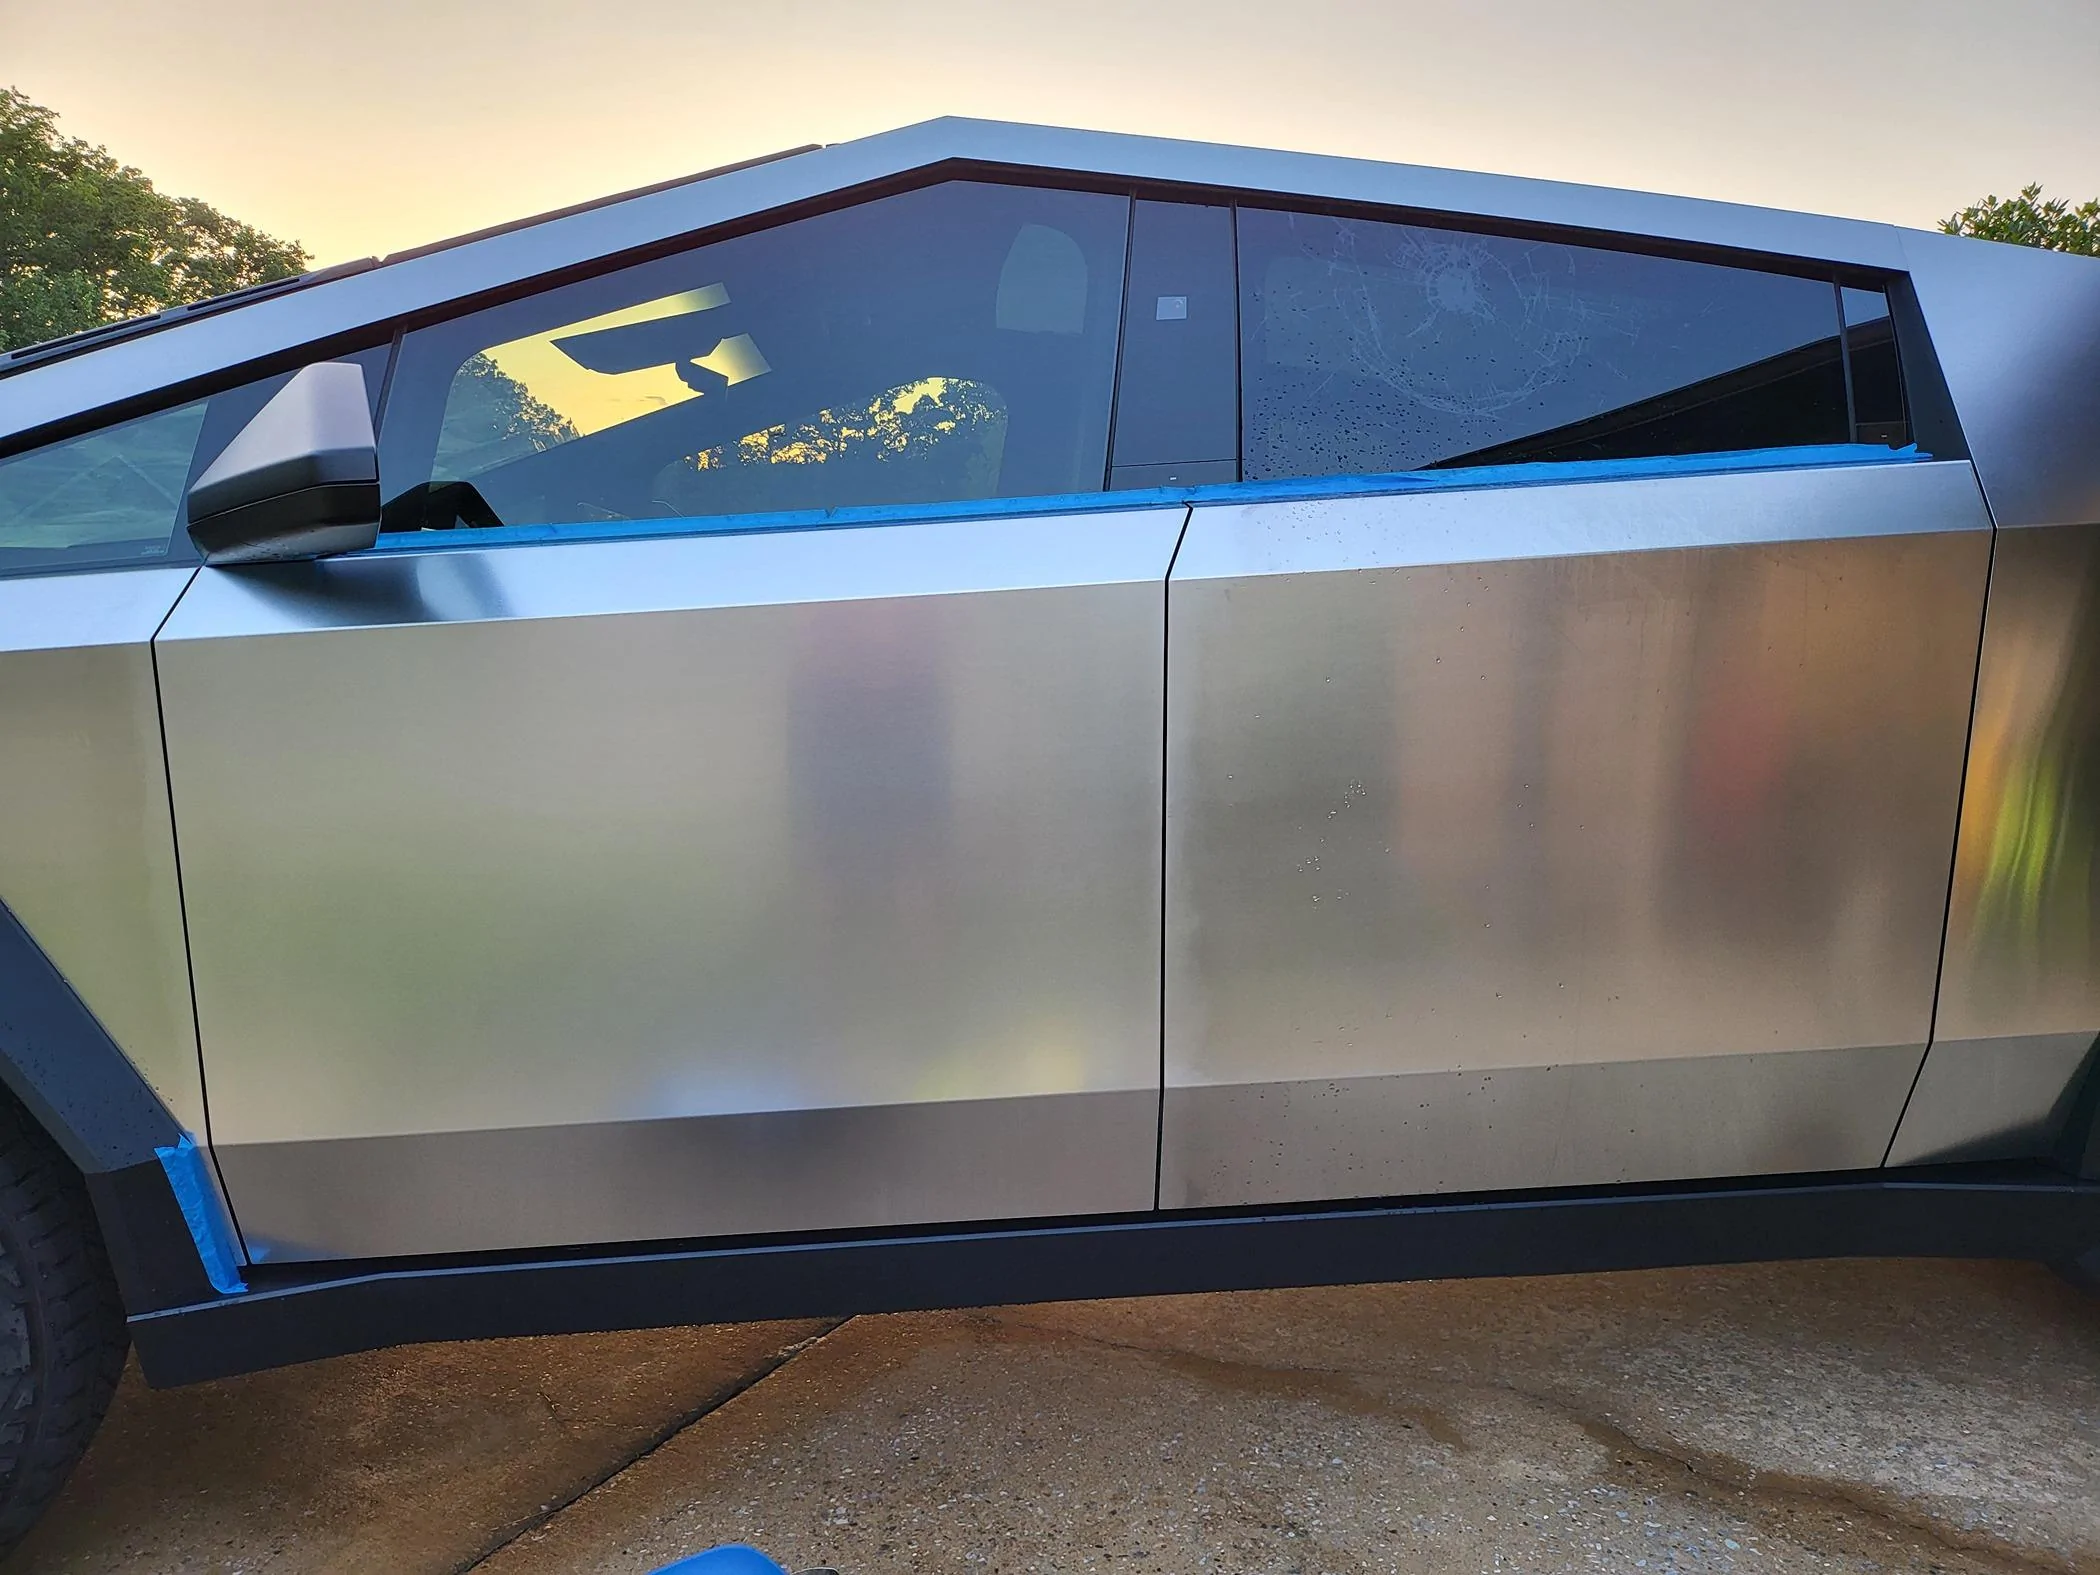
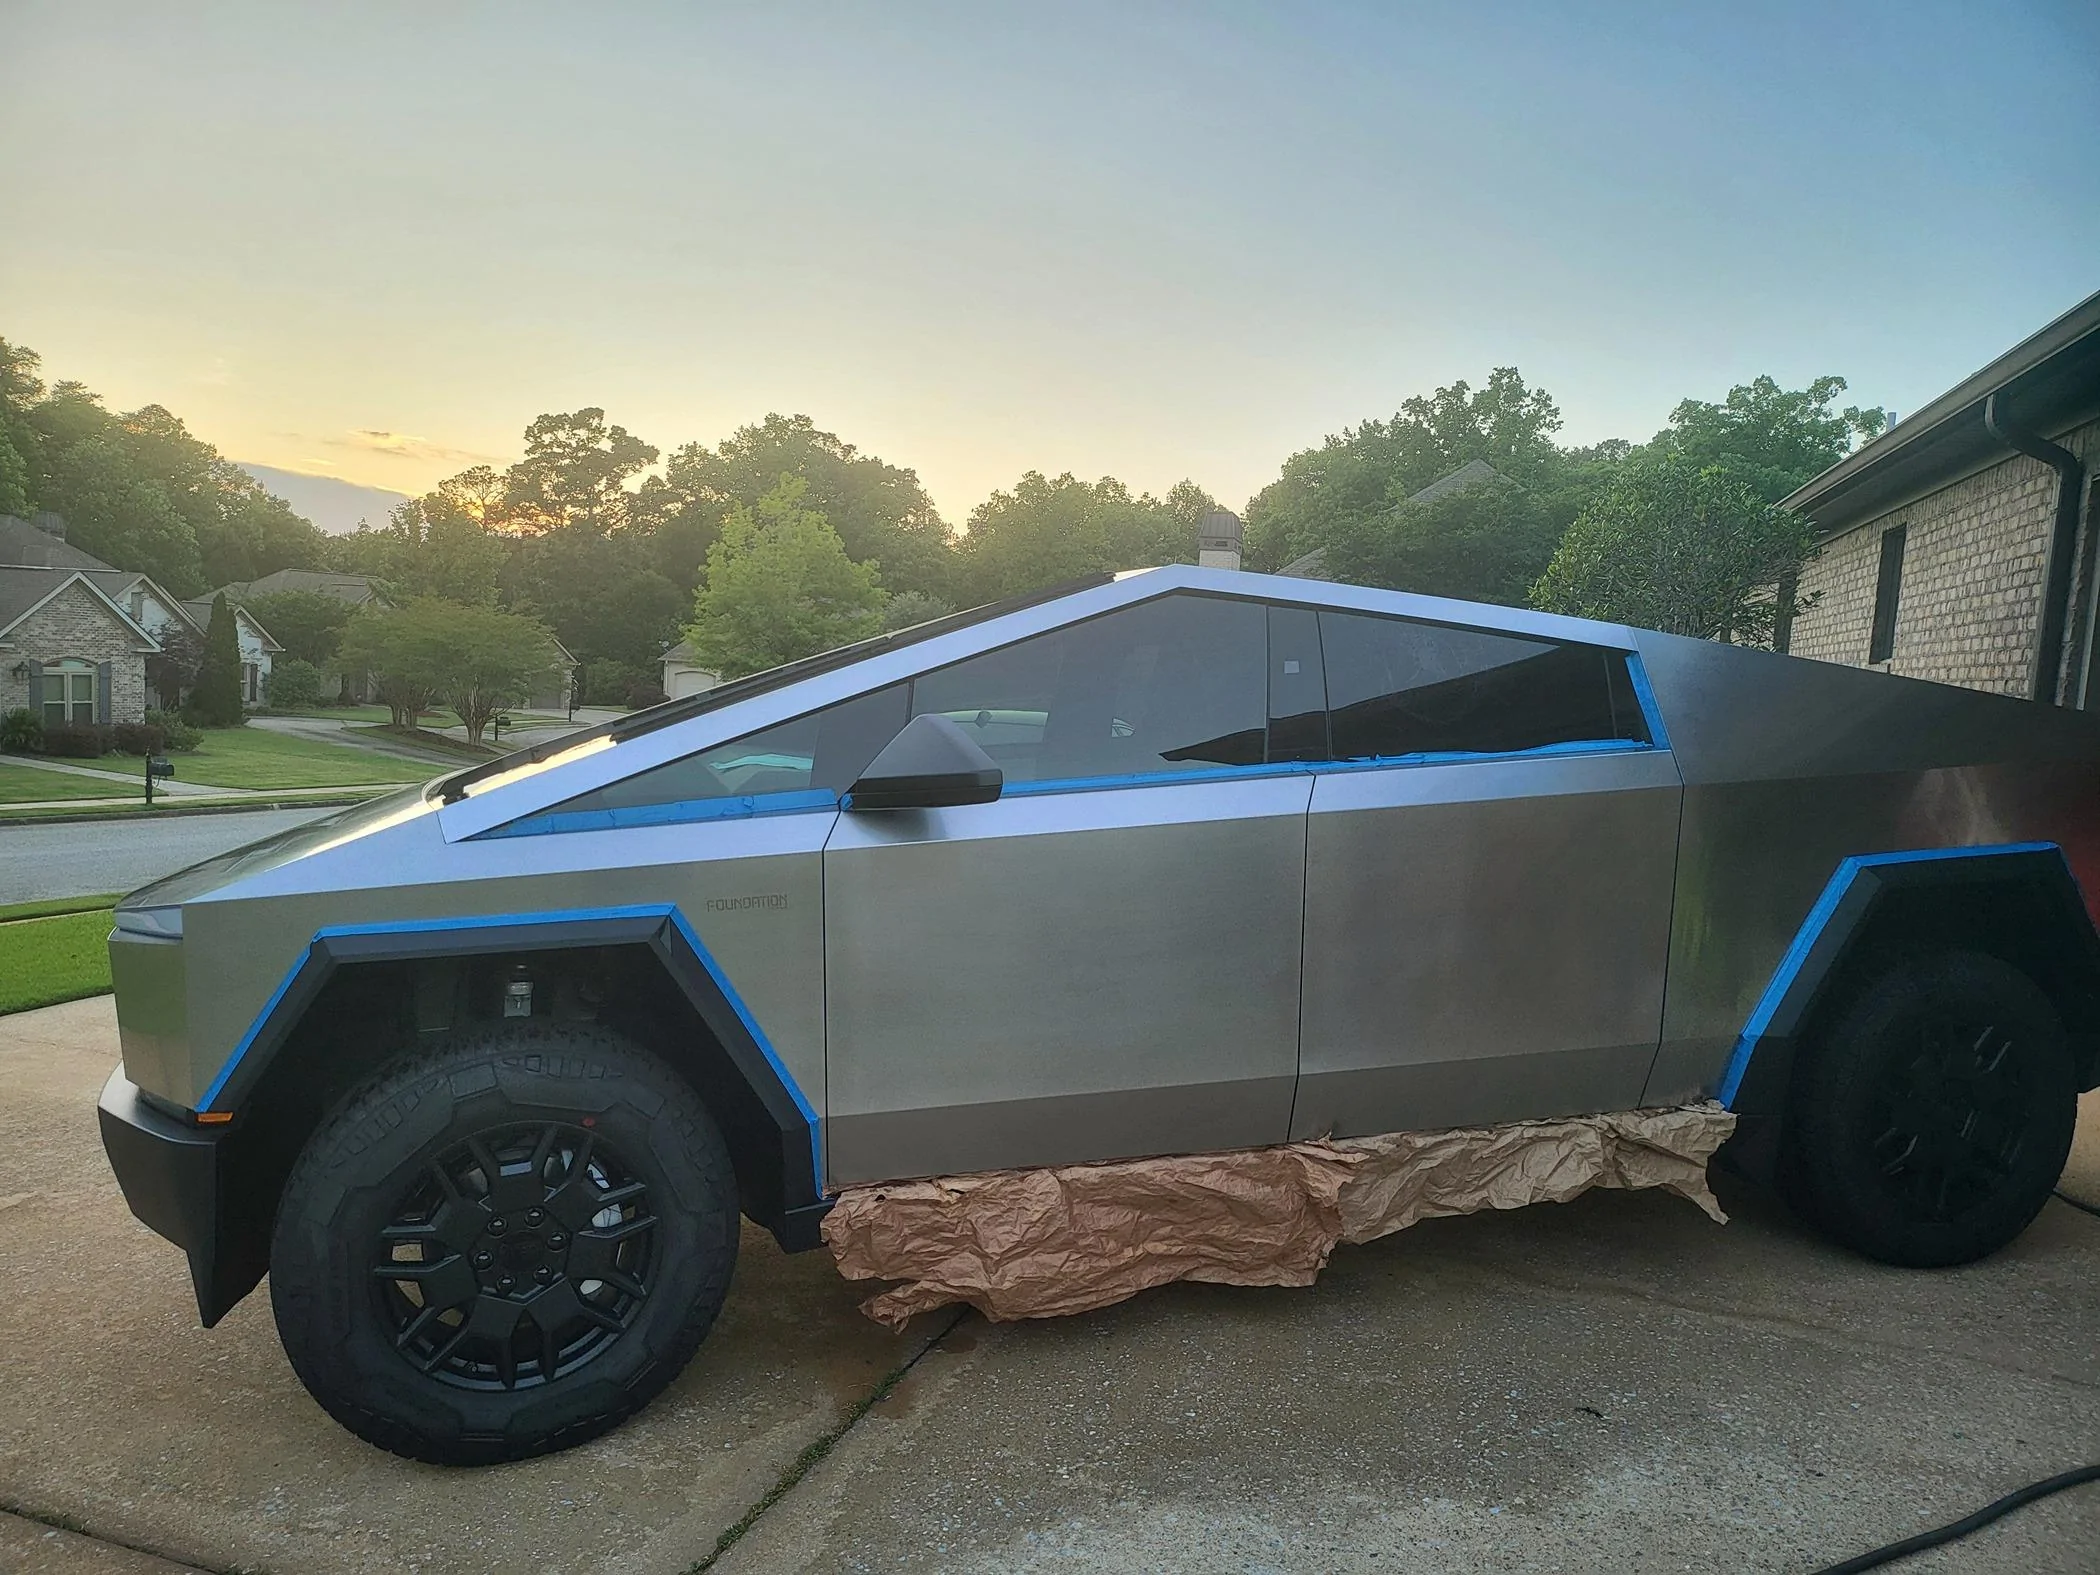
Well, the day ended and "OO7" has a coat of ProTectaClear applied to his driver's side. Lessons have been learned and new application techniques will be used to finish out my project. As others have voiced their objections, I can confirm it is not easy to apply smoothly at first. Luckily, I have "FFA" shop skills and model rocket ? building skills as well. Those skills quickly reminded me, "less is more" and "proper tools" are required for a professional look. Here is "OO7" in his ProTectaClear armor as the sun sets.
Every comment I've read from others is true and I experienced those issues with the exception of bugs. However, I quickly adapted and improved my application technique with an idea to purchase a high quality 3" painters ? brush tomorrow for finishing the project.
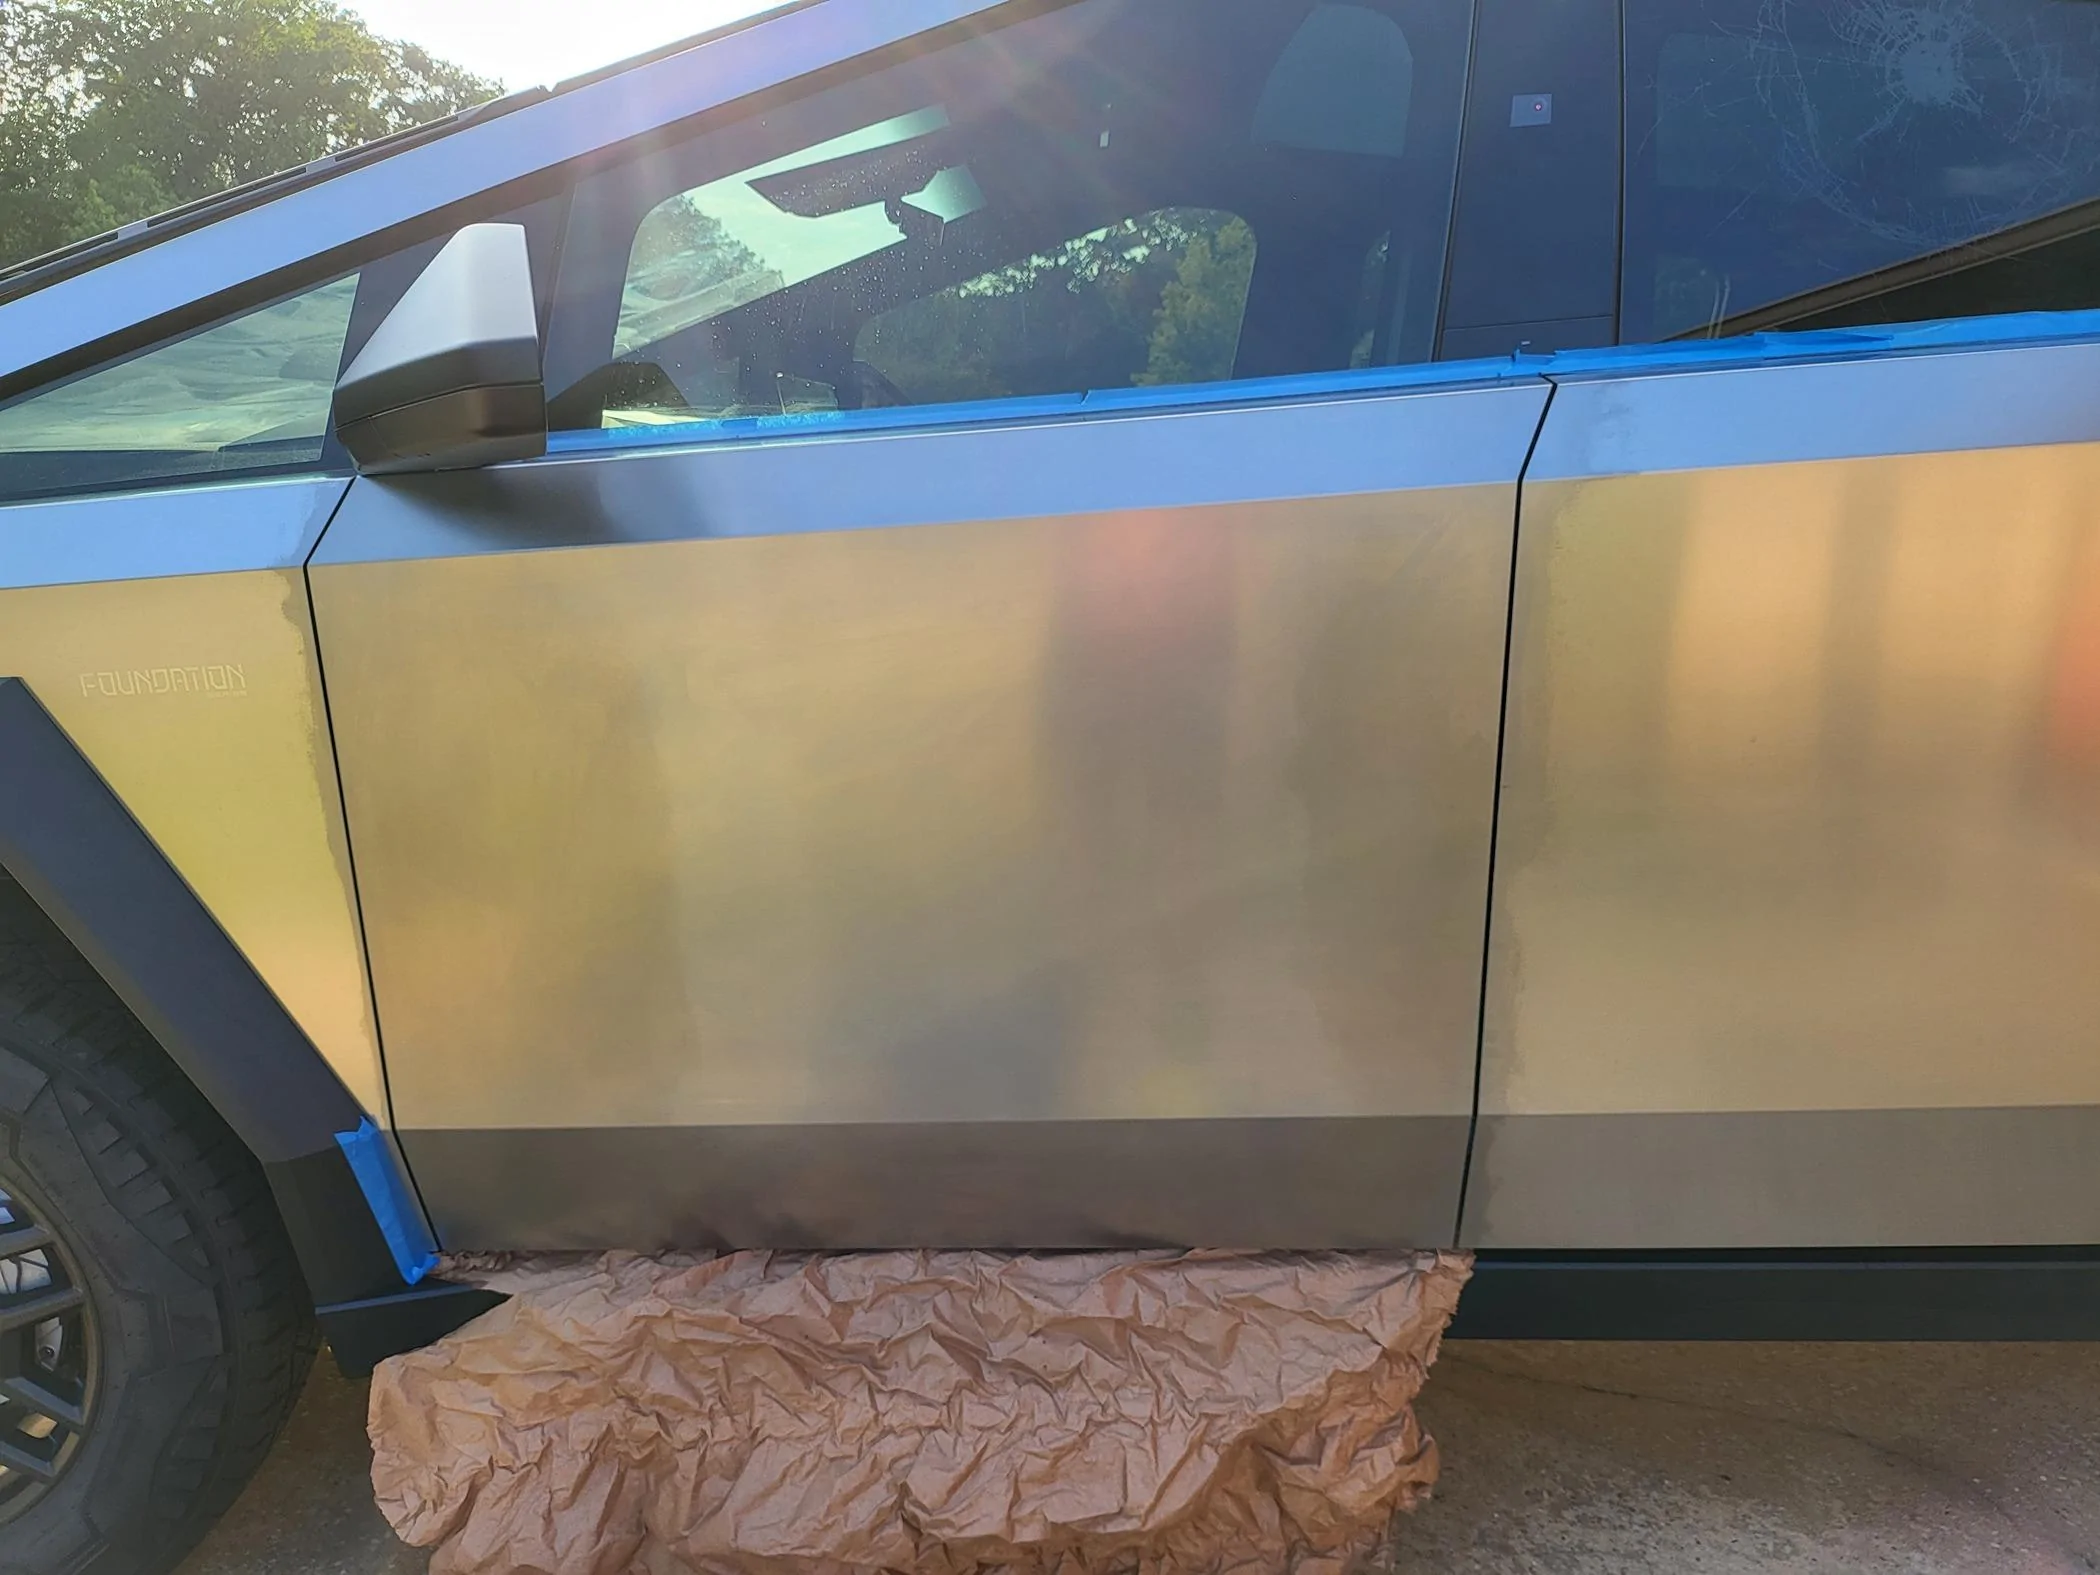
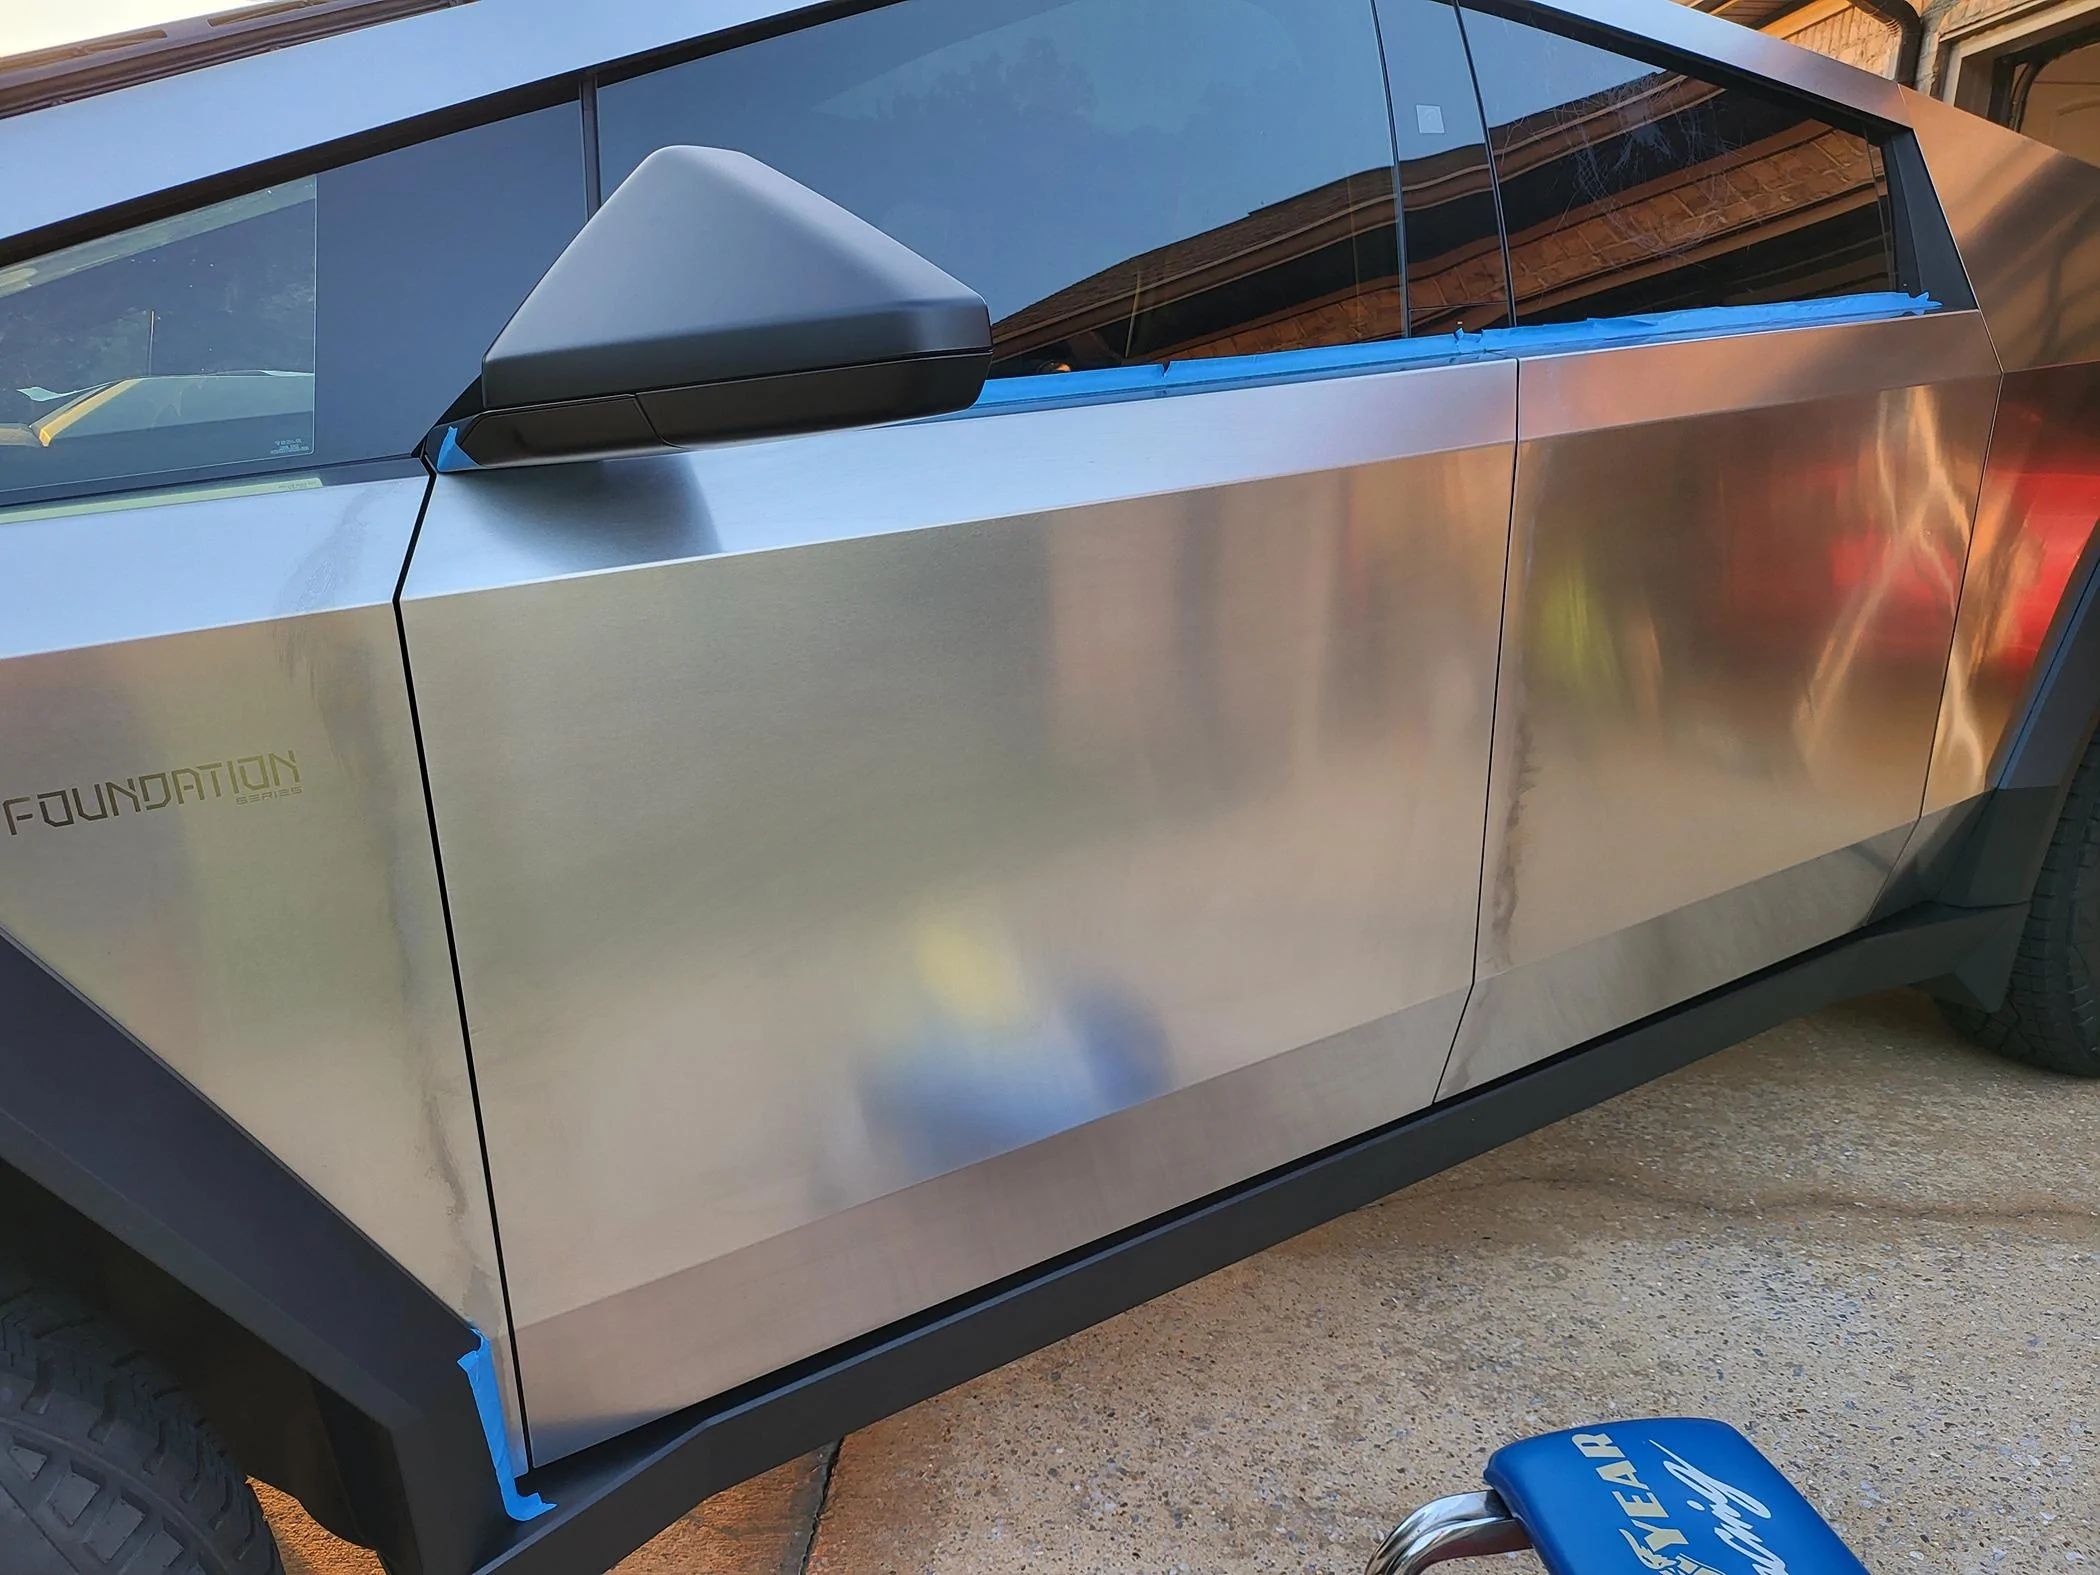
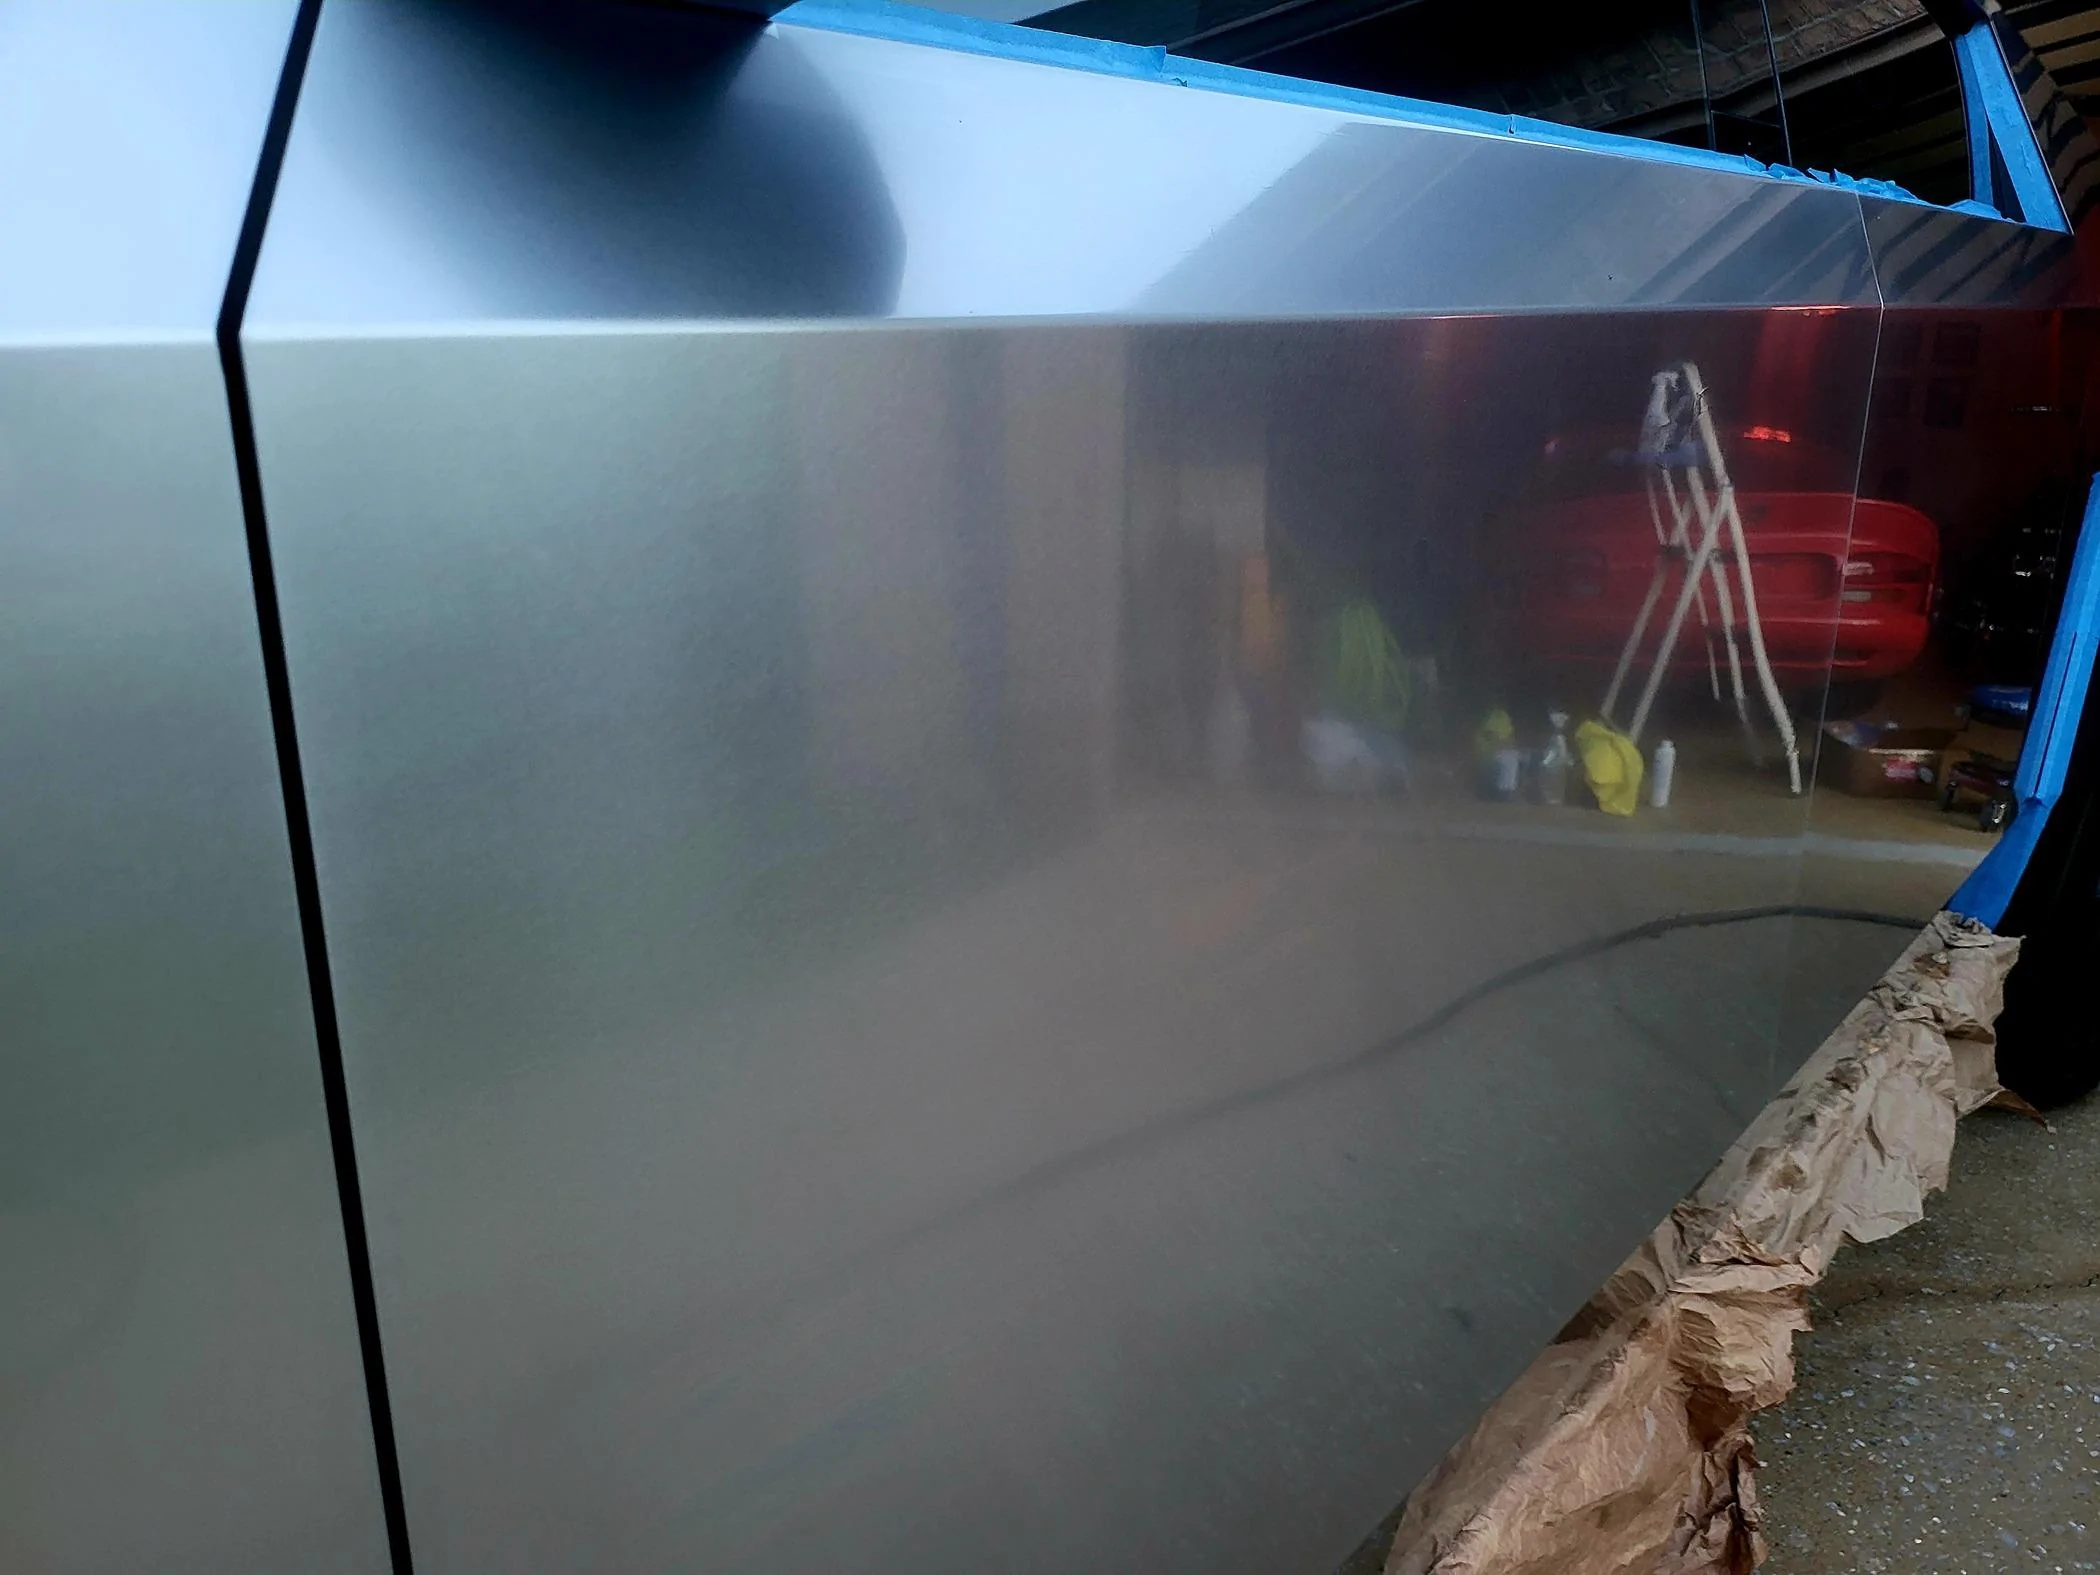
Above is a photo of my driver's side doors after being sealed. "OO7" is a mirror now and definitely will be even more eye catching if that is possible? The back of the truck at the vault is not so smooth. Like others, I had runs, bubbles ? and tacky "smearing" where I tried to smoothe out the excess ProTectaClear after it became tacky. And that is where my "FFA" shop experience working with wood shellac on carpentry projects and model paints for my childhood rocket building came in to play. ProTectaClear is like water when you first dip the applicator into it. It drips like water ? and then becomes tacky within 10 seconds. Just like shellac and model paints. The key to a smoothly applying it is "short & quick" strokes. Very, very lightly dip the applicator into the edge of the ProTectaClear solution. A little goes a long way. Then pull it across the stainless steel for about four inches snapping your wrist up at the end. I did this in a downward fashion until I reached a bend in the metal and then returned to the top repeating the pattern until the doors were completely painted with the formula. The applicator absorbs the solution and that sponge effect can cause the bubbles if you press to hard on the metal. A proper, high quality and "fine" bristle paint brush is the best way to apply this solution. I'm confident I will avoid any further issues applying it after I buy my brushes. It will be easier to control the amount of ProTectaClear I'm using to avoid runs and it will apply smoothly and evenly.
While I had no bugs, I can attest to the tacky "glue-like" quality of the product as a string I missed is stuck on my "Foundation Series" emblem. I'll worry with that tomorrow.
To begin, I ordered my kit after receiving my VIN# for "OO7" from EverBright. Shipping was fast to Alabama and product support is excellent. Lots of follow-up about receiving my kit and offers of help in applying it.
Now, I'm gonna stop right here and tell you to ignore the rubbing alcohol as a cleaner. Put it in your medical kit for cuts and scratches. It does not work well at all in my experience. Questioning the size of the bottle, I picked up a quart of denatured alcohol from Ace Hardware for $8. I cant explain why, but, the denatured alcohol strips the residue of the Bar Keepers Friend and Windex off very easily while the included 99% isopropyl alcohol just smears it around on the stainless steel.
After cleaning "OO7" with Dawn Dishwashing soap, he's sparkly and ready for my ProTectaClear Kit to be applied.
I begin with my driver's side door. Let me say, I'm very particular about the polishing. It's got to look perfect to my eye and so I spent about 30 minutes prepping the door with painters tape over the rubber and plastic bits.

Beginning, I apply the Bar Keepers Friend with the included micro fiber towel and rub. This immediately tells me 2 things; it's going to take some time and "OO7" is covered in some kind of waxy residue. (I believe the Tesla Service Center used a buffer and metal polish to prep "OO7" for delivery.)
I can now see after one pass that my shiny CyberTruck could be much,much shinier. However, crappy residue and streaks are every where. No way I'm going to seal it in this condition with the ProTectaClear formula. More polishing is required.
I'm beginning to have my doubts about the process. The BKF polishes, the Windex smears it around, and the included isopropyl alcohol smears it some more. I cannot get a "clean" door. I've decided to focus on the driver's door first with my polishing.

I'm figuring out this project is going to take me a few days working in stages. I will try to polish the driver's side to my satisfaction before applying the ProTectaClear formula. Then, move to the hood and front of "OO7" working around the truck.
It's beginning to look "silver" in coloration as compared to a more "burnished" finish. Still, I cannot get the door clean after wiping it down with the included isopropyl alcohol.
I decide to try the denatured alcohol I purchased to see if it makes a difference? It does!
I also experiment using BKF for Stainless Steel, but, it does not seem to work as well as the included BKF original formula.
I'm getting closer to the shiny silver look I'm going for. At this point I'm 2 hours in and I haven't even finished my driver's door. But, I'm excited to see that when I'm finished "OO7" is going to look like a Silver Bullet moving down the highway.
Finally, I call it a day. The driver's door is looking really good and I'm learning the techniques for polishing and cleaning off the waxy residue on the truck. Tomorrow I'll try to get the side polishing finished and begin applying the ProTectaClear formula.

Well, the day ended and "OO7" has a coat of ProTectaClear applied to his driver's side. Lessons have been learned and new application techniques will be used to finish out my project. As others have voiced their objections, I can confirm it is not easy to apply smoothly at first. Luckily, I have "FFA" shop skills and model rocket ? building skills as well. Those skills quickly reminded me, "less is more" and "proper tools" are required for a professional look. Here is "OO7" in his ProTectaClear armor as the sun sets.
Every comment I've read from others is true and I experienced those issues with the exception of bugs. However, I quickly adapted and improved my application technique with an idea to purchase a high quality 3" painters ? brush tomorrow for finishing the project.
Above is a photo of my driver's side doors after being sealed. "OO7" is a mirror now and definitely will be even more eye catching if that is possible? The back of the truck at the vault is not so smooth. Like others, I had runs, bubbles ? and tacky "smearing" where I tried to smoothe out the excess ProTectaClear after it became tacky. And that is where my "FFA" shop experience working with wood shellac on carpentry projects and model paints for my childhood rocket building came in to play. ProTectaClear is like water when you first dip the applicator into it. It drips like water ? and then becomes tacky within 10 seconds. Just like shellac and model paints. The key to a smoothly applying it is "short & quick" strokes. Very, very lightly dip the applicator into the edge of the ProTectaClear solution. A little goes a long way. Then pull it across the stainless steel for about four inches snapping your wrist up at the end. I did this in a downward fashion until I reached a bend in the metal and then returned to the top repeating the pattern until the doors were completely painted with the formula. The applicator absorbs the solution and that sponge effect can cause the bubbles if you press to hard on the metal. A proper, high quality and "fine" bristle paint brush is the best way to apply this solution. I'm confident I will avoid any further issues applying it after I buy my brushes. It will be easier to control the amount of ProTectaClear I'm using to avoid runs and it will apply smoothly and evenly.

While I had no bugs, I can attest to the tacky "glue-like" quality of the product as a string I missed is stuck on my "Foundation Series" emblem. I'll worry with that tomorrow.
Sponsored
Last edited:
")